By Design Bundles
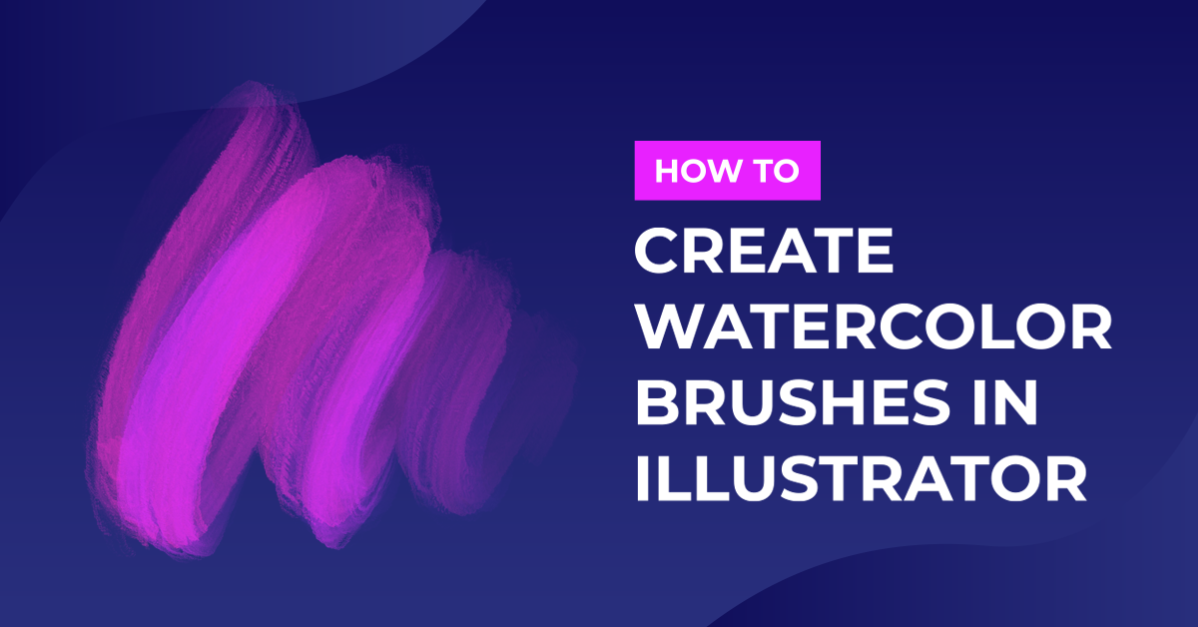
Create Watercolor brushes in Illustrator
For this tutorial you will need some watercolor textures that have a transparent background. I have used some from this Watercolor Texture Pack by Sinziana Romanescu.
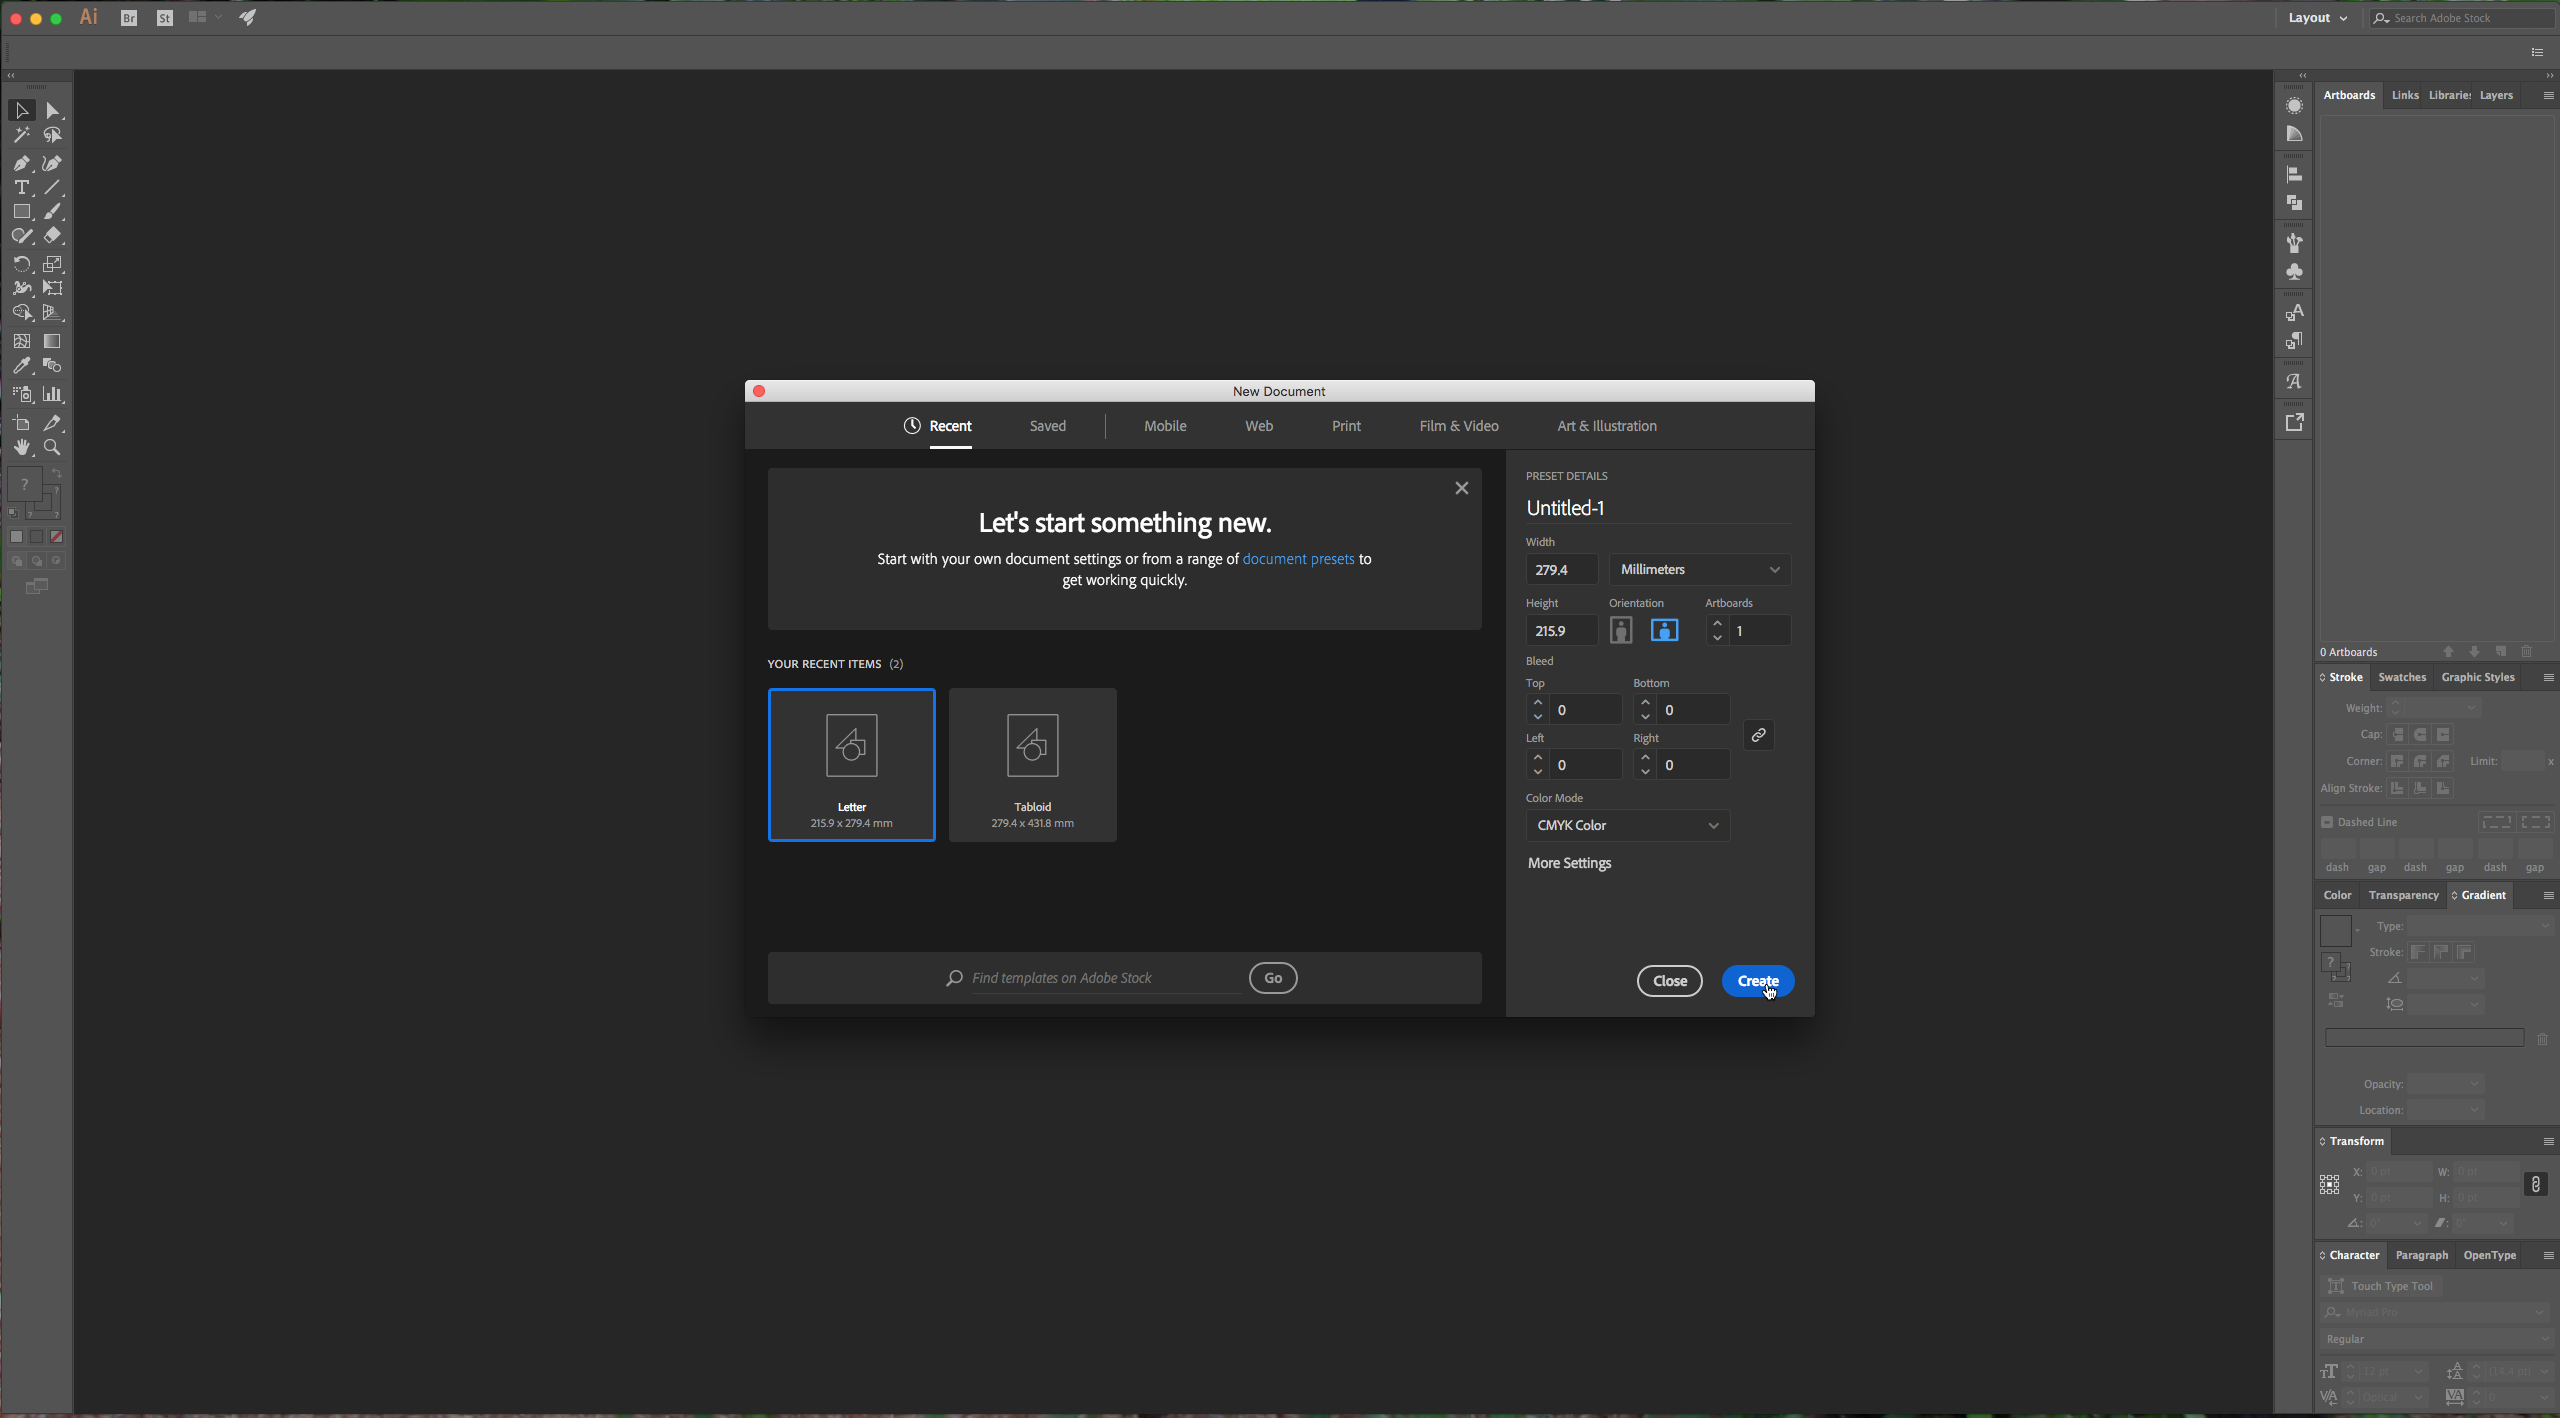
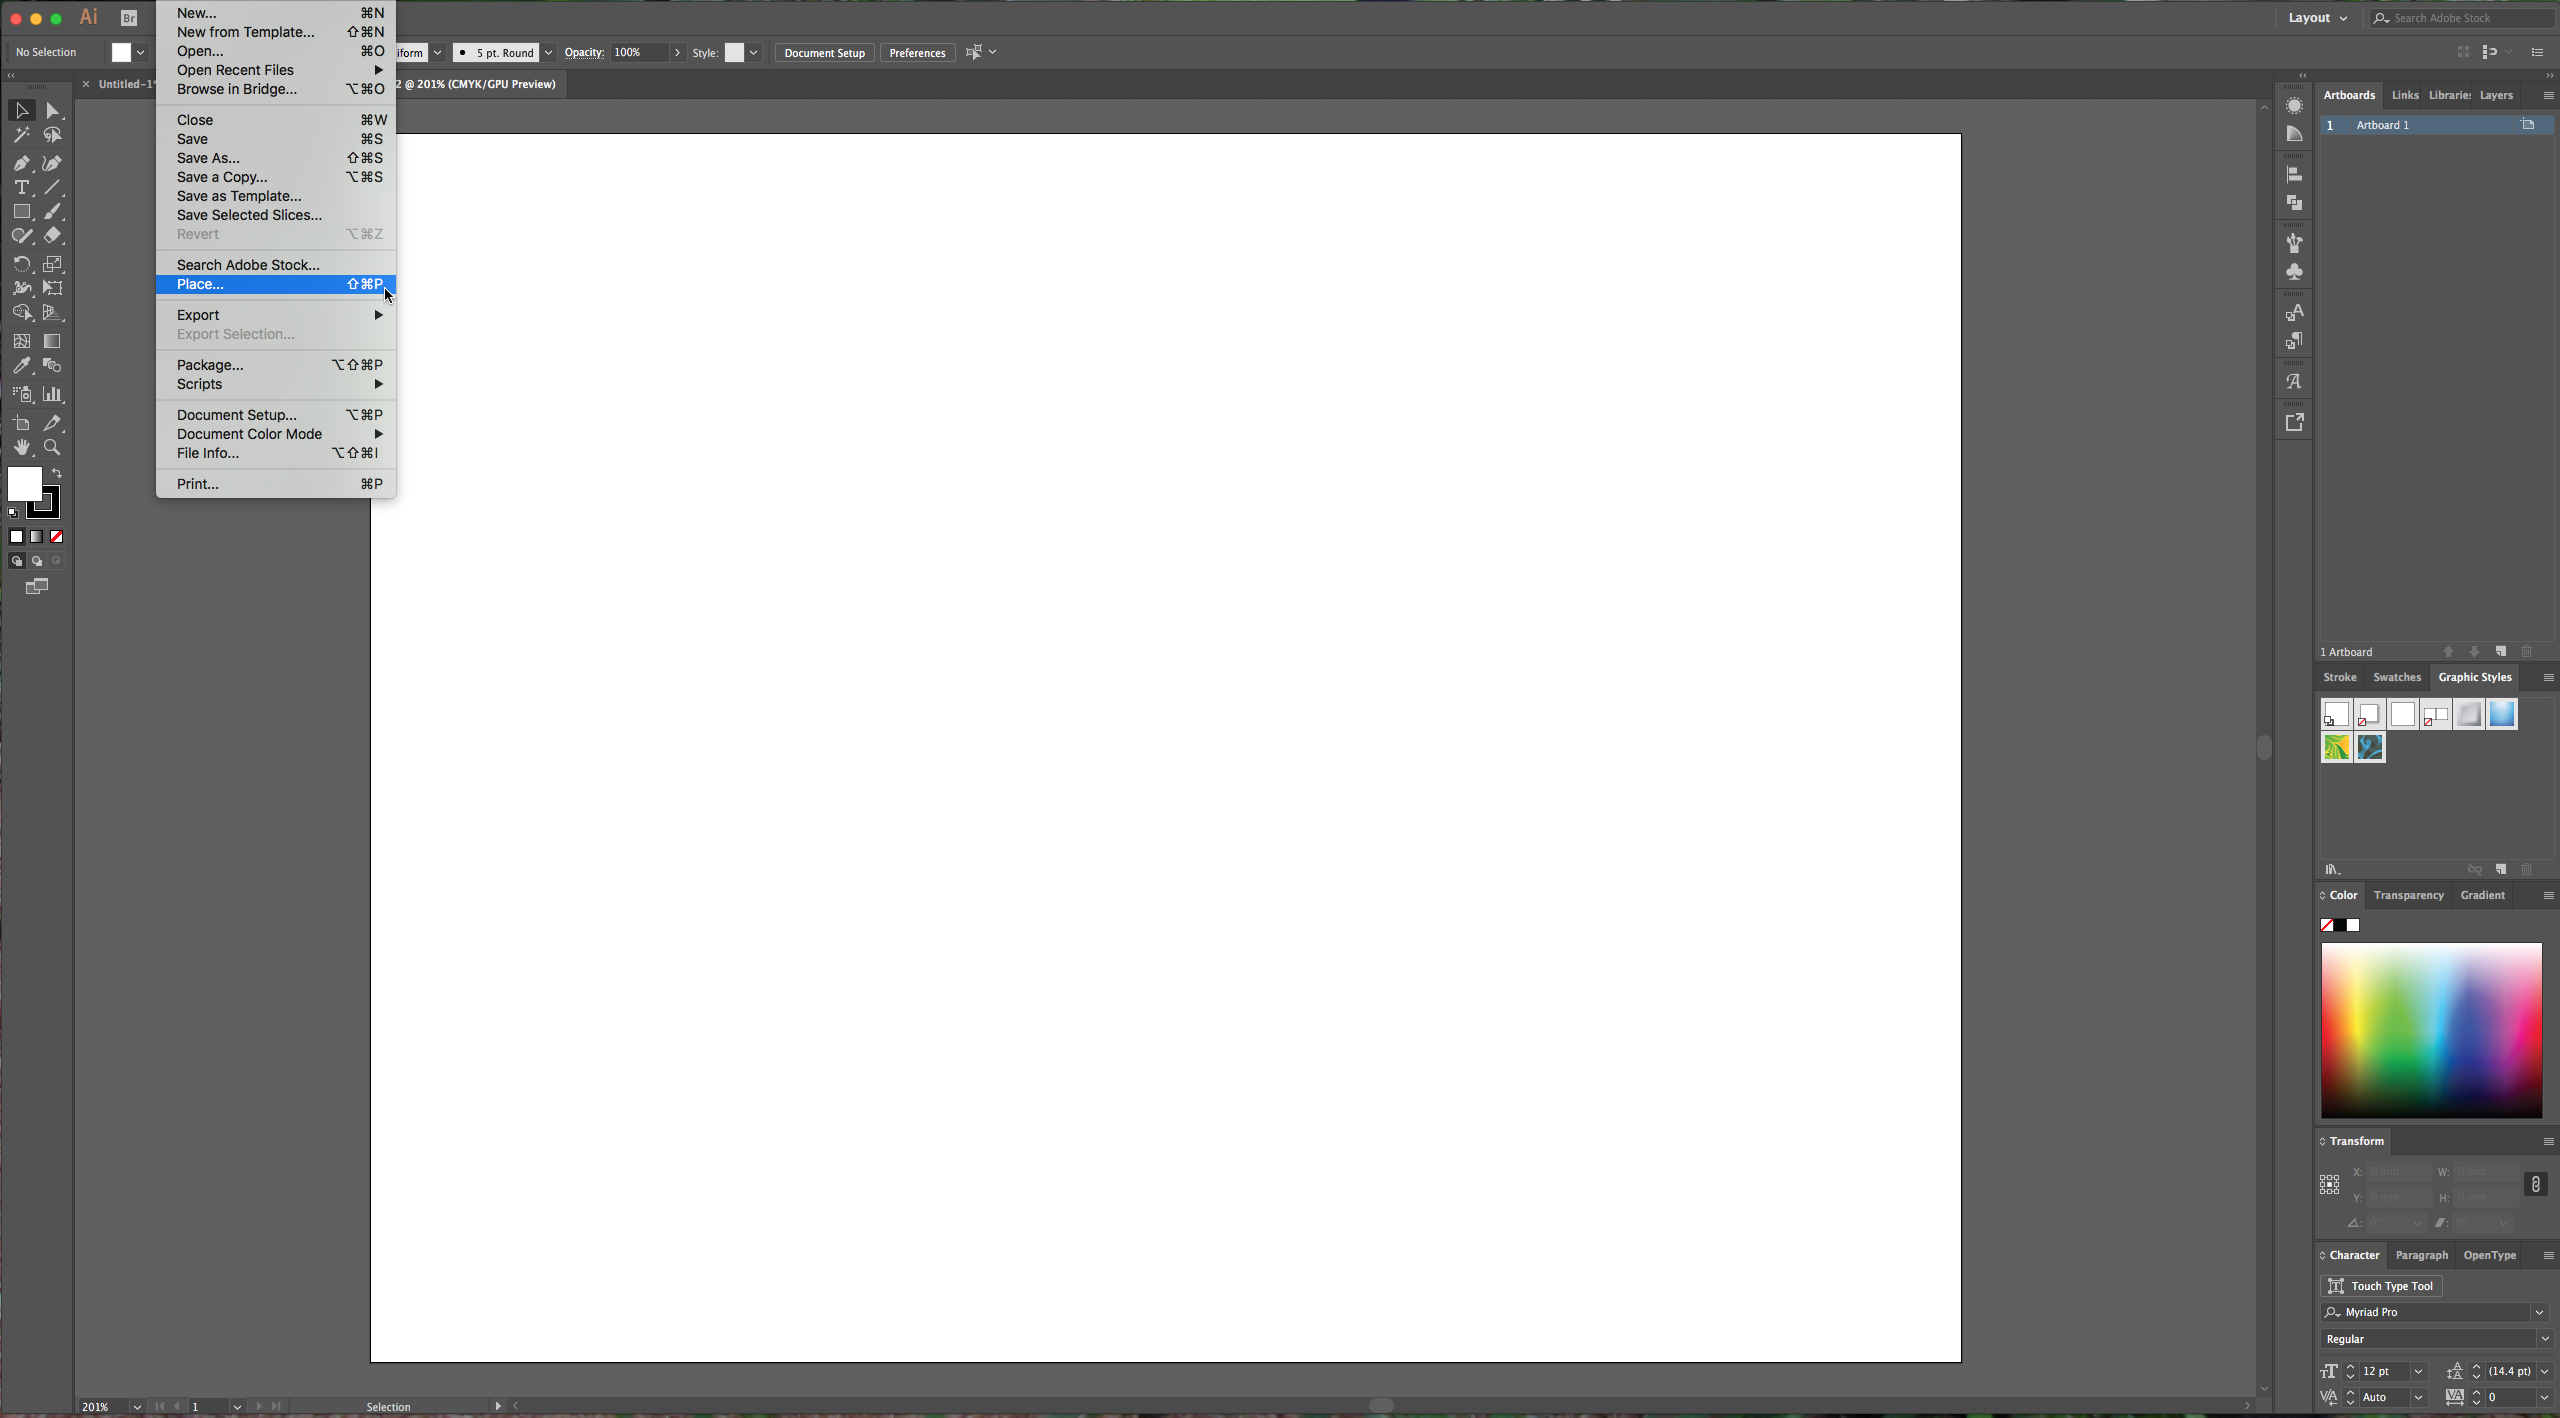
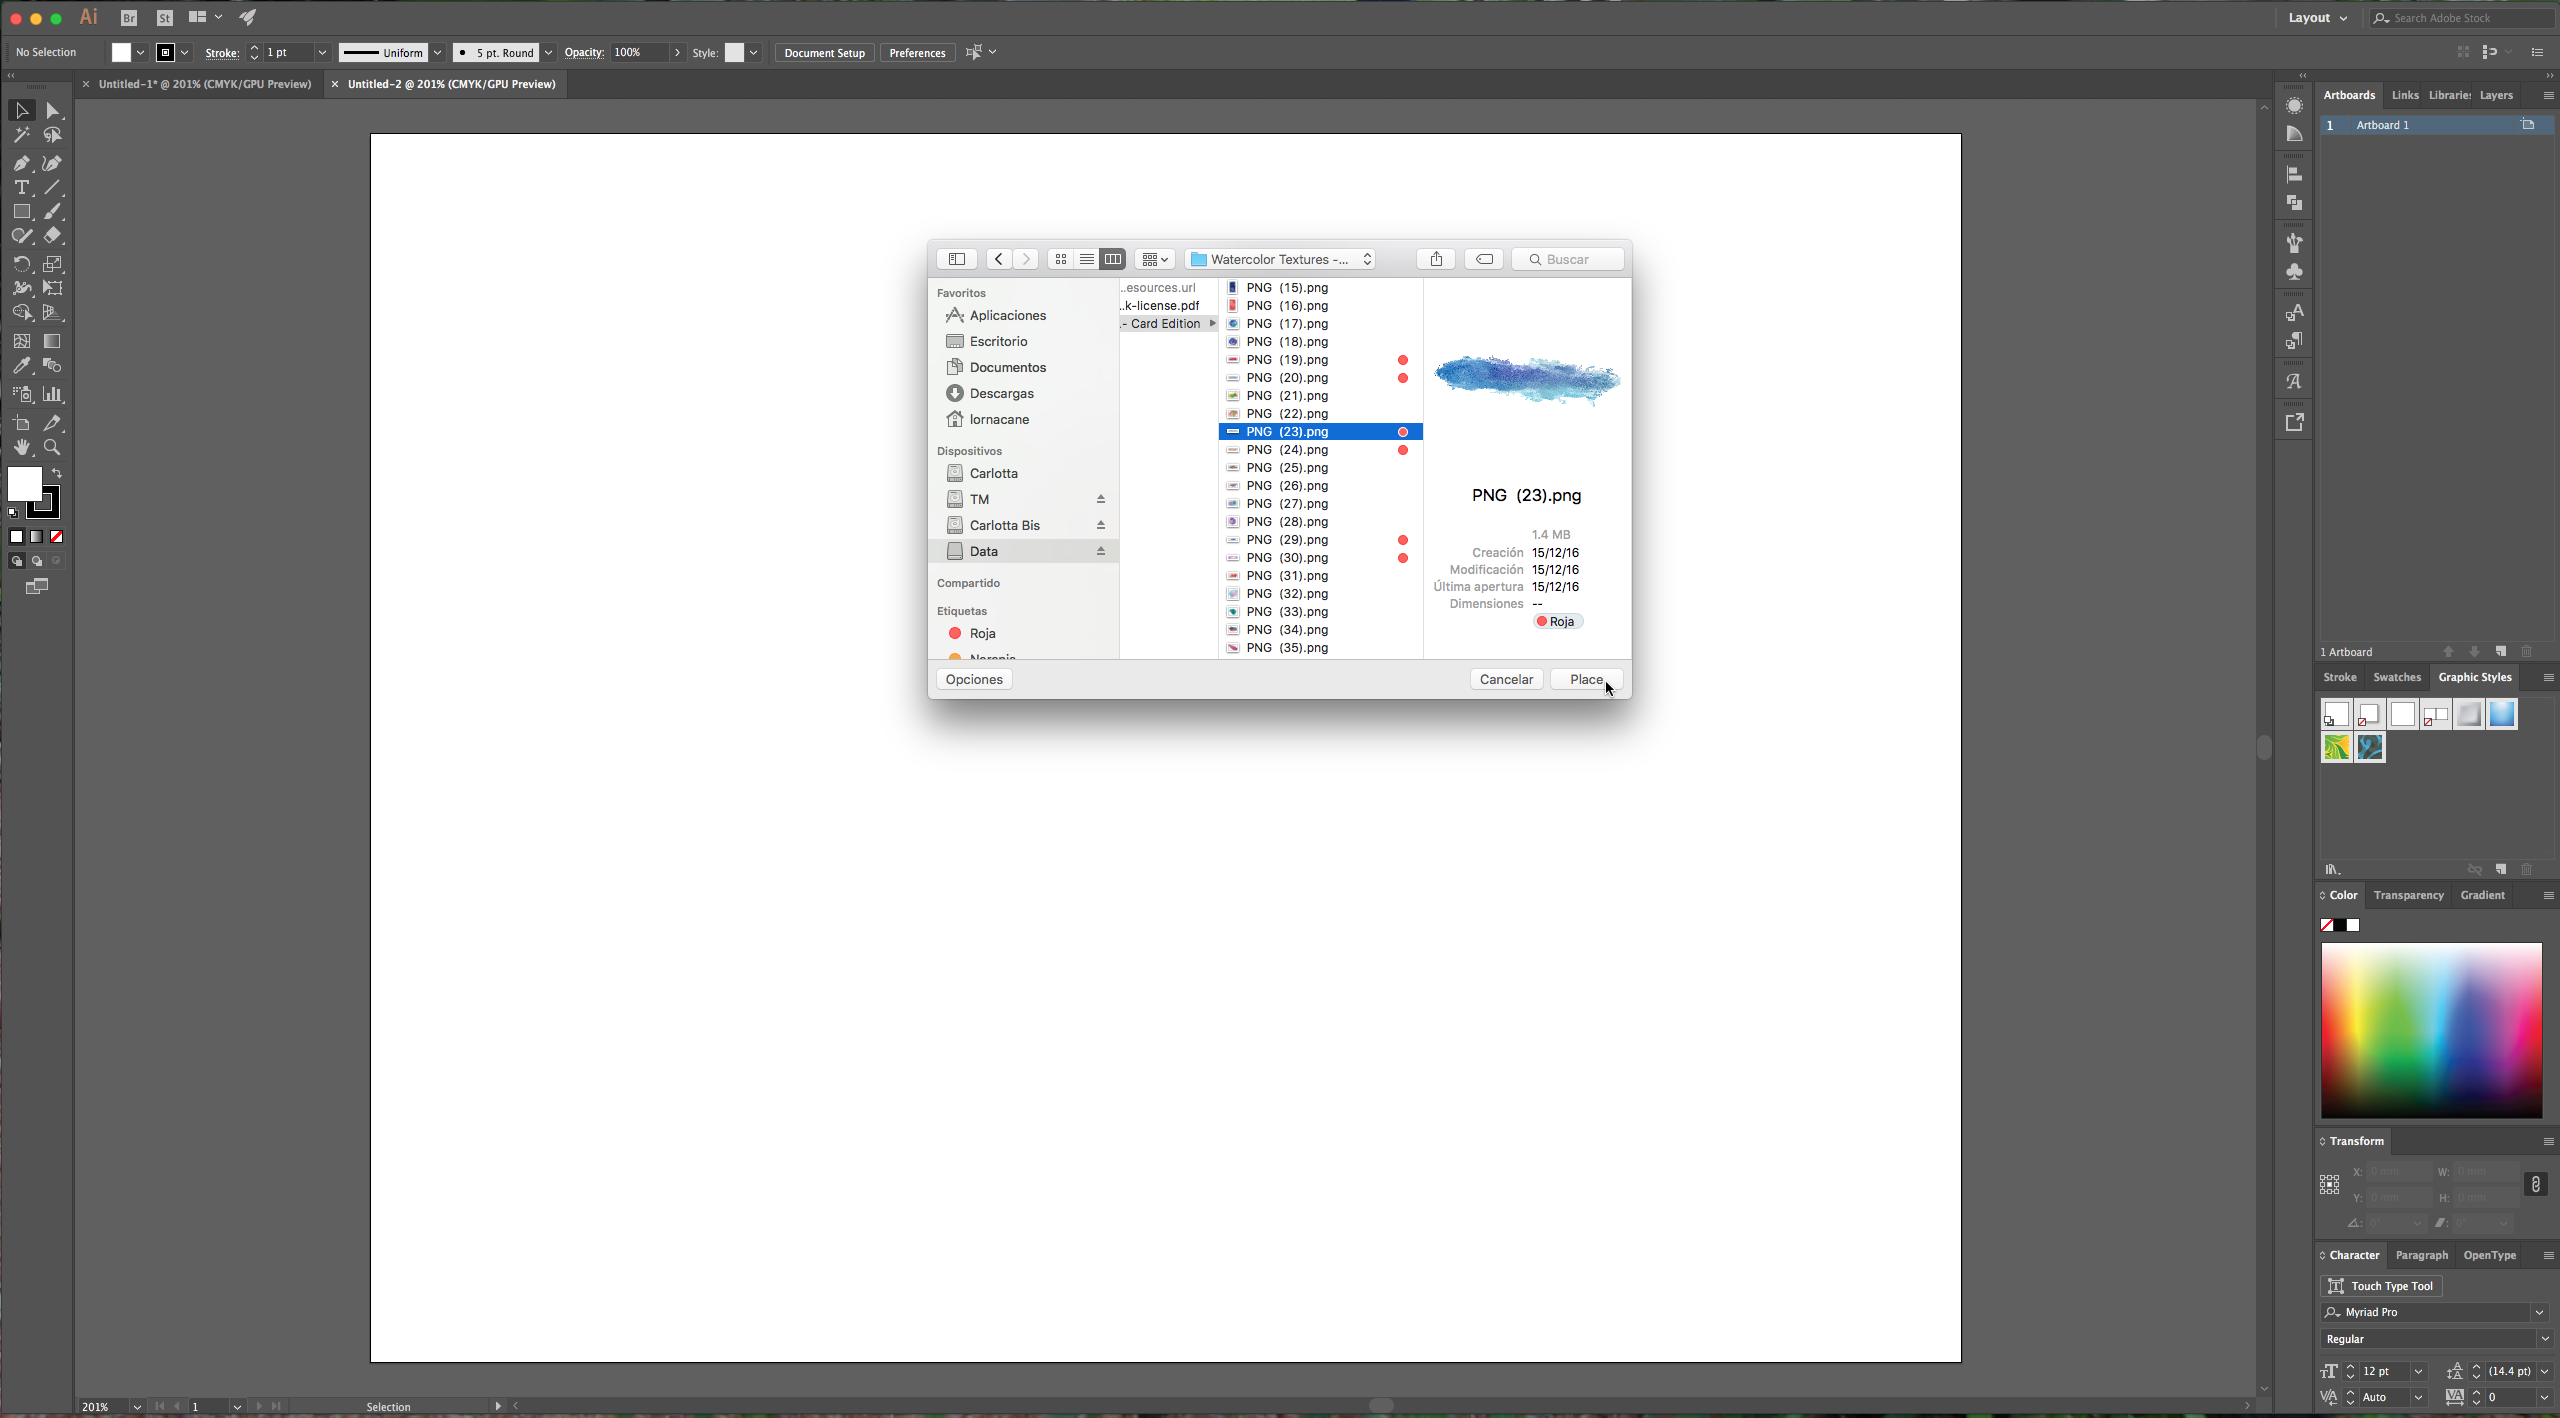
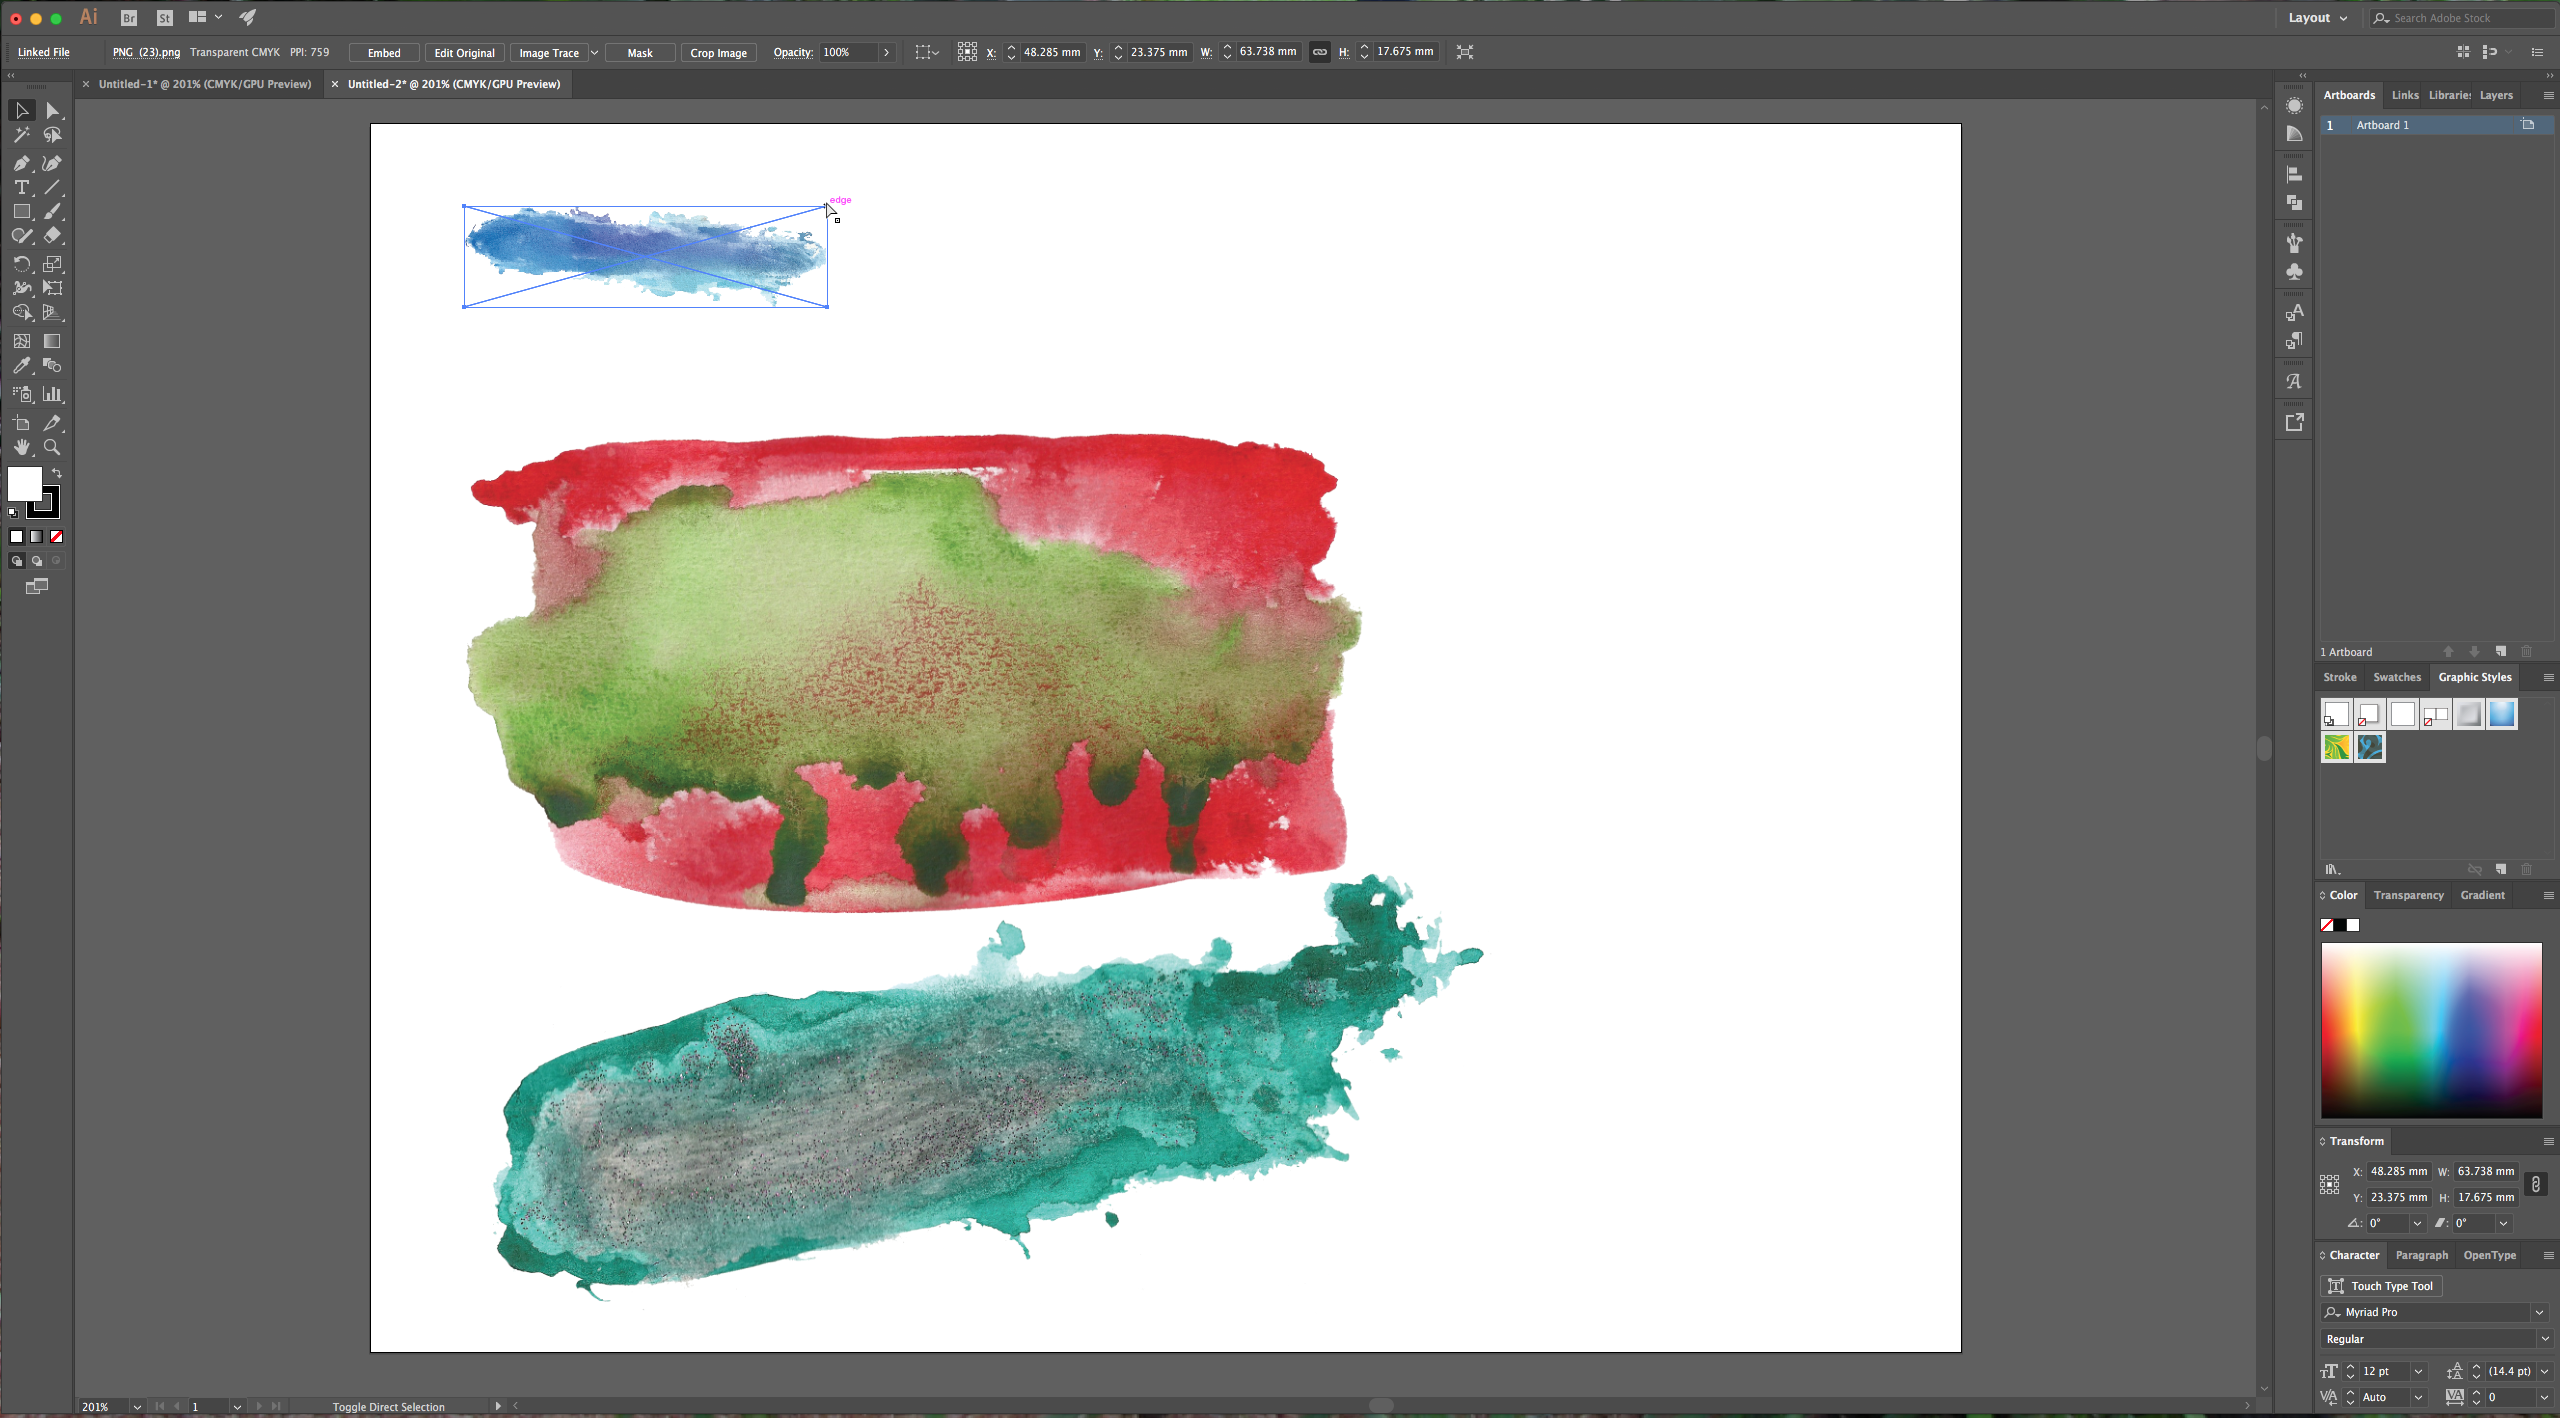
1 – Open or create an Illustrator document, then choose and place the textures you wish to use. Go to File > Place or click Shift + Command/Control + P.
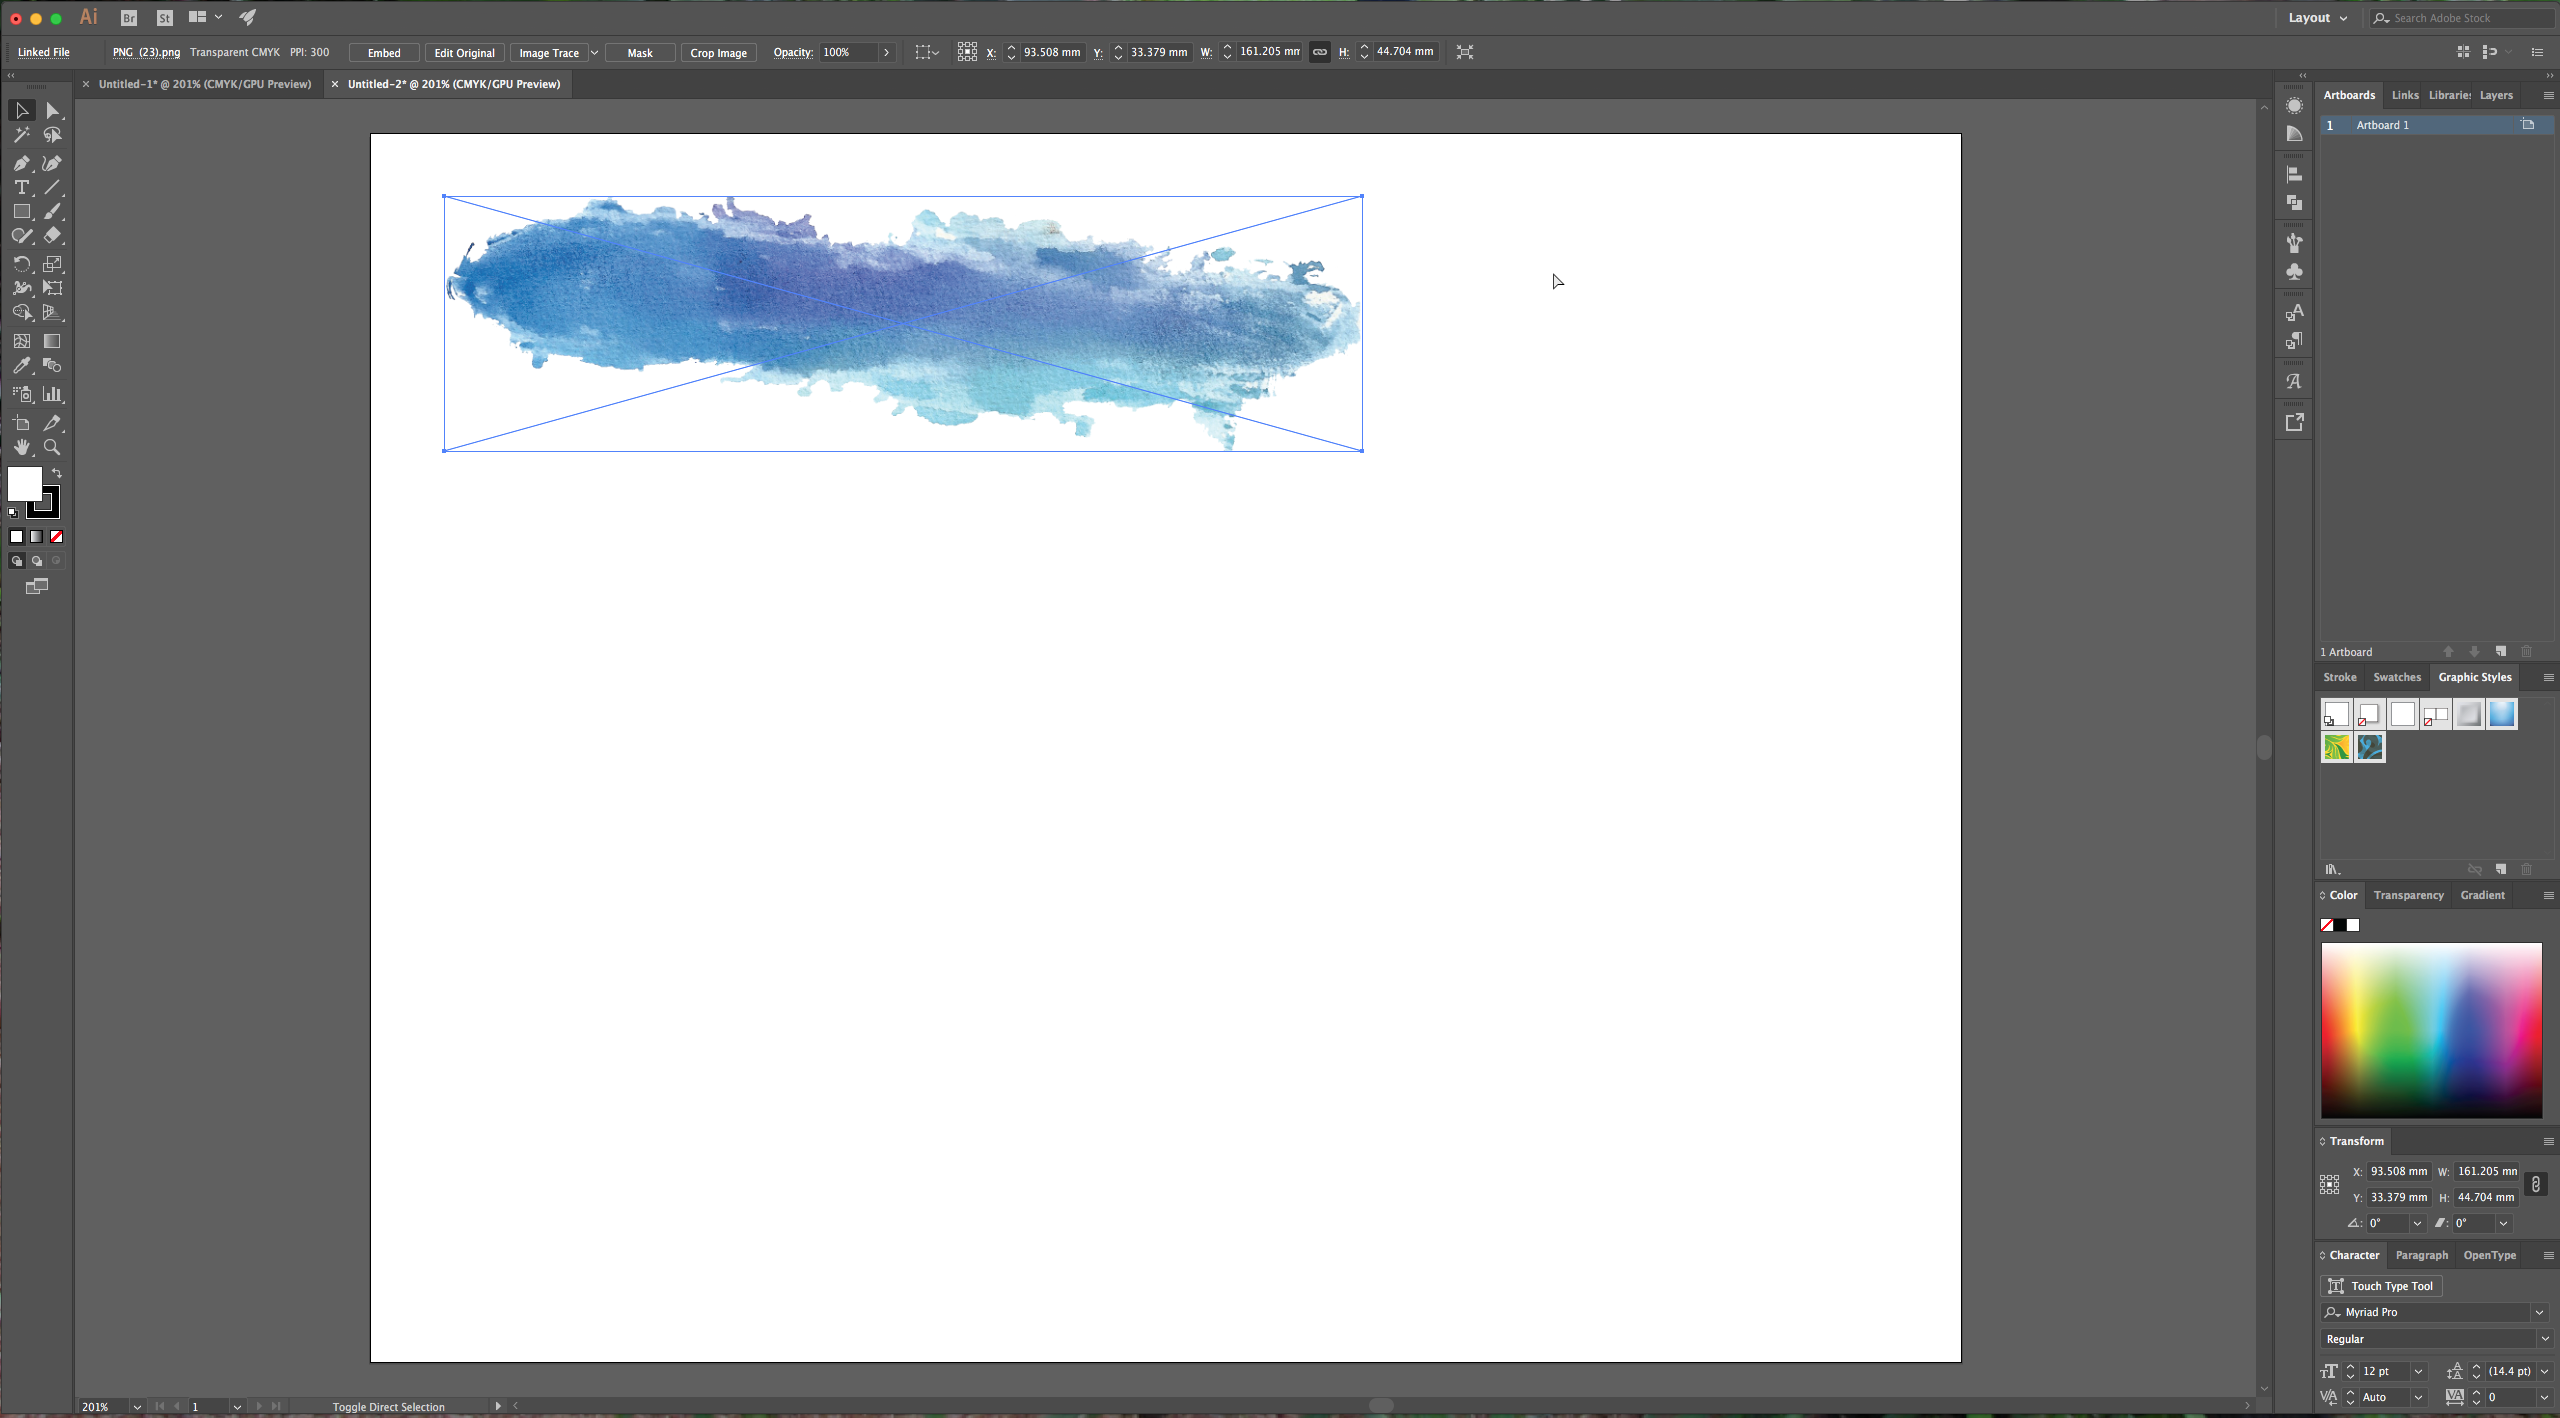
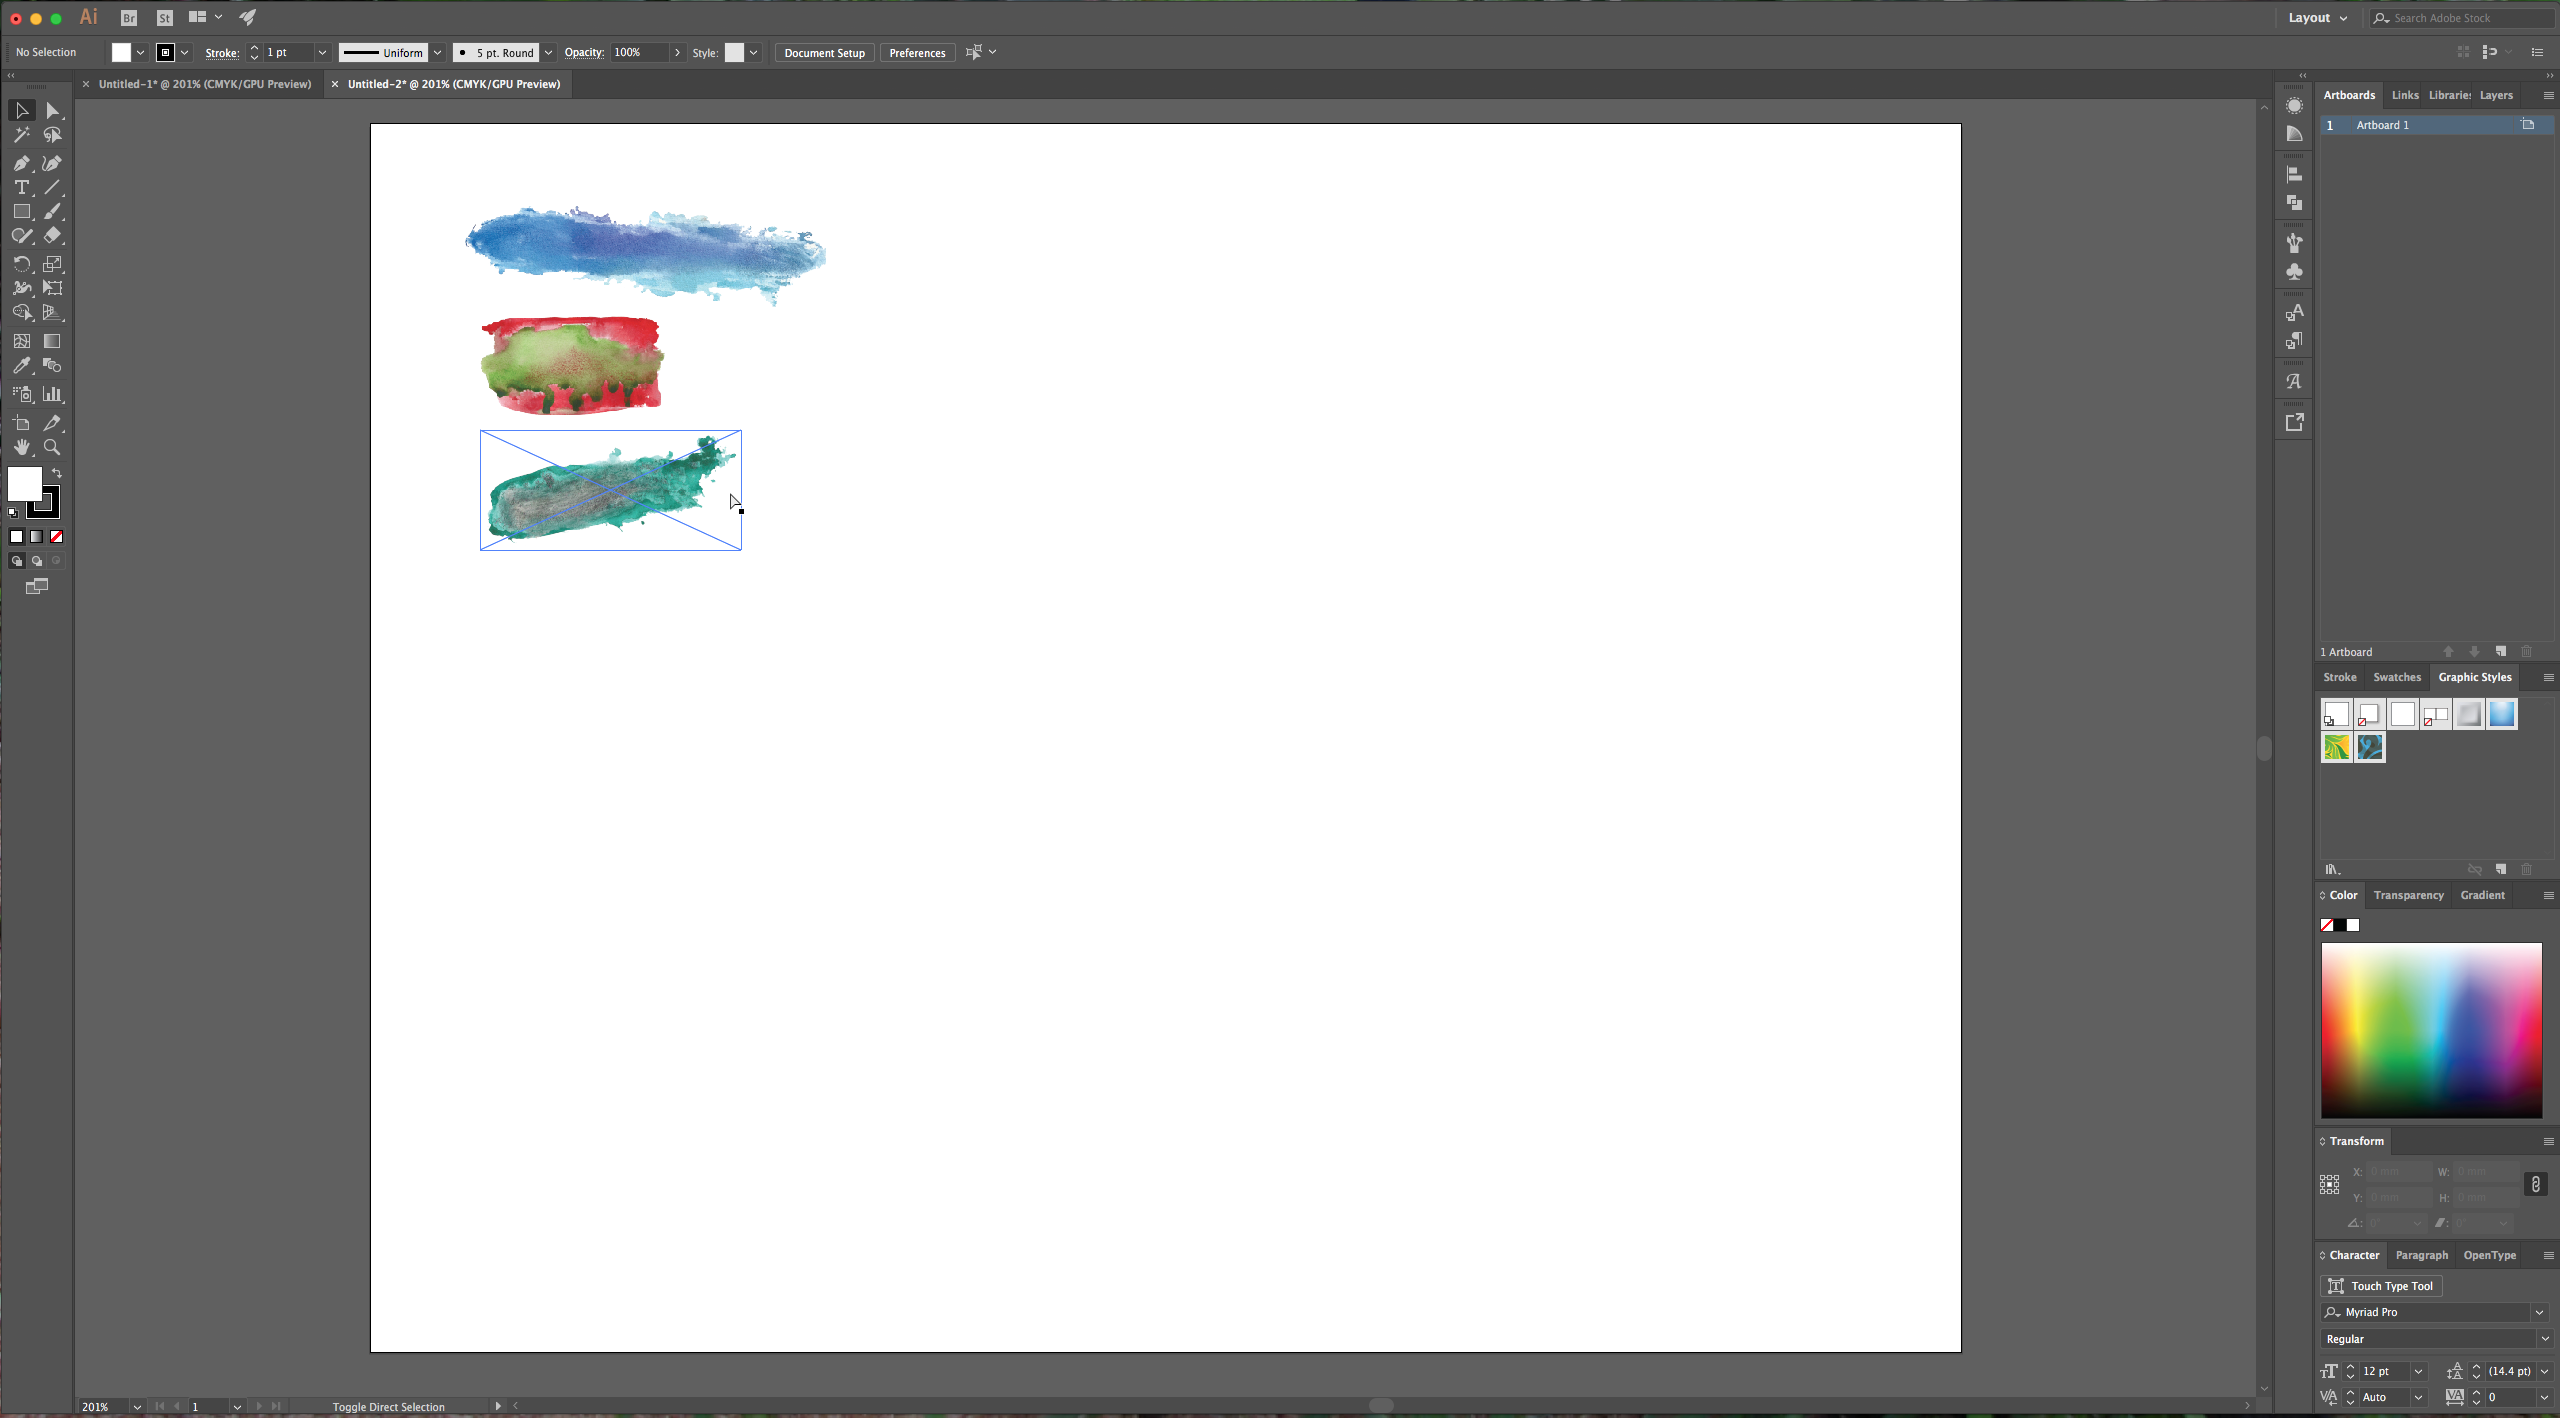
2 – Reduce the size of your texture to the approximate size you want for your brush. Use Shift + Alt or just Shift while dragging down from the corner of your image.
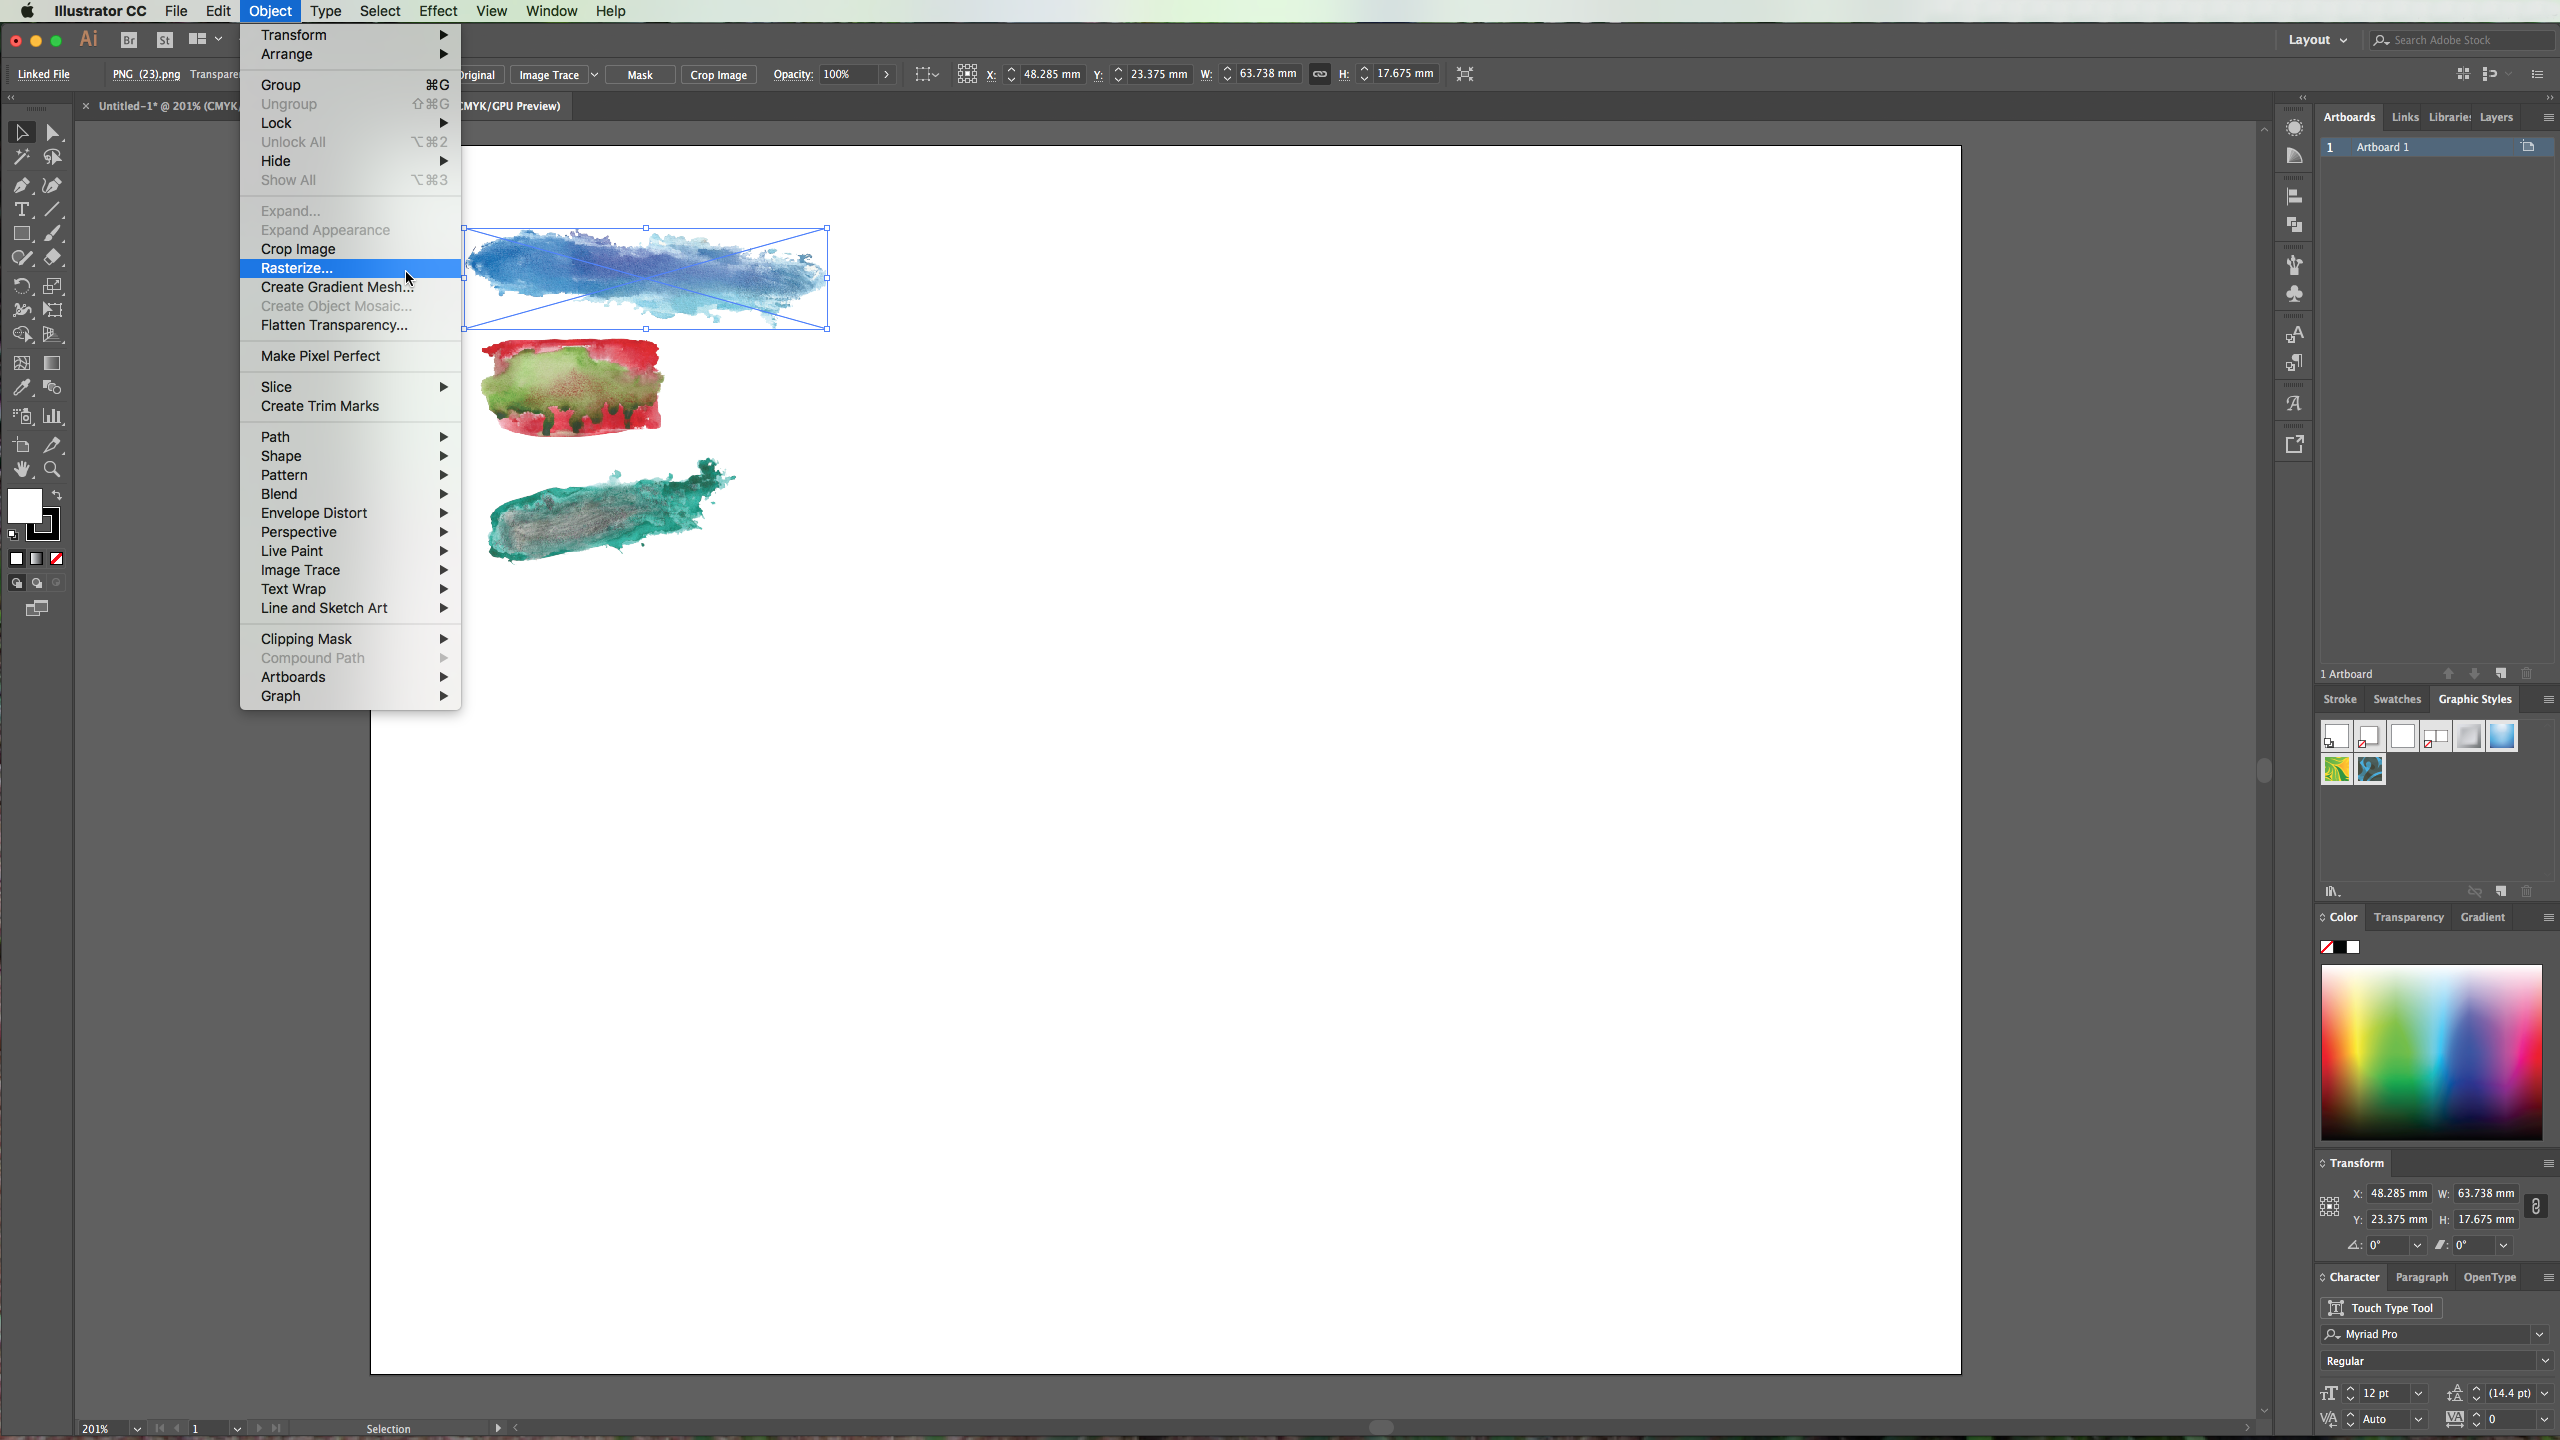
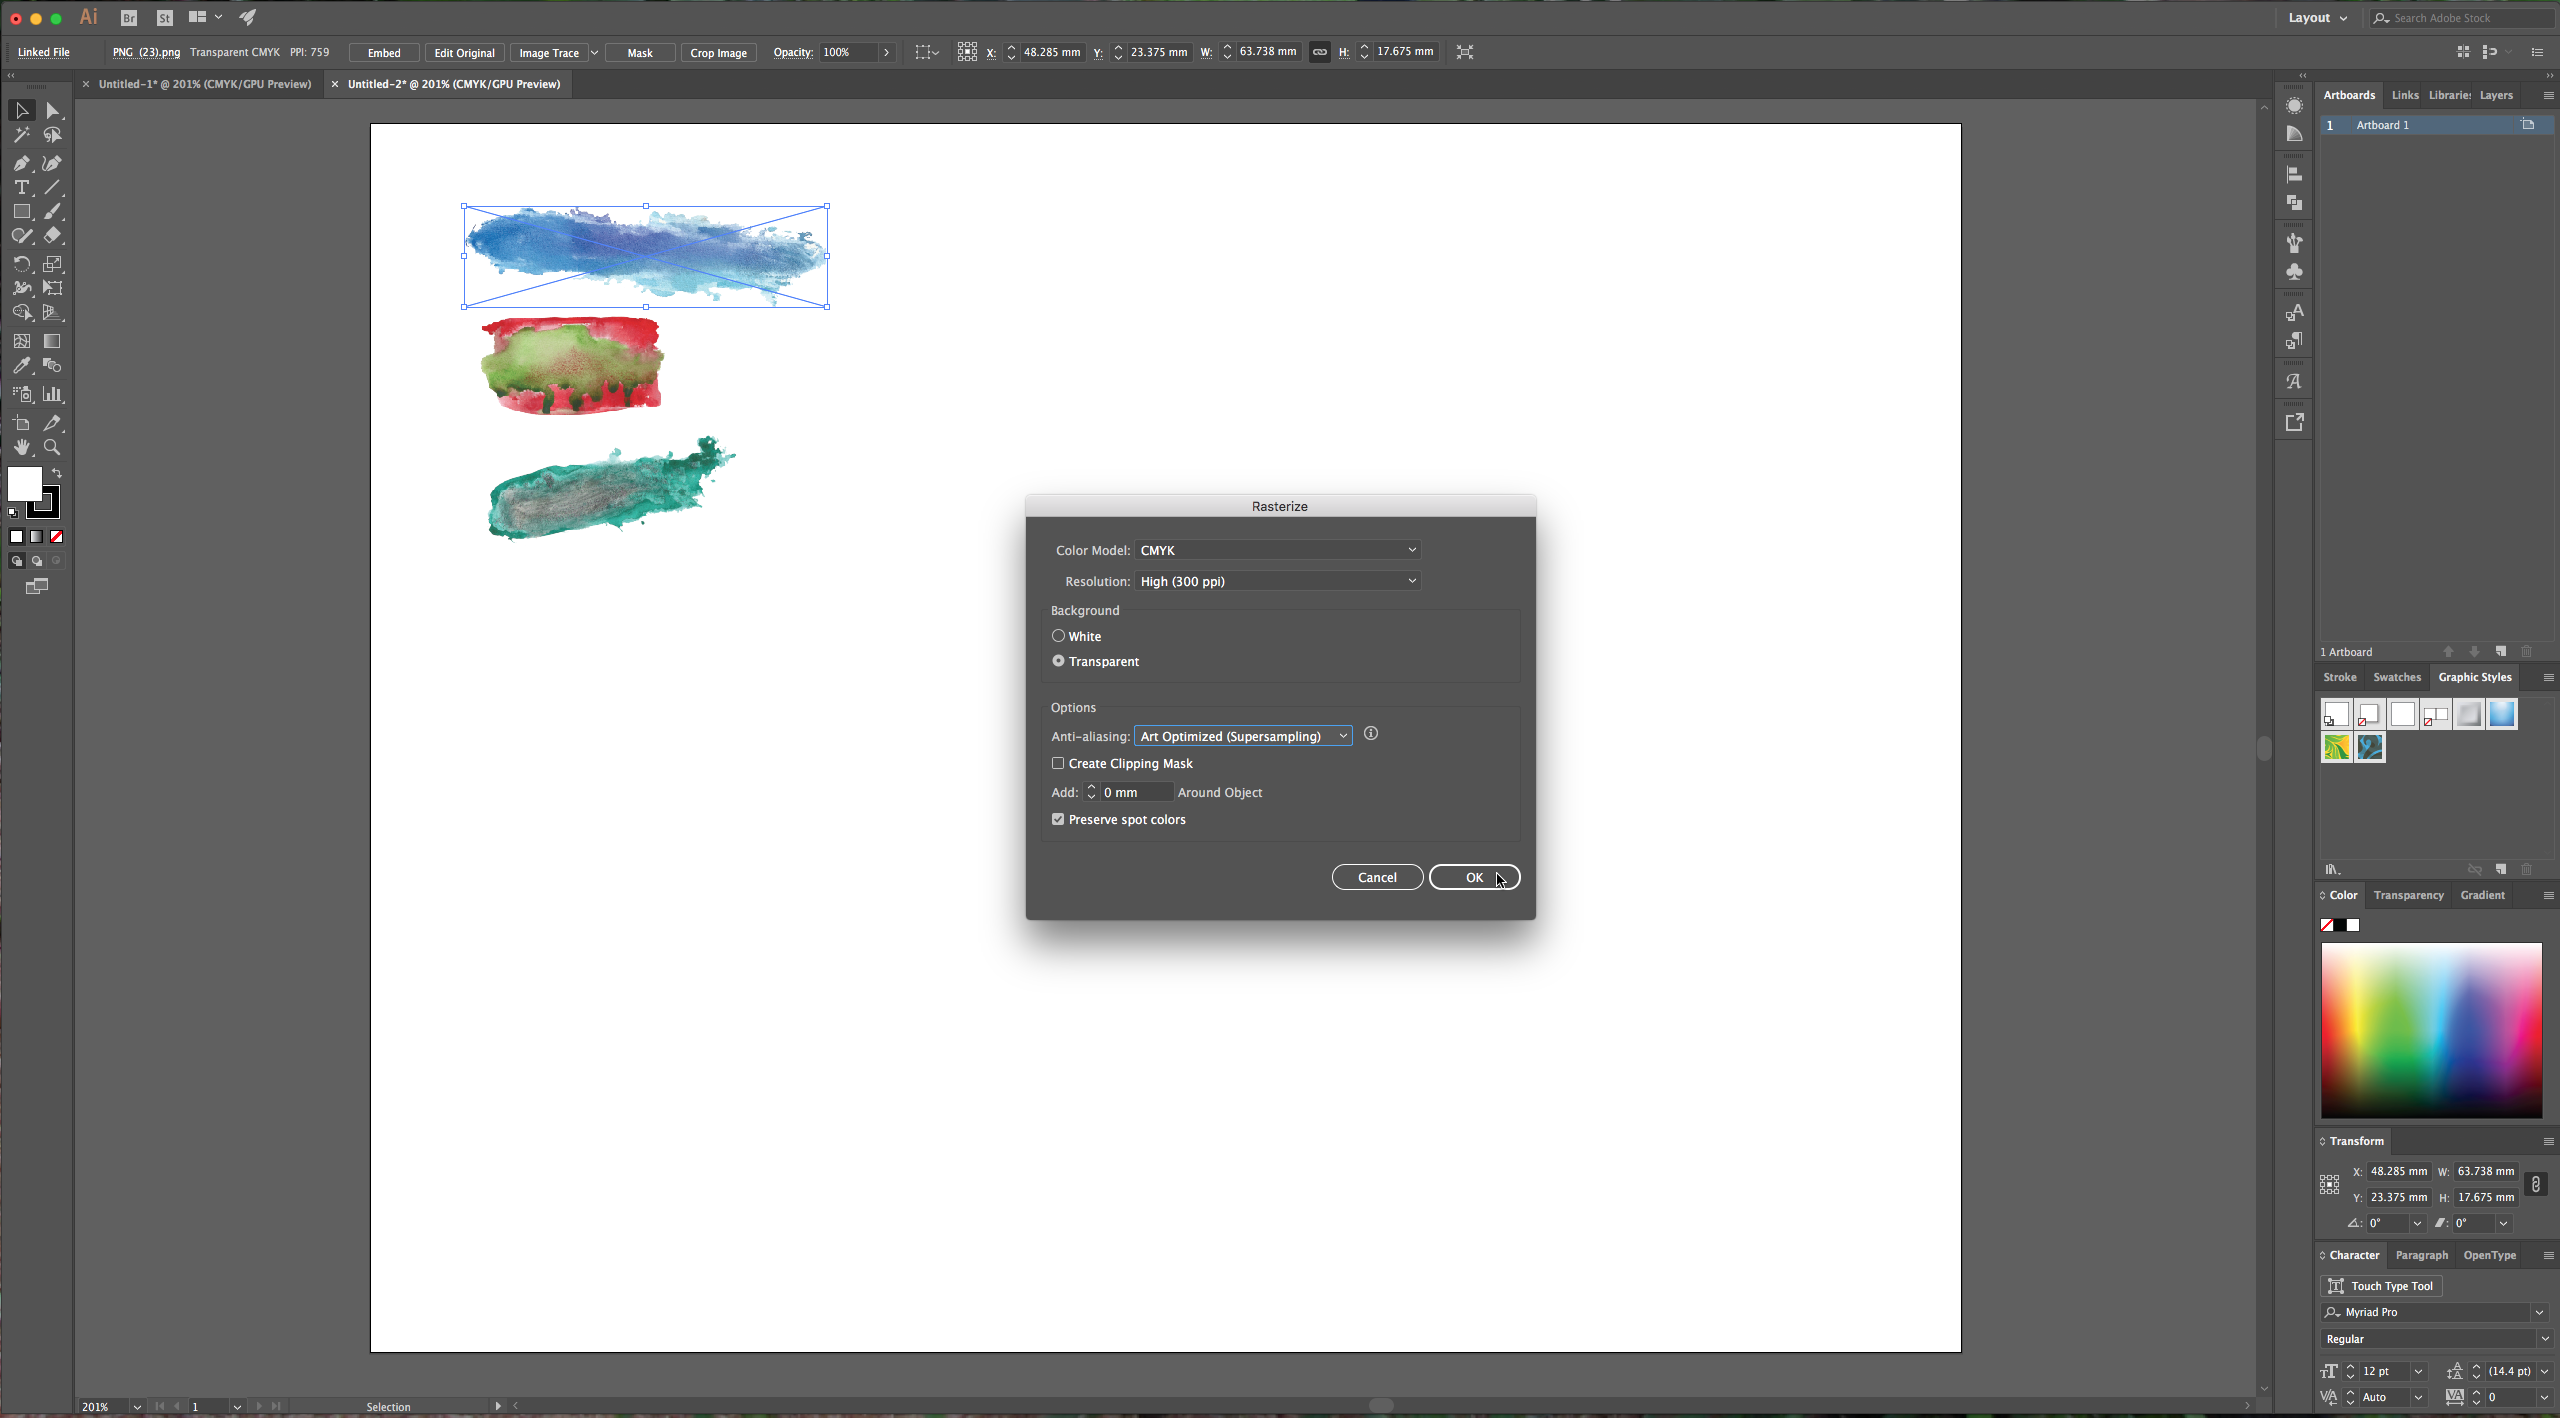
3 – Go to Object > Rasterize and make sure to select transparent for your Background in the dialog window. The color mode depends on what you intend to use your brushes for: RGB is best for screen usage and has brighter colors and CMYK is better for printing purposes but will result in duller shades for certain colors. It is better to give the resolution a higher value so your brushes look good at almost every size.
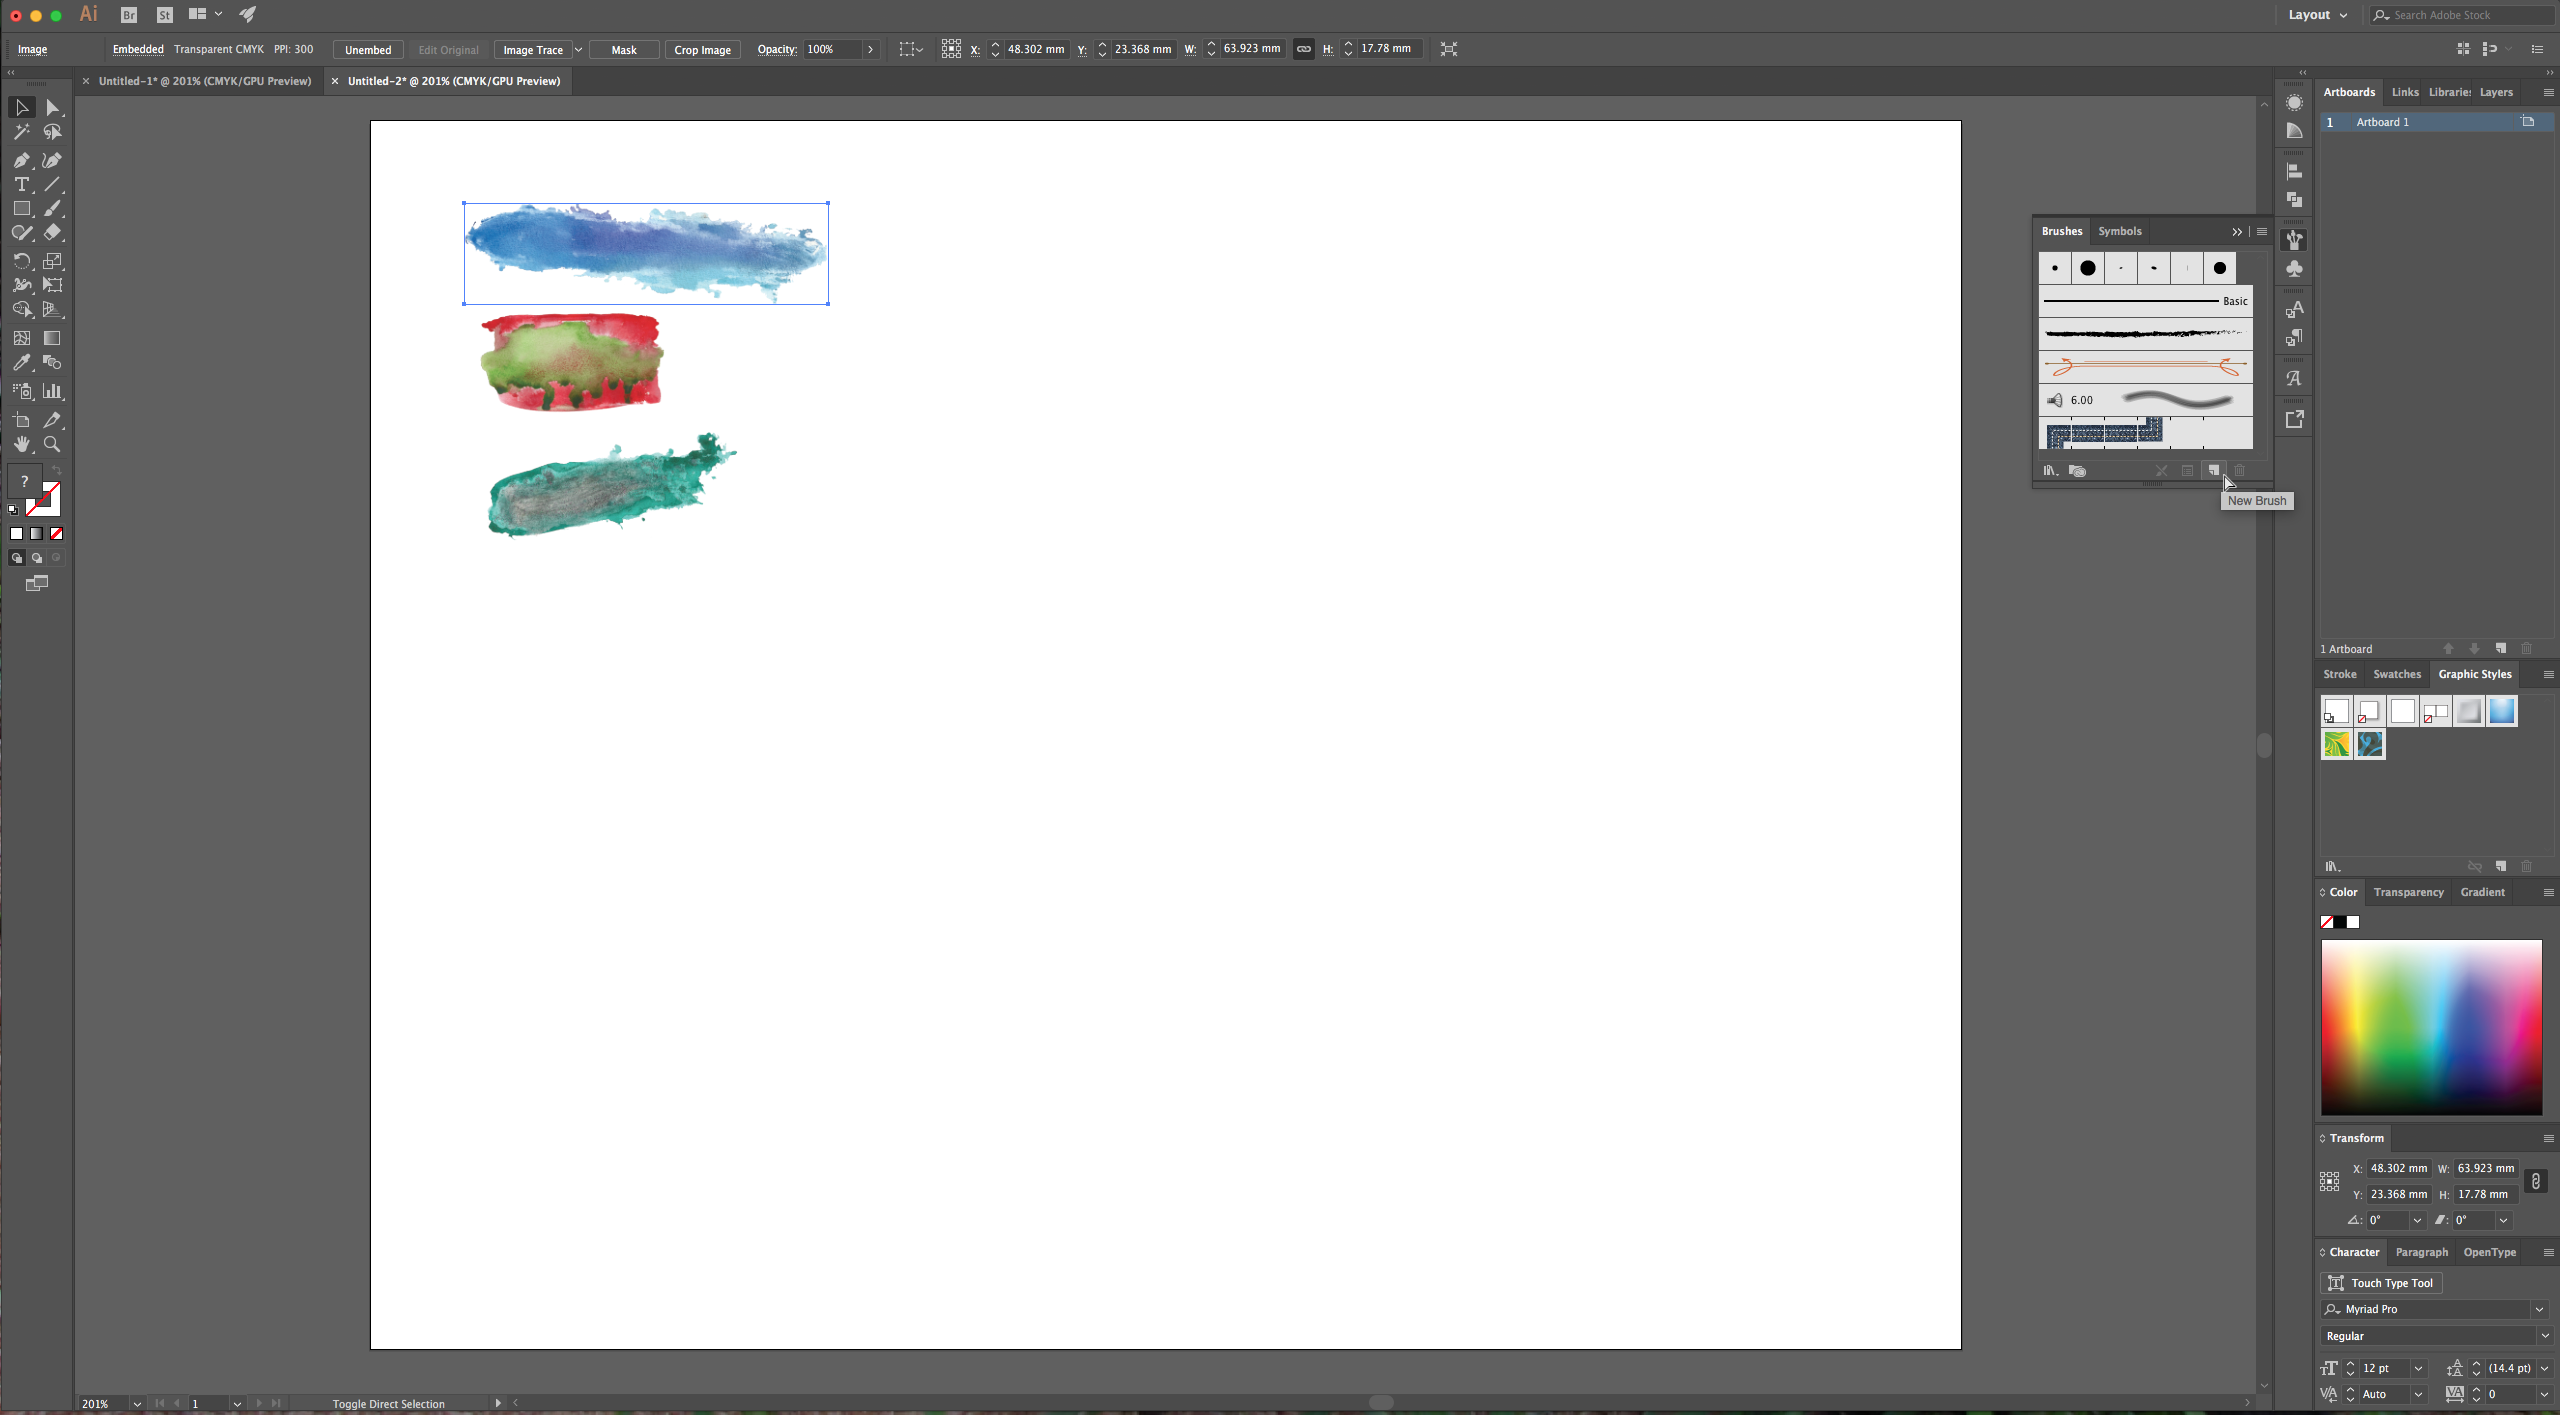
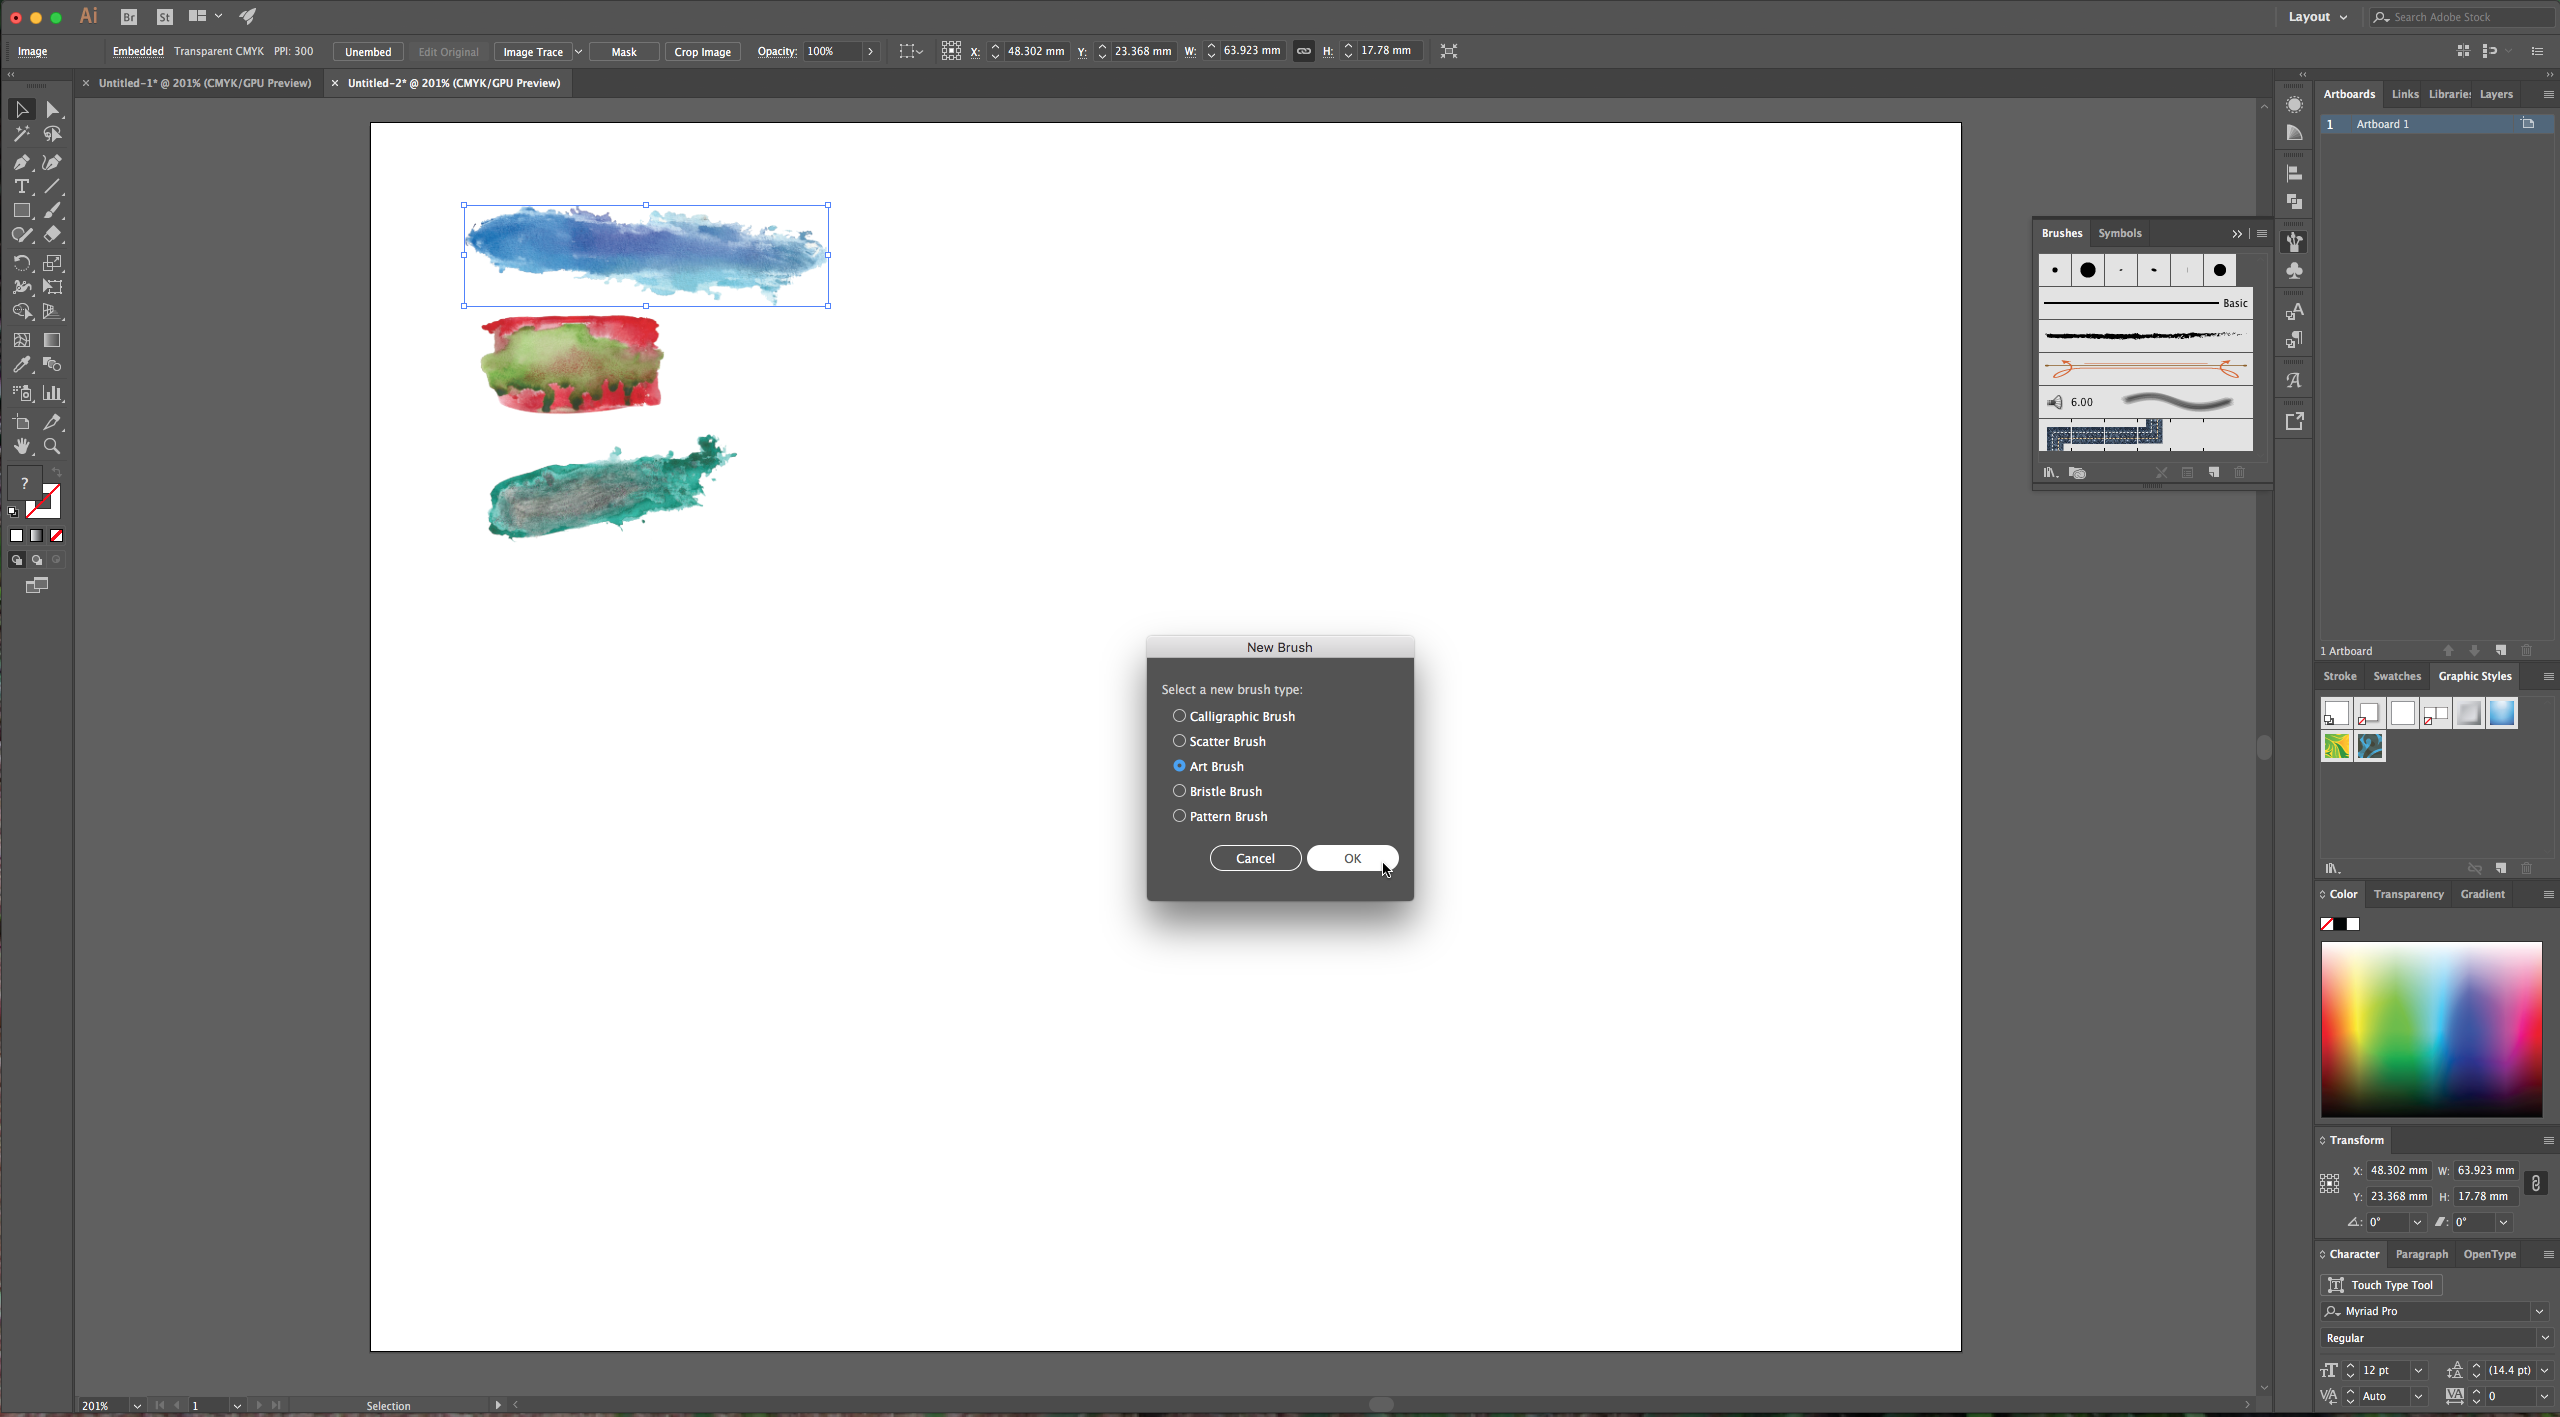
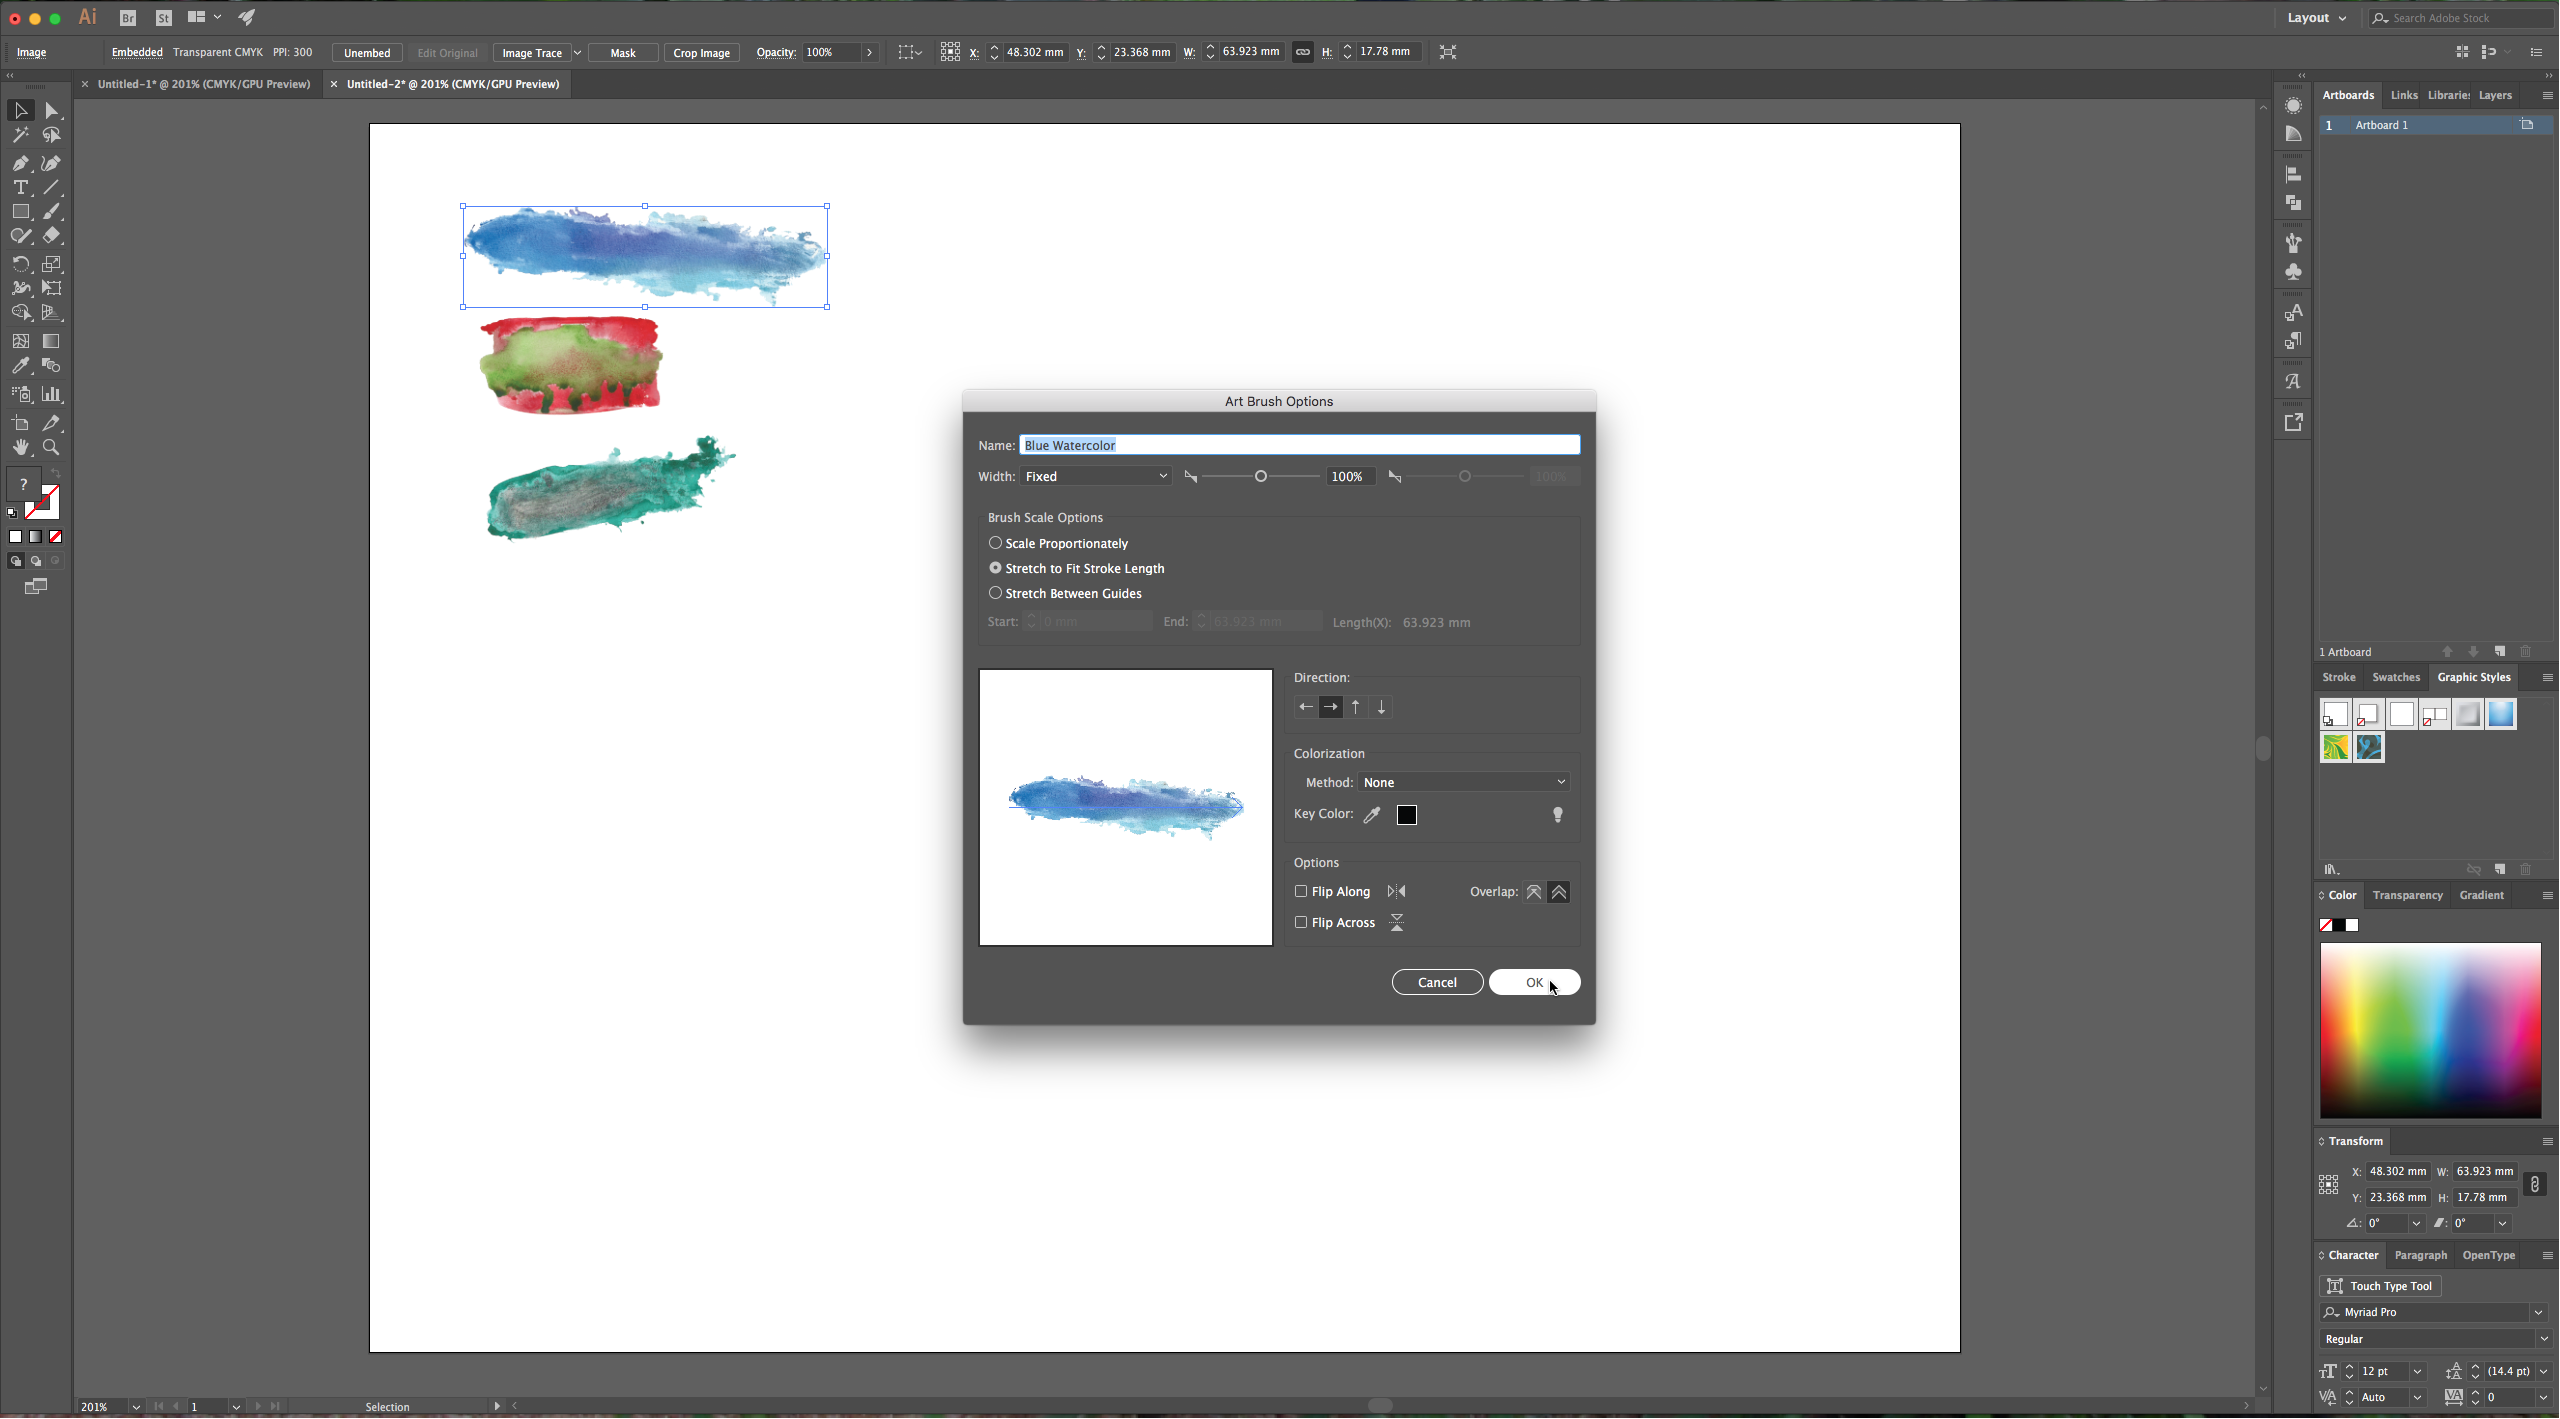
4 – With your rasterized texture still selected go to your Brushes Palette and click on the “New Brush” button, choose “Art Brush” in the dialog box, click OK and in the next dialog select “Stretch to Fit Stroke Length”, in the Overlap option choose the “Adjust objects and folds to prevent overlaps” icon. Give your brush a name and click OK.
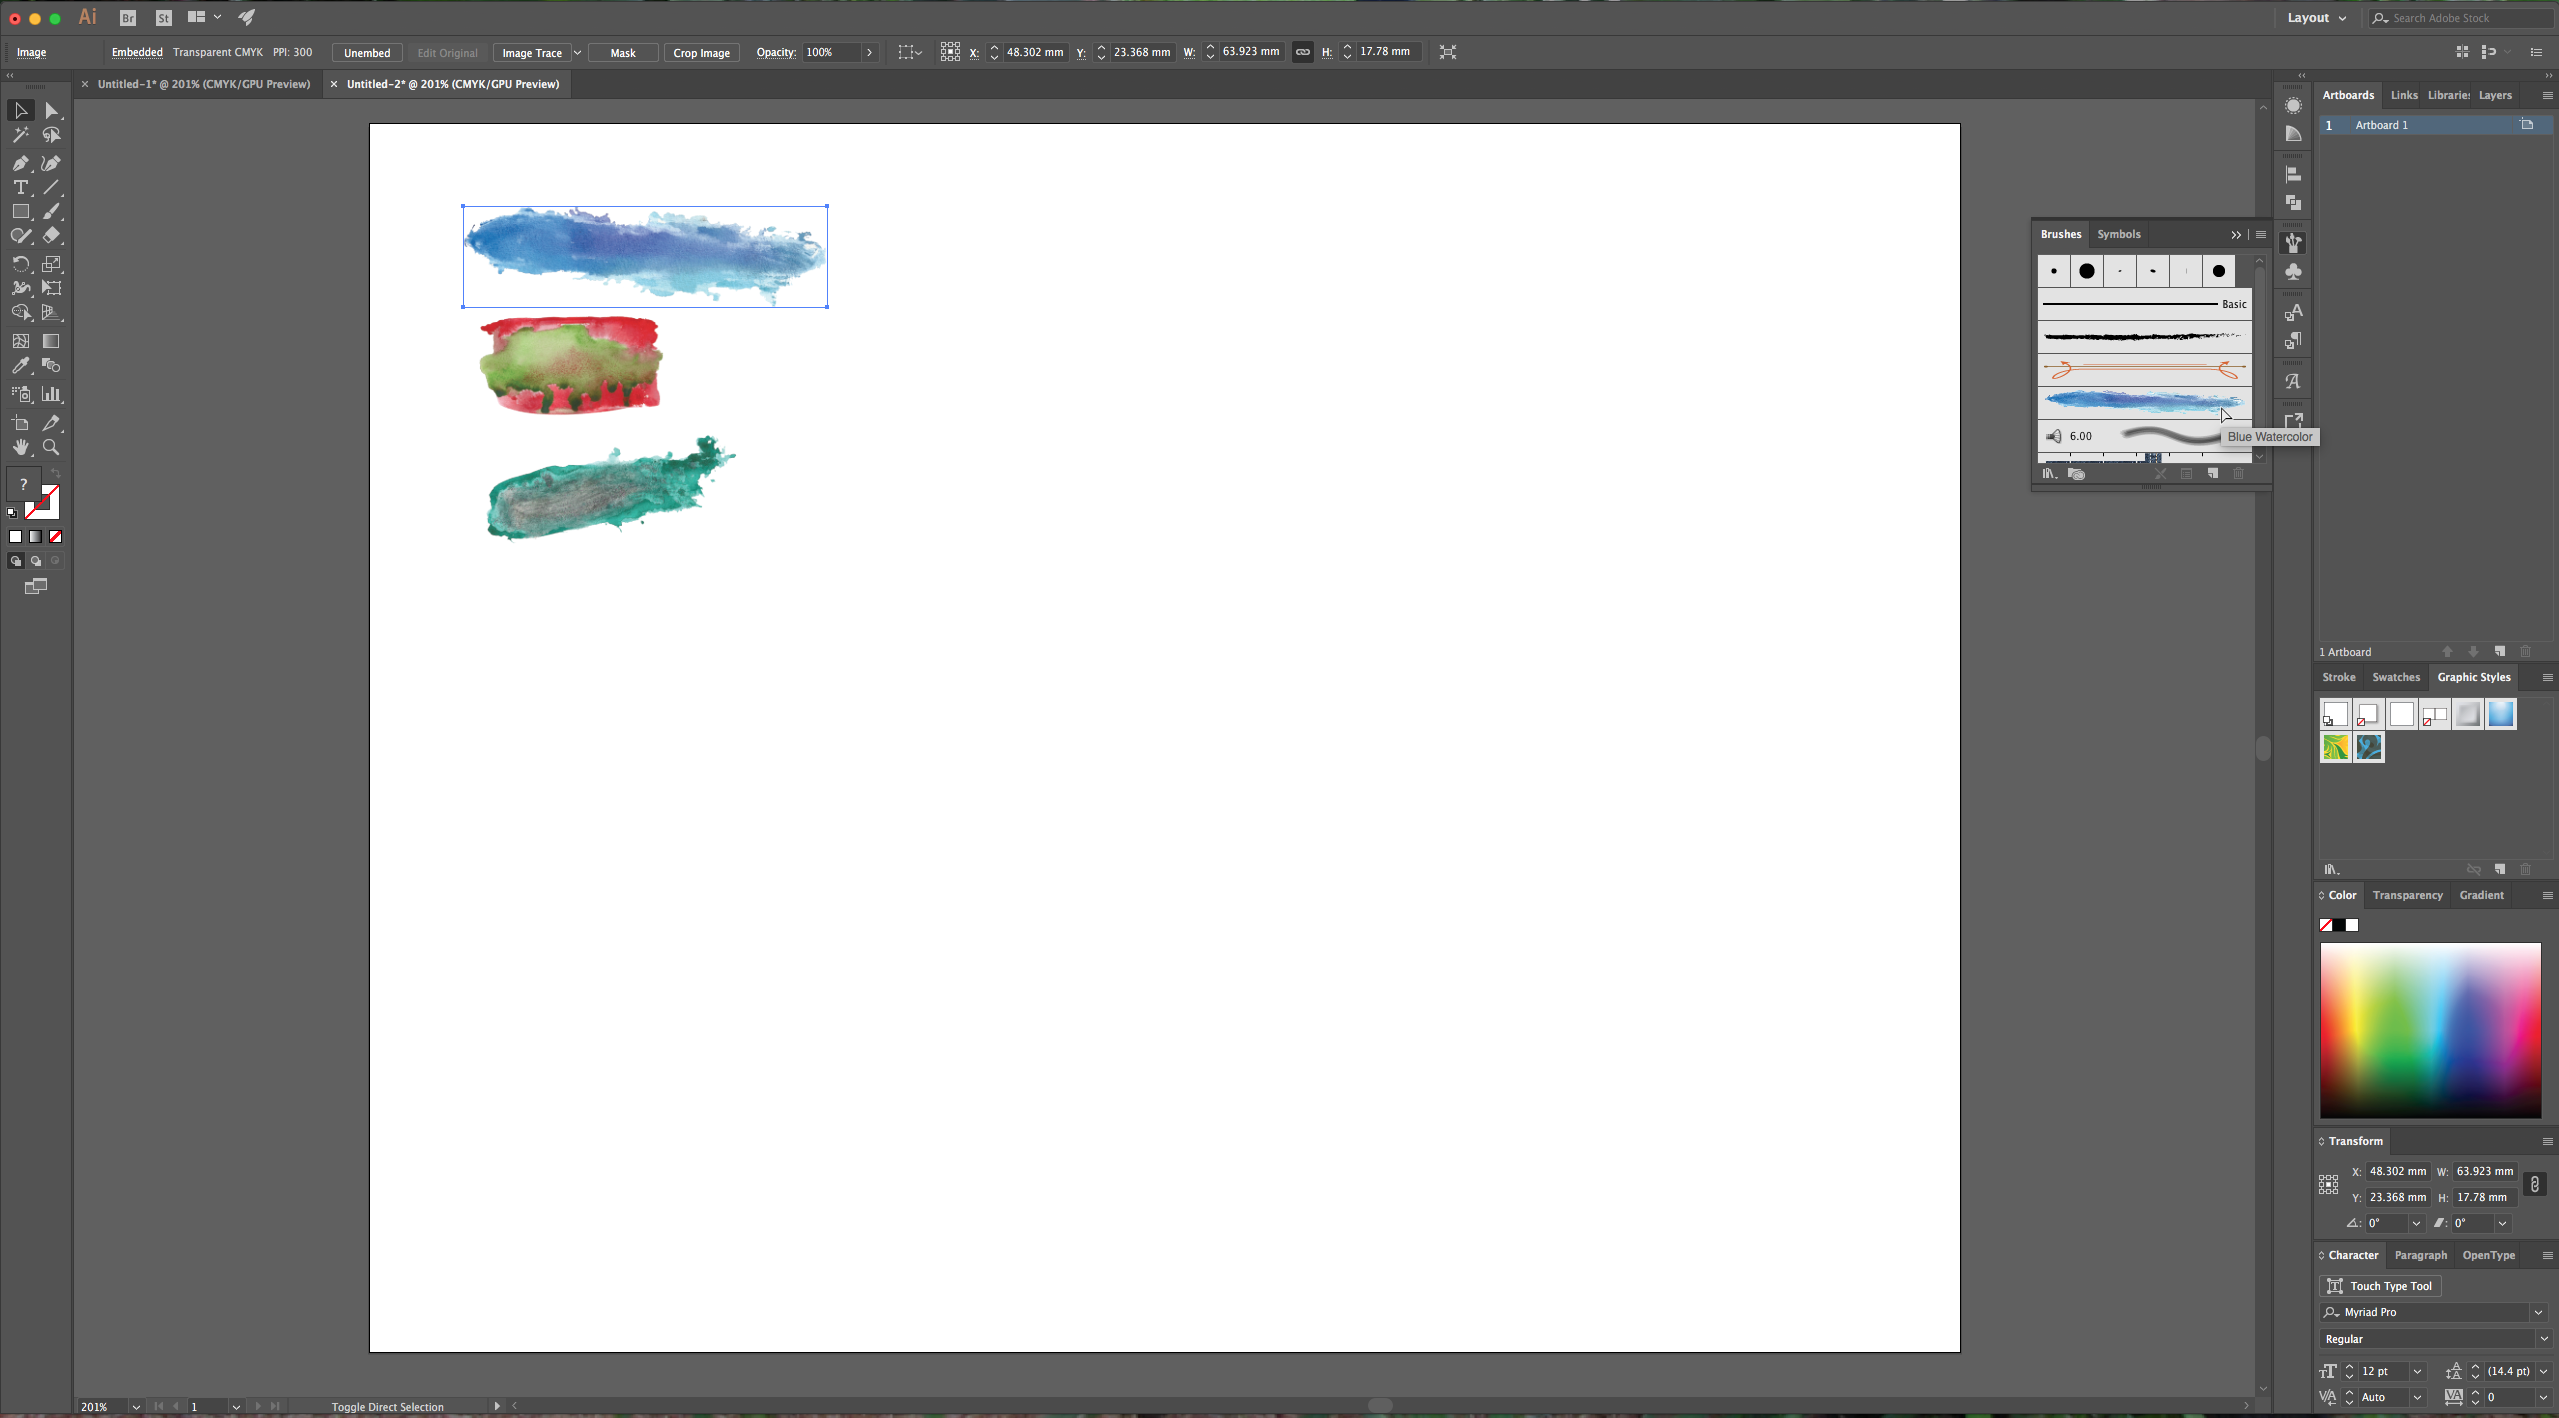
5 – Now that we added the brush, deselect your texture and to invoke the “Brush Tool” click “B” on your keyboard. Make sure the brush you want to use is selected in your “Brush Palette” and draw freehand with your brush.
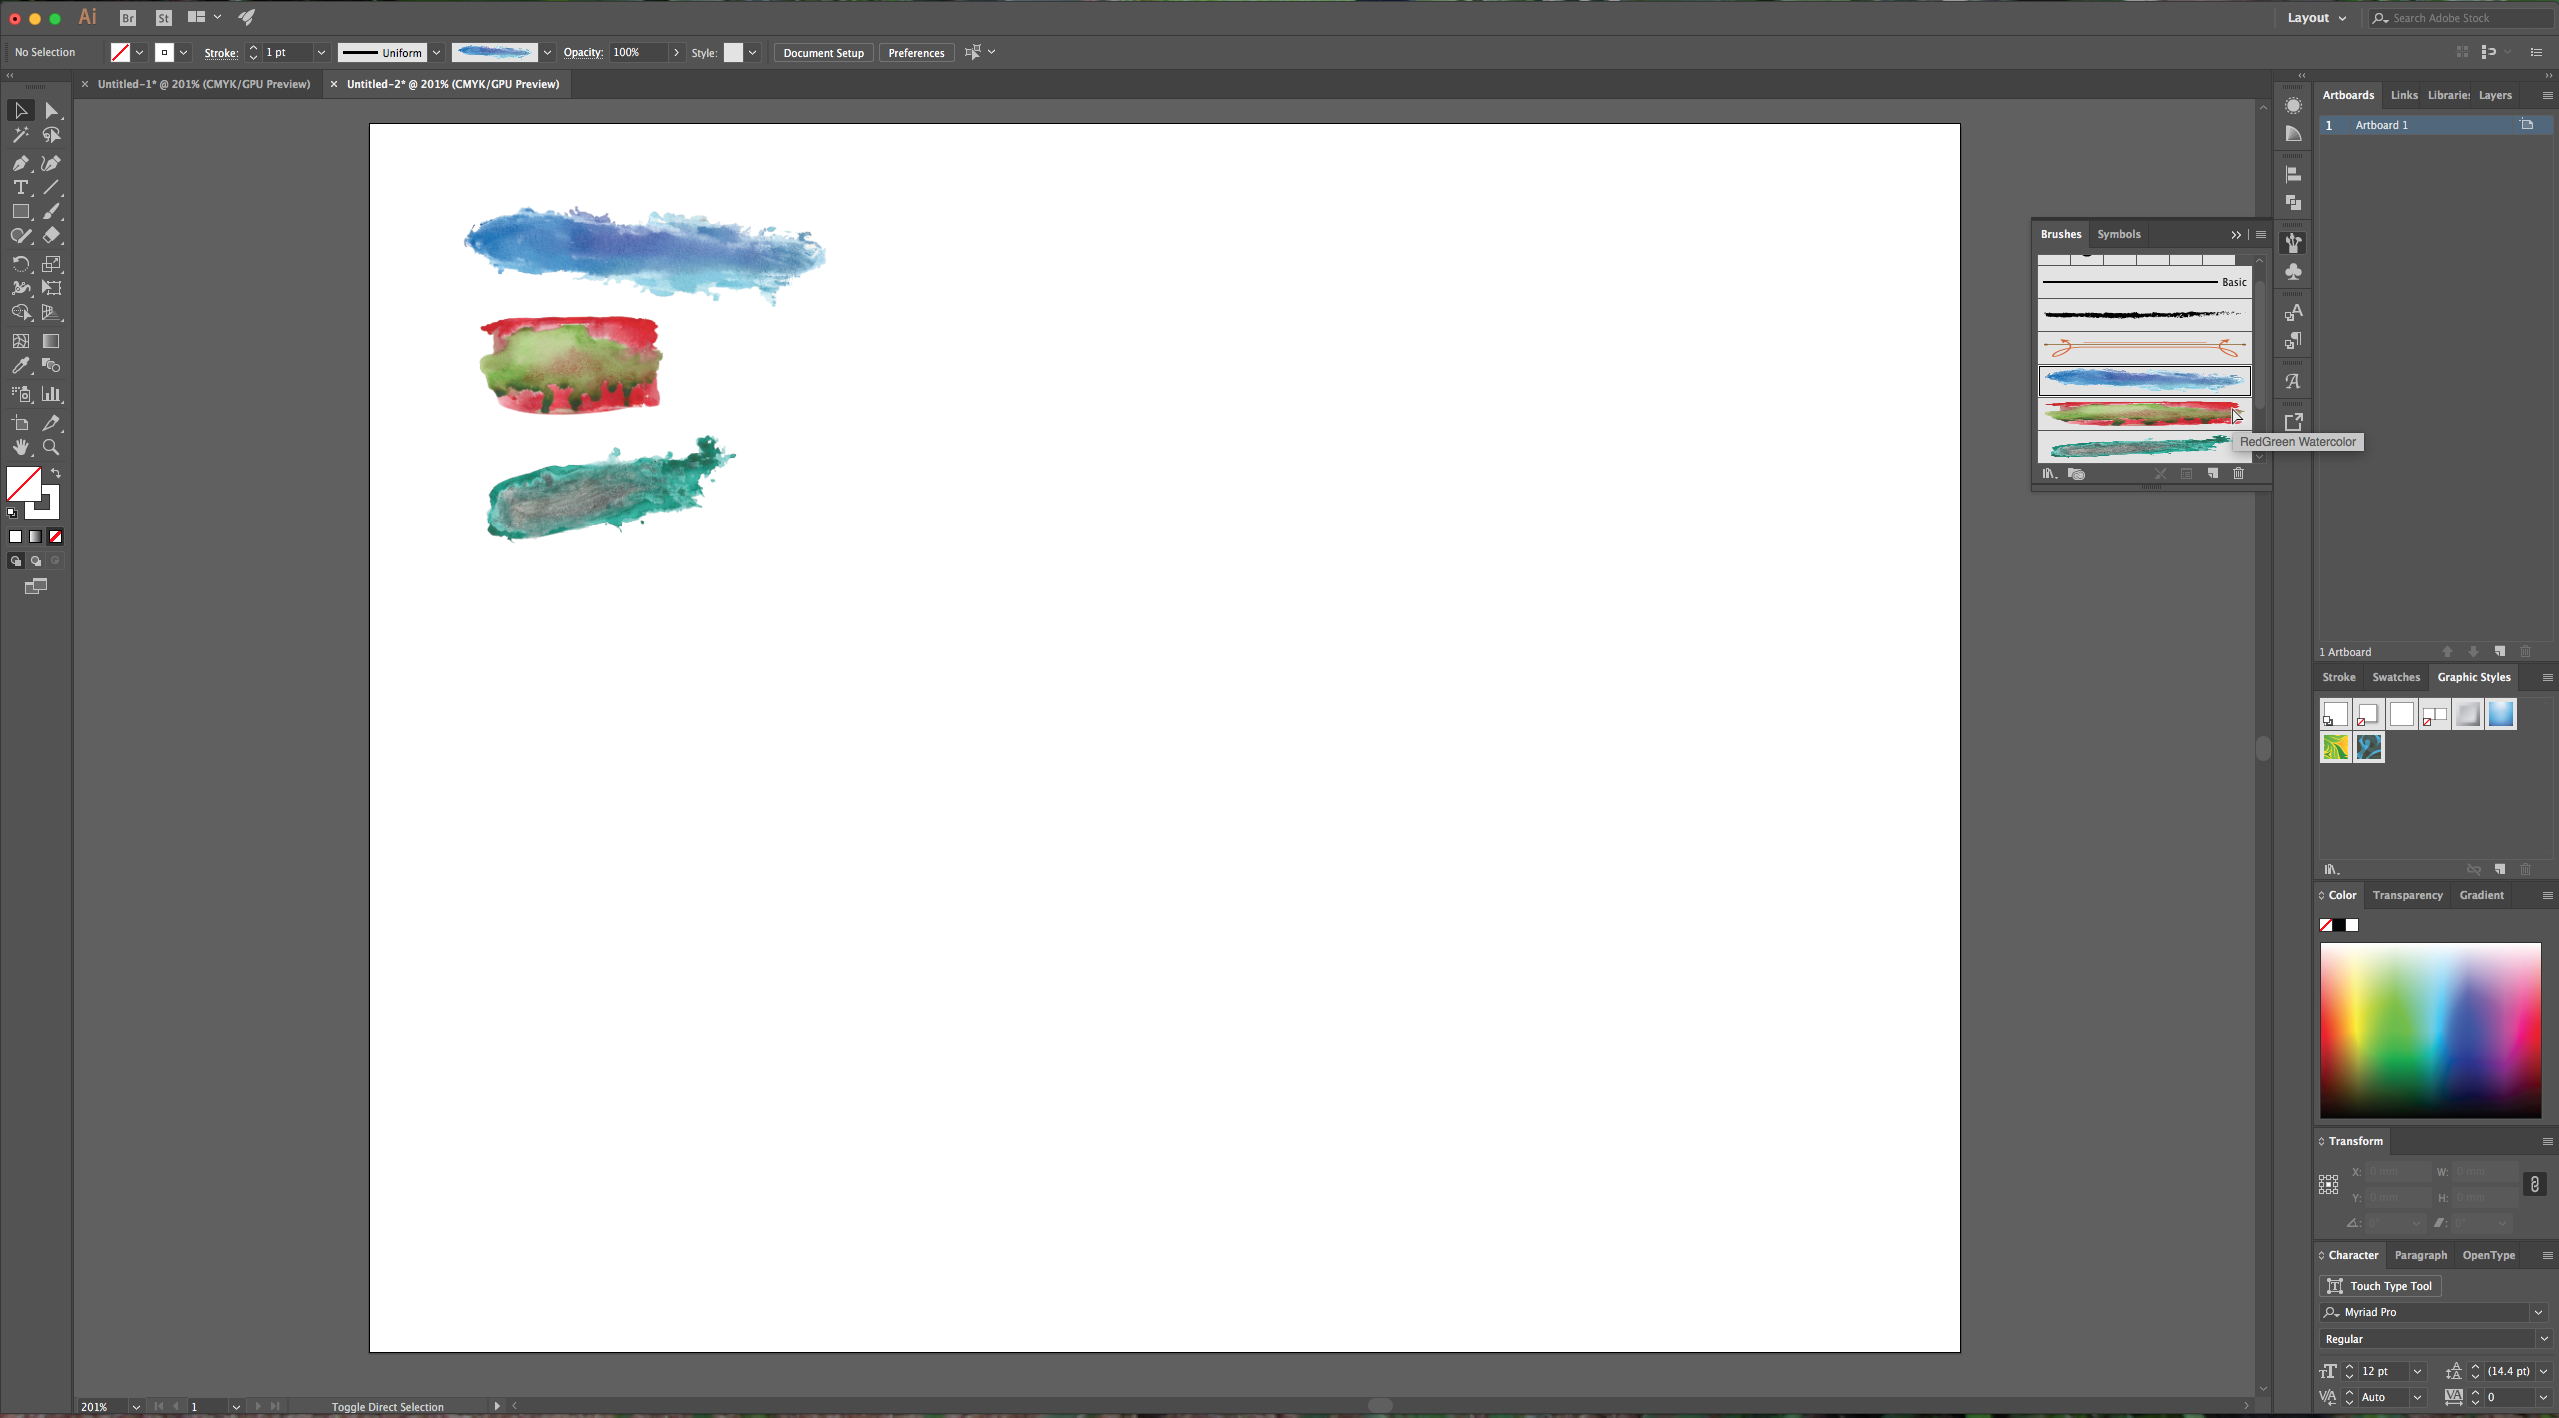
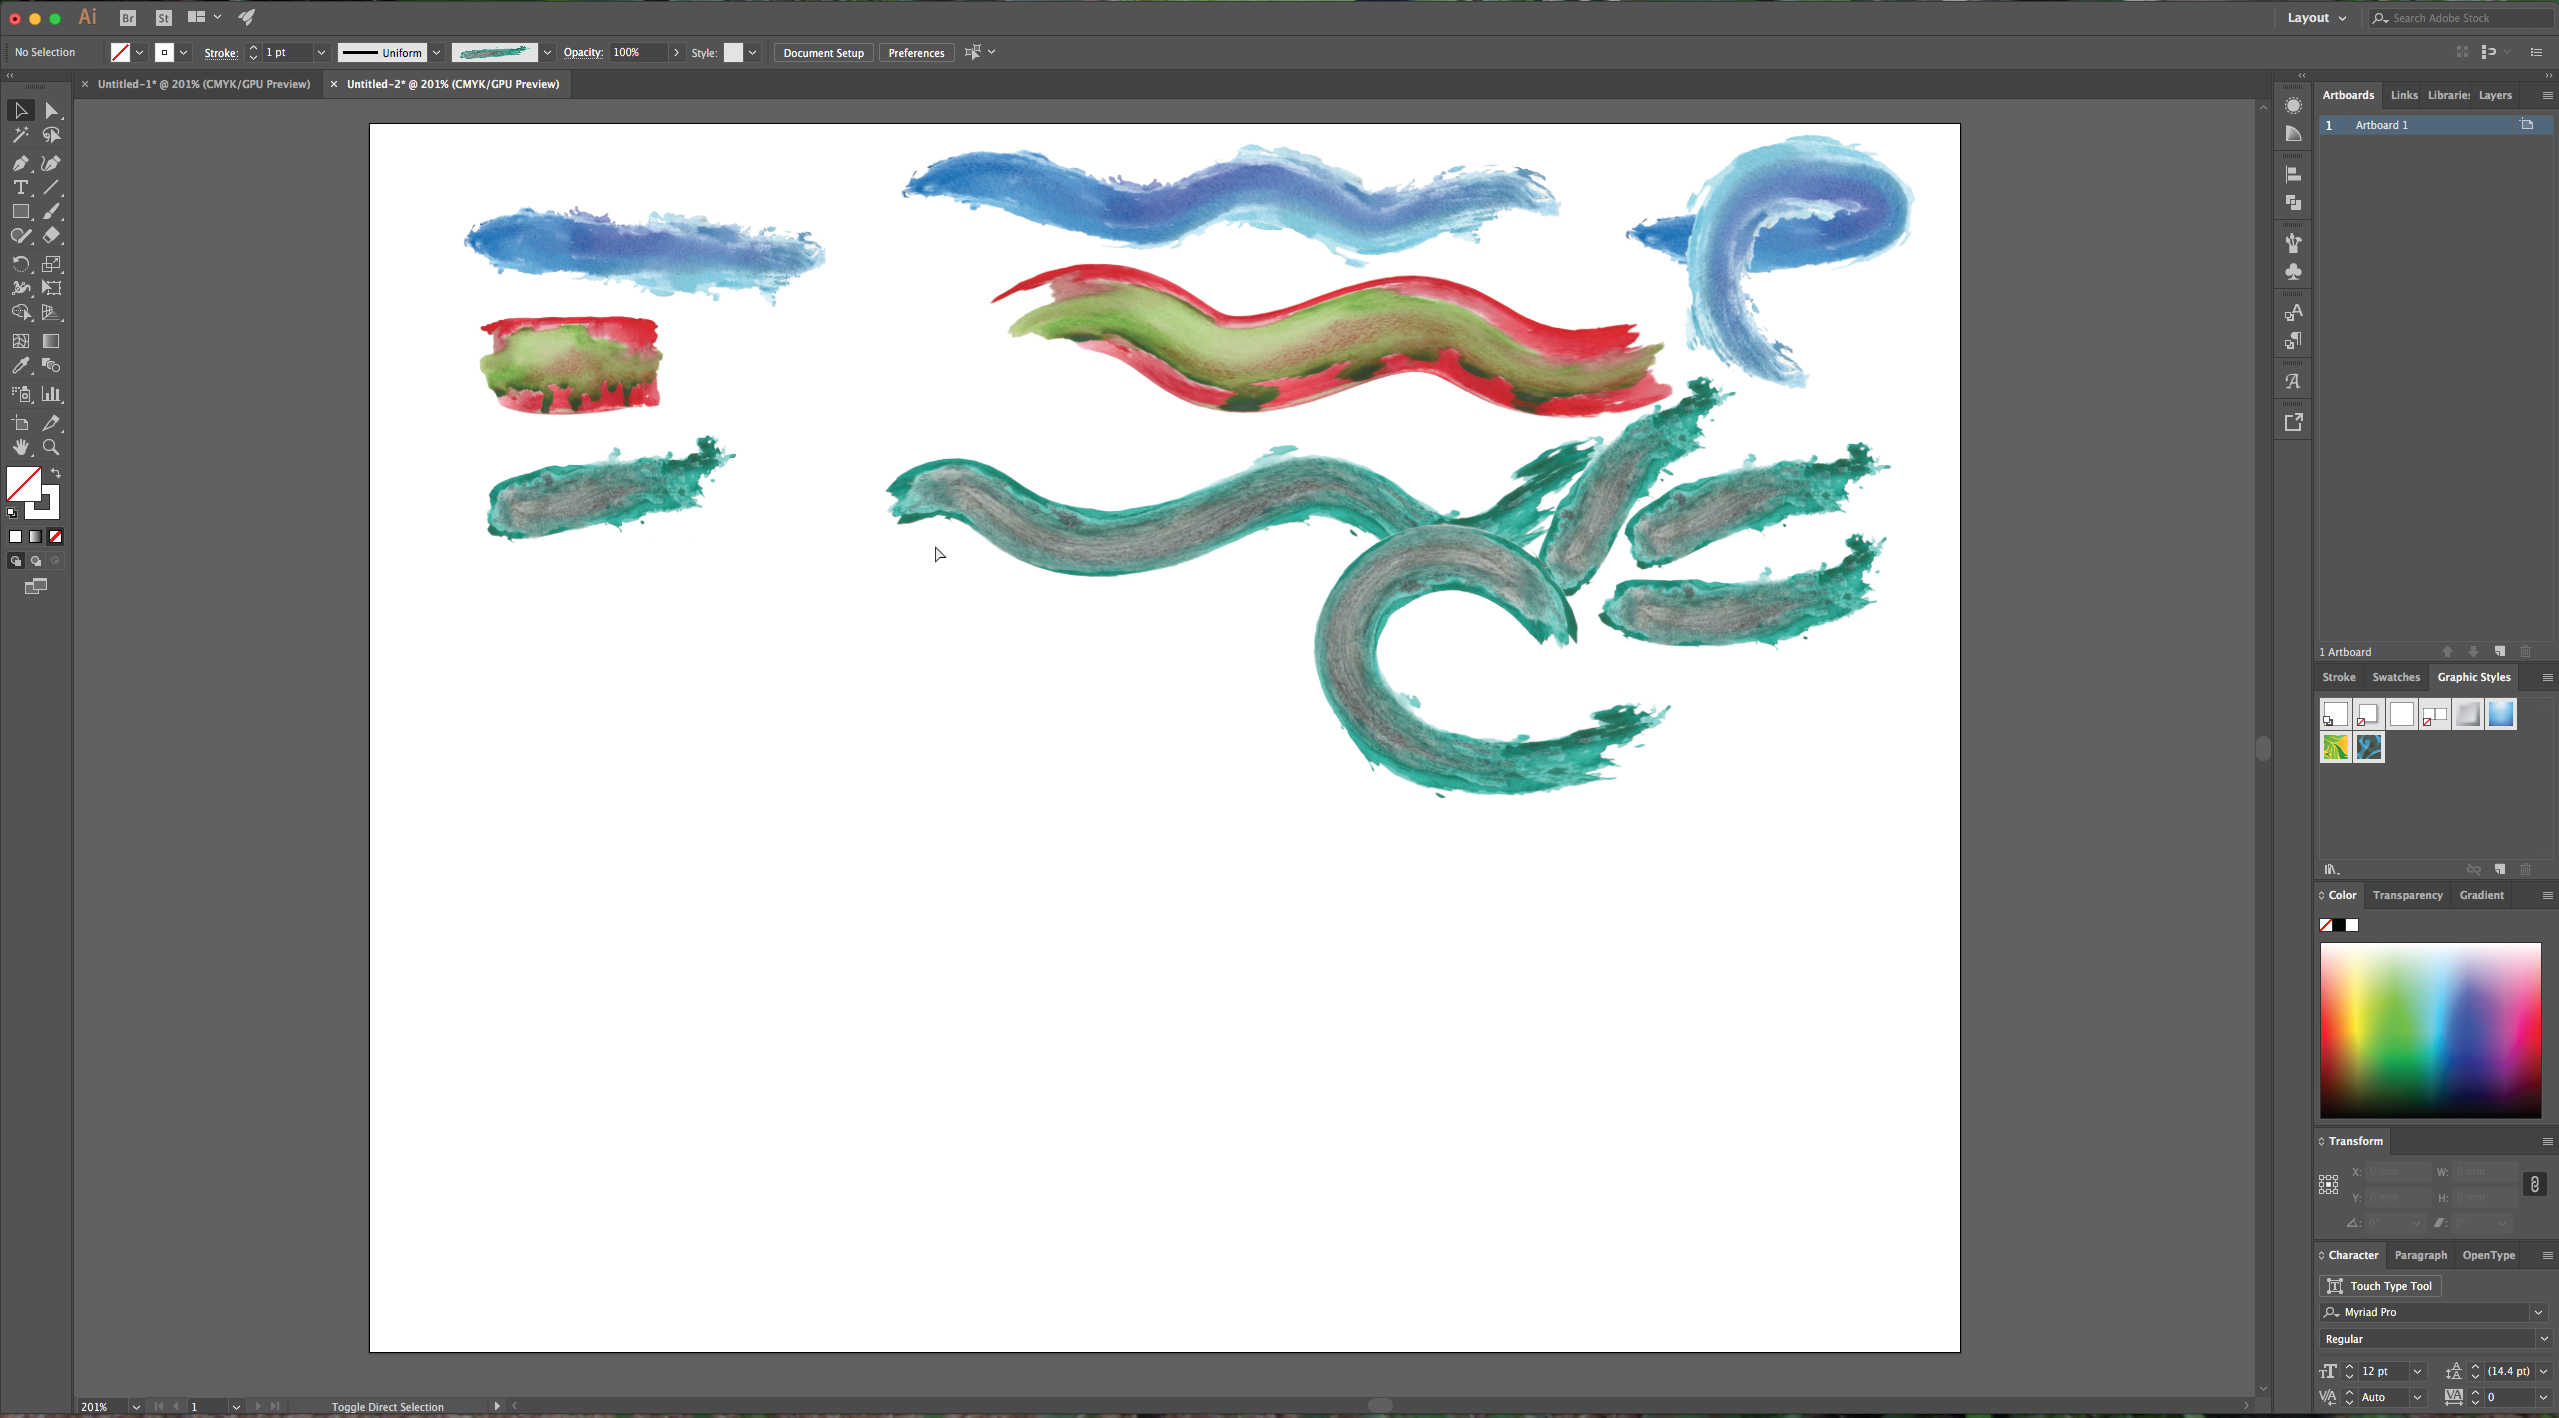
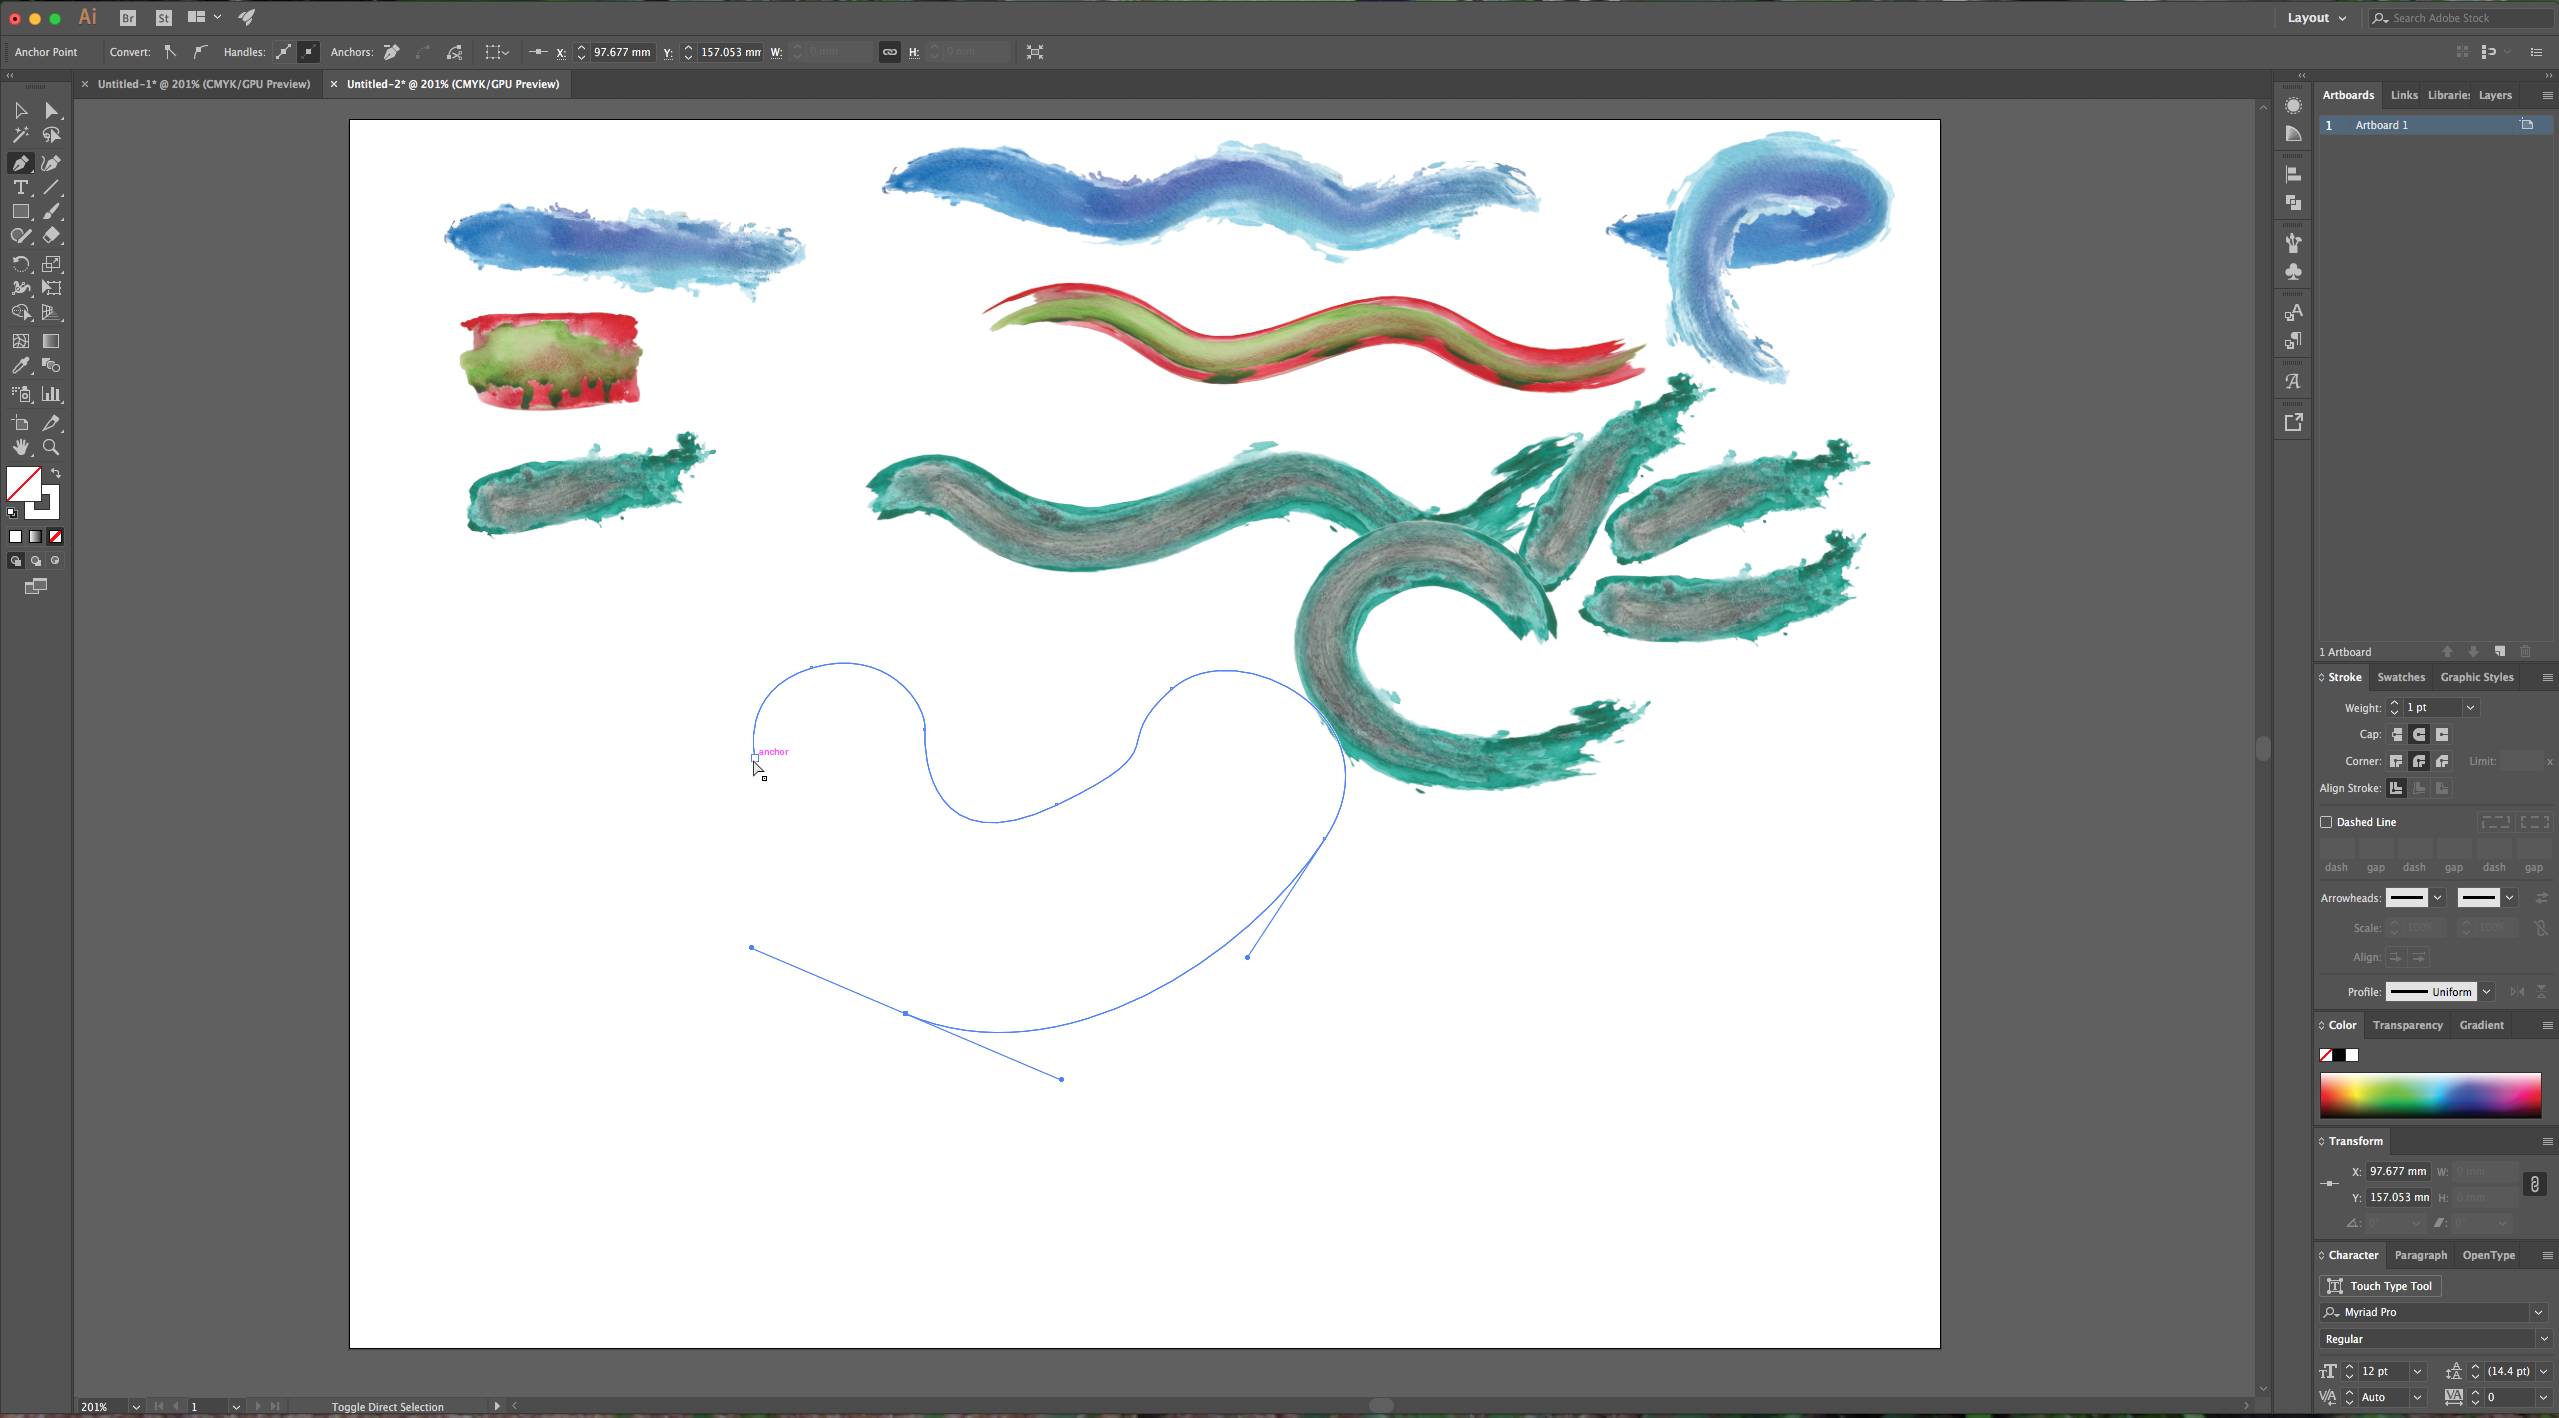
6 – Or you can draw a vector using your “Pen Tool” and make the stroke use your new brush by selecting it in your “Brushes Palette”.
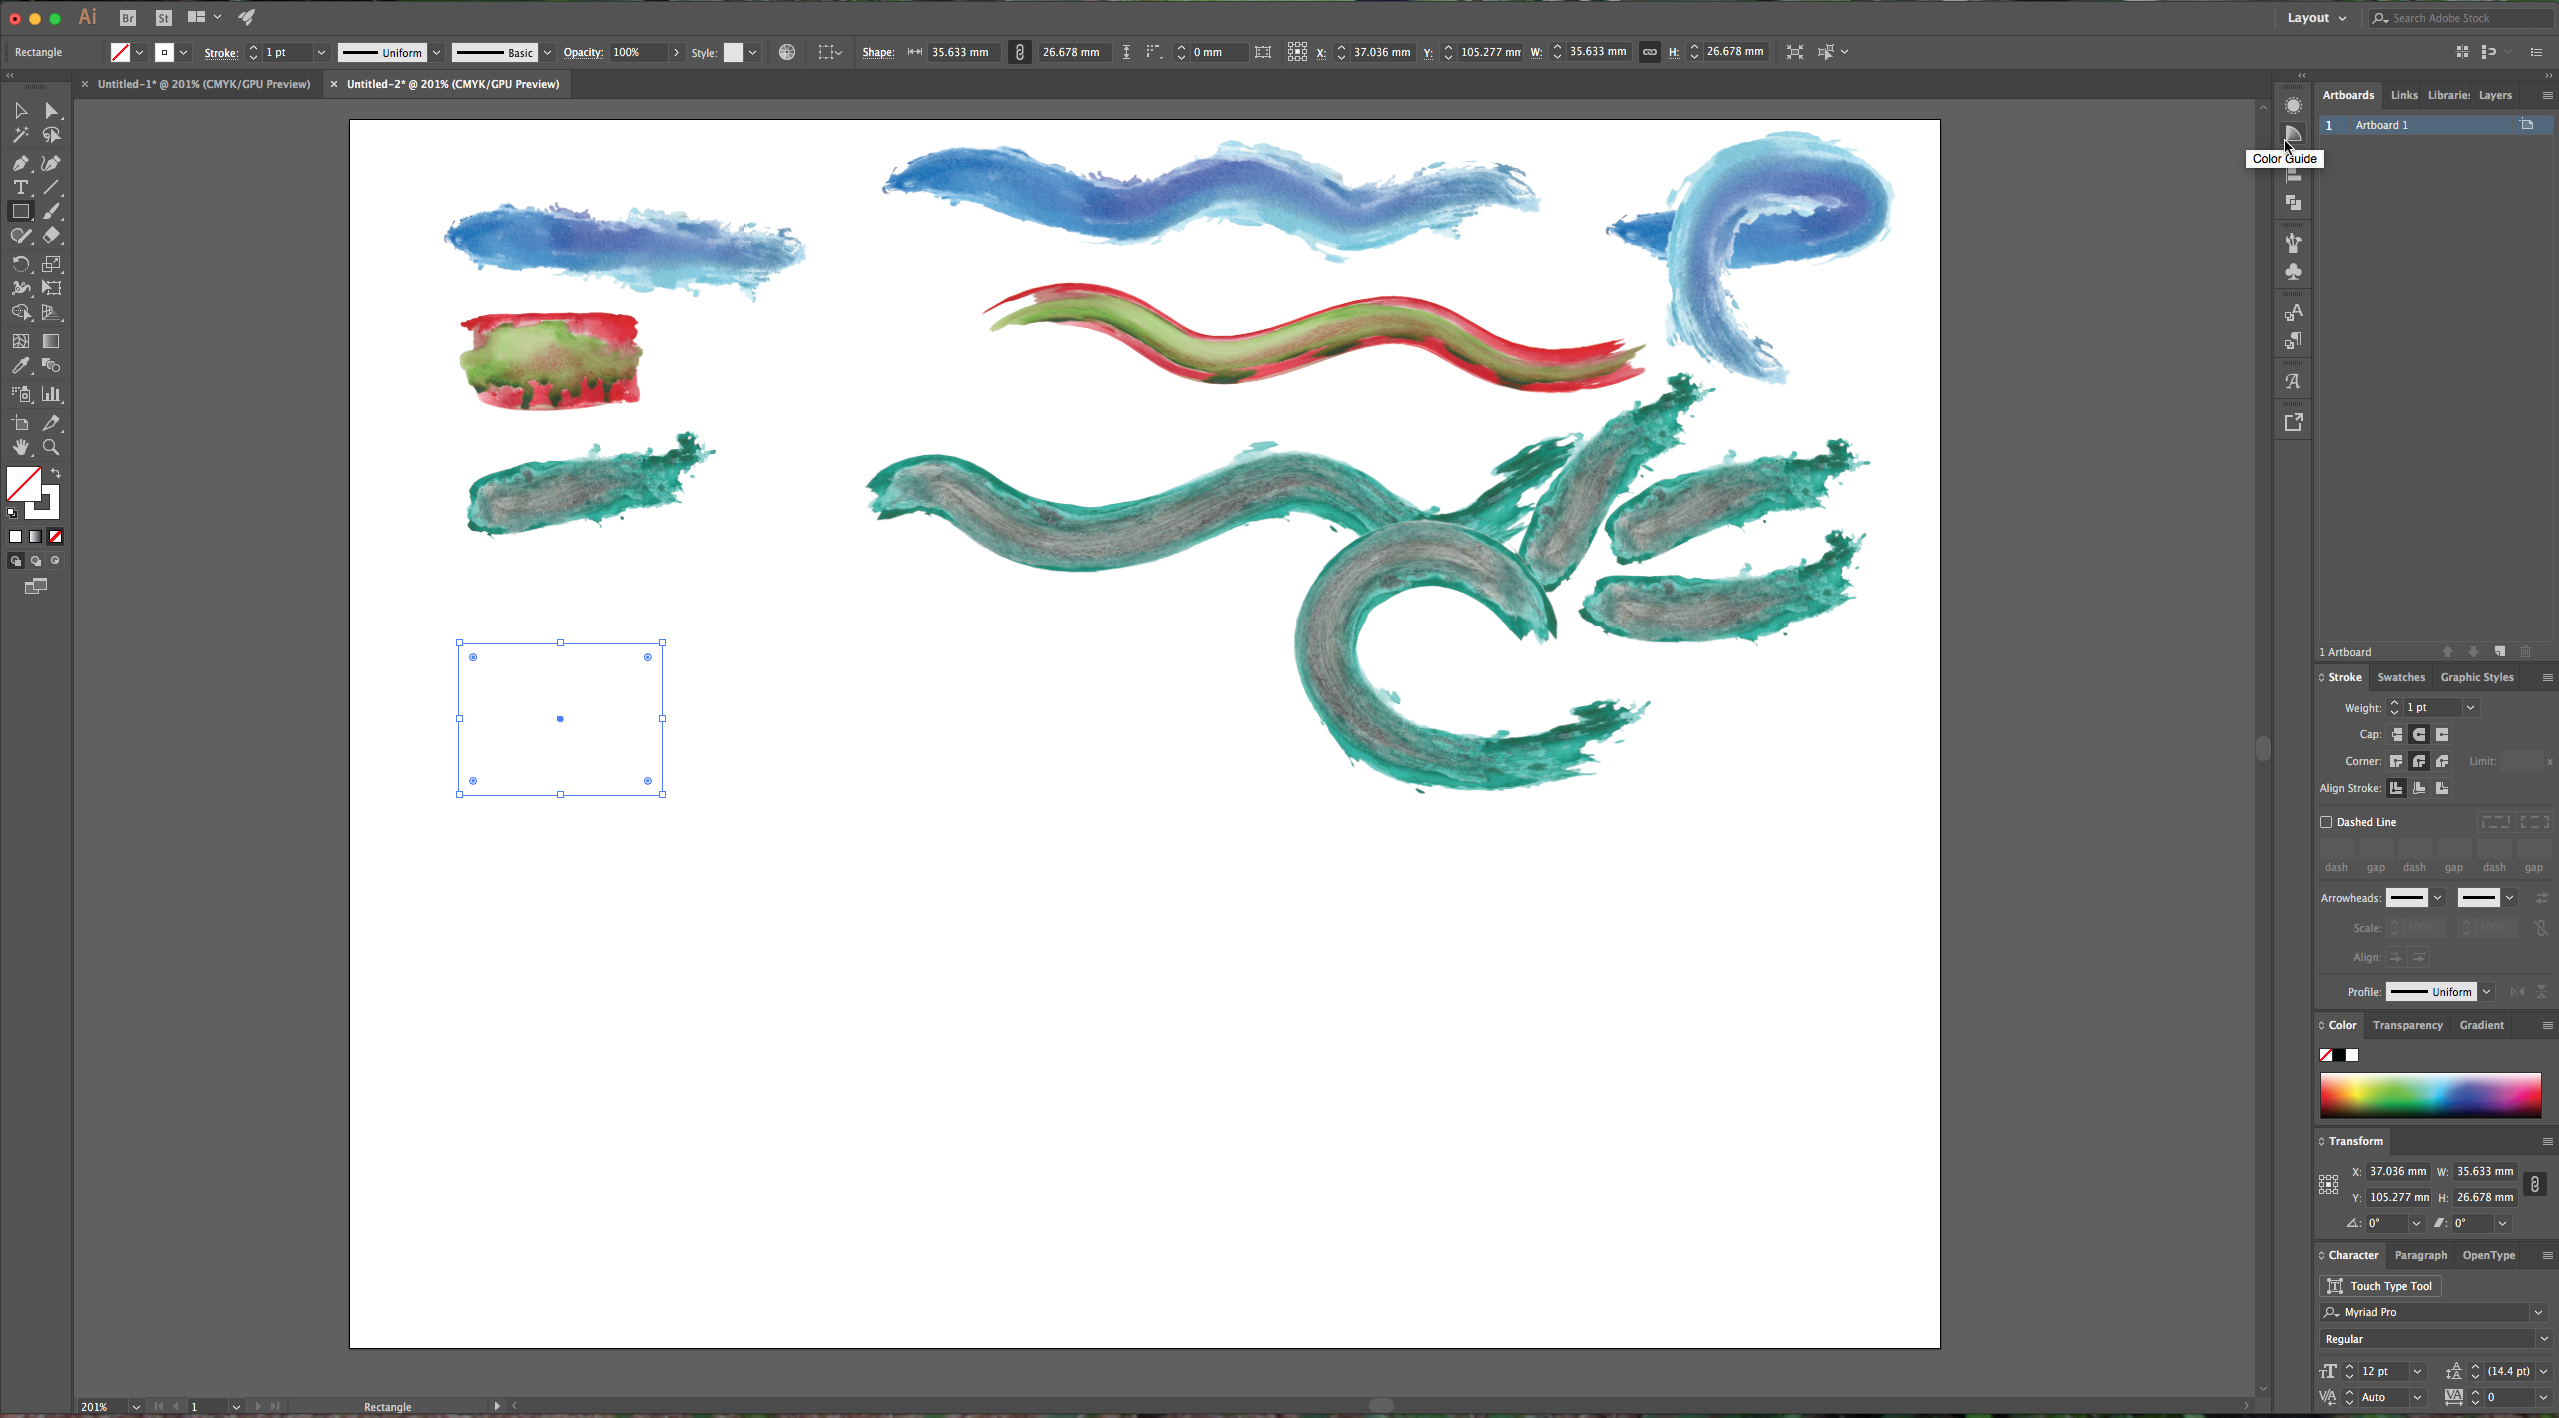
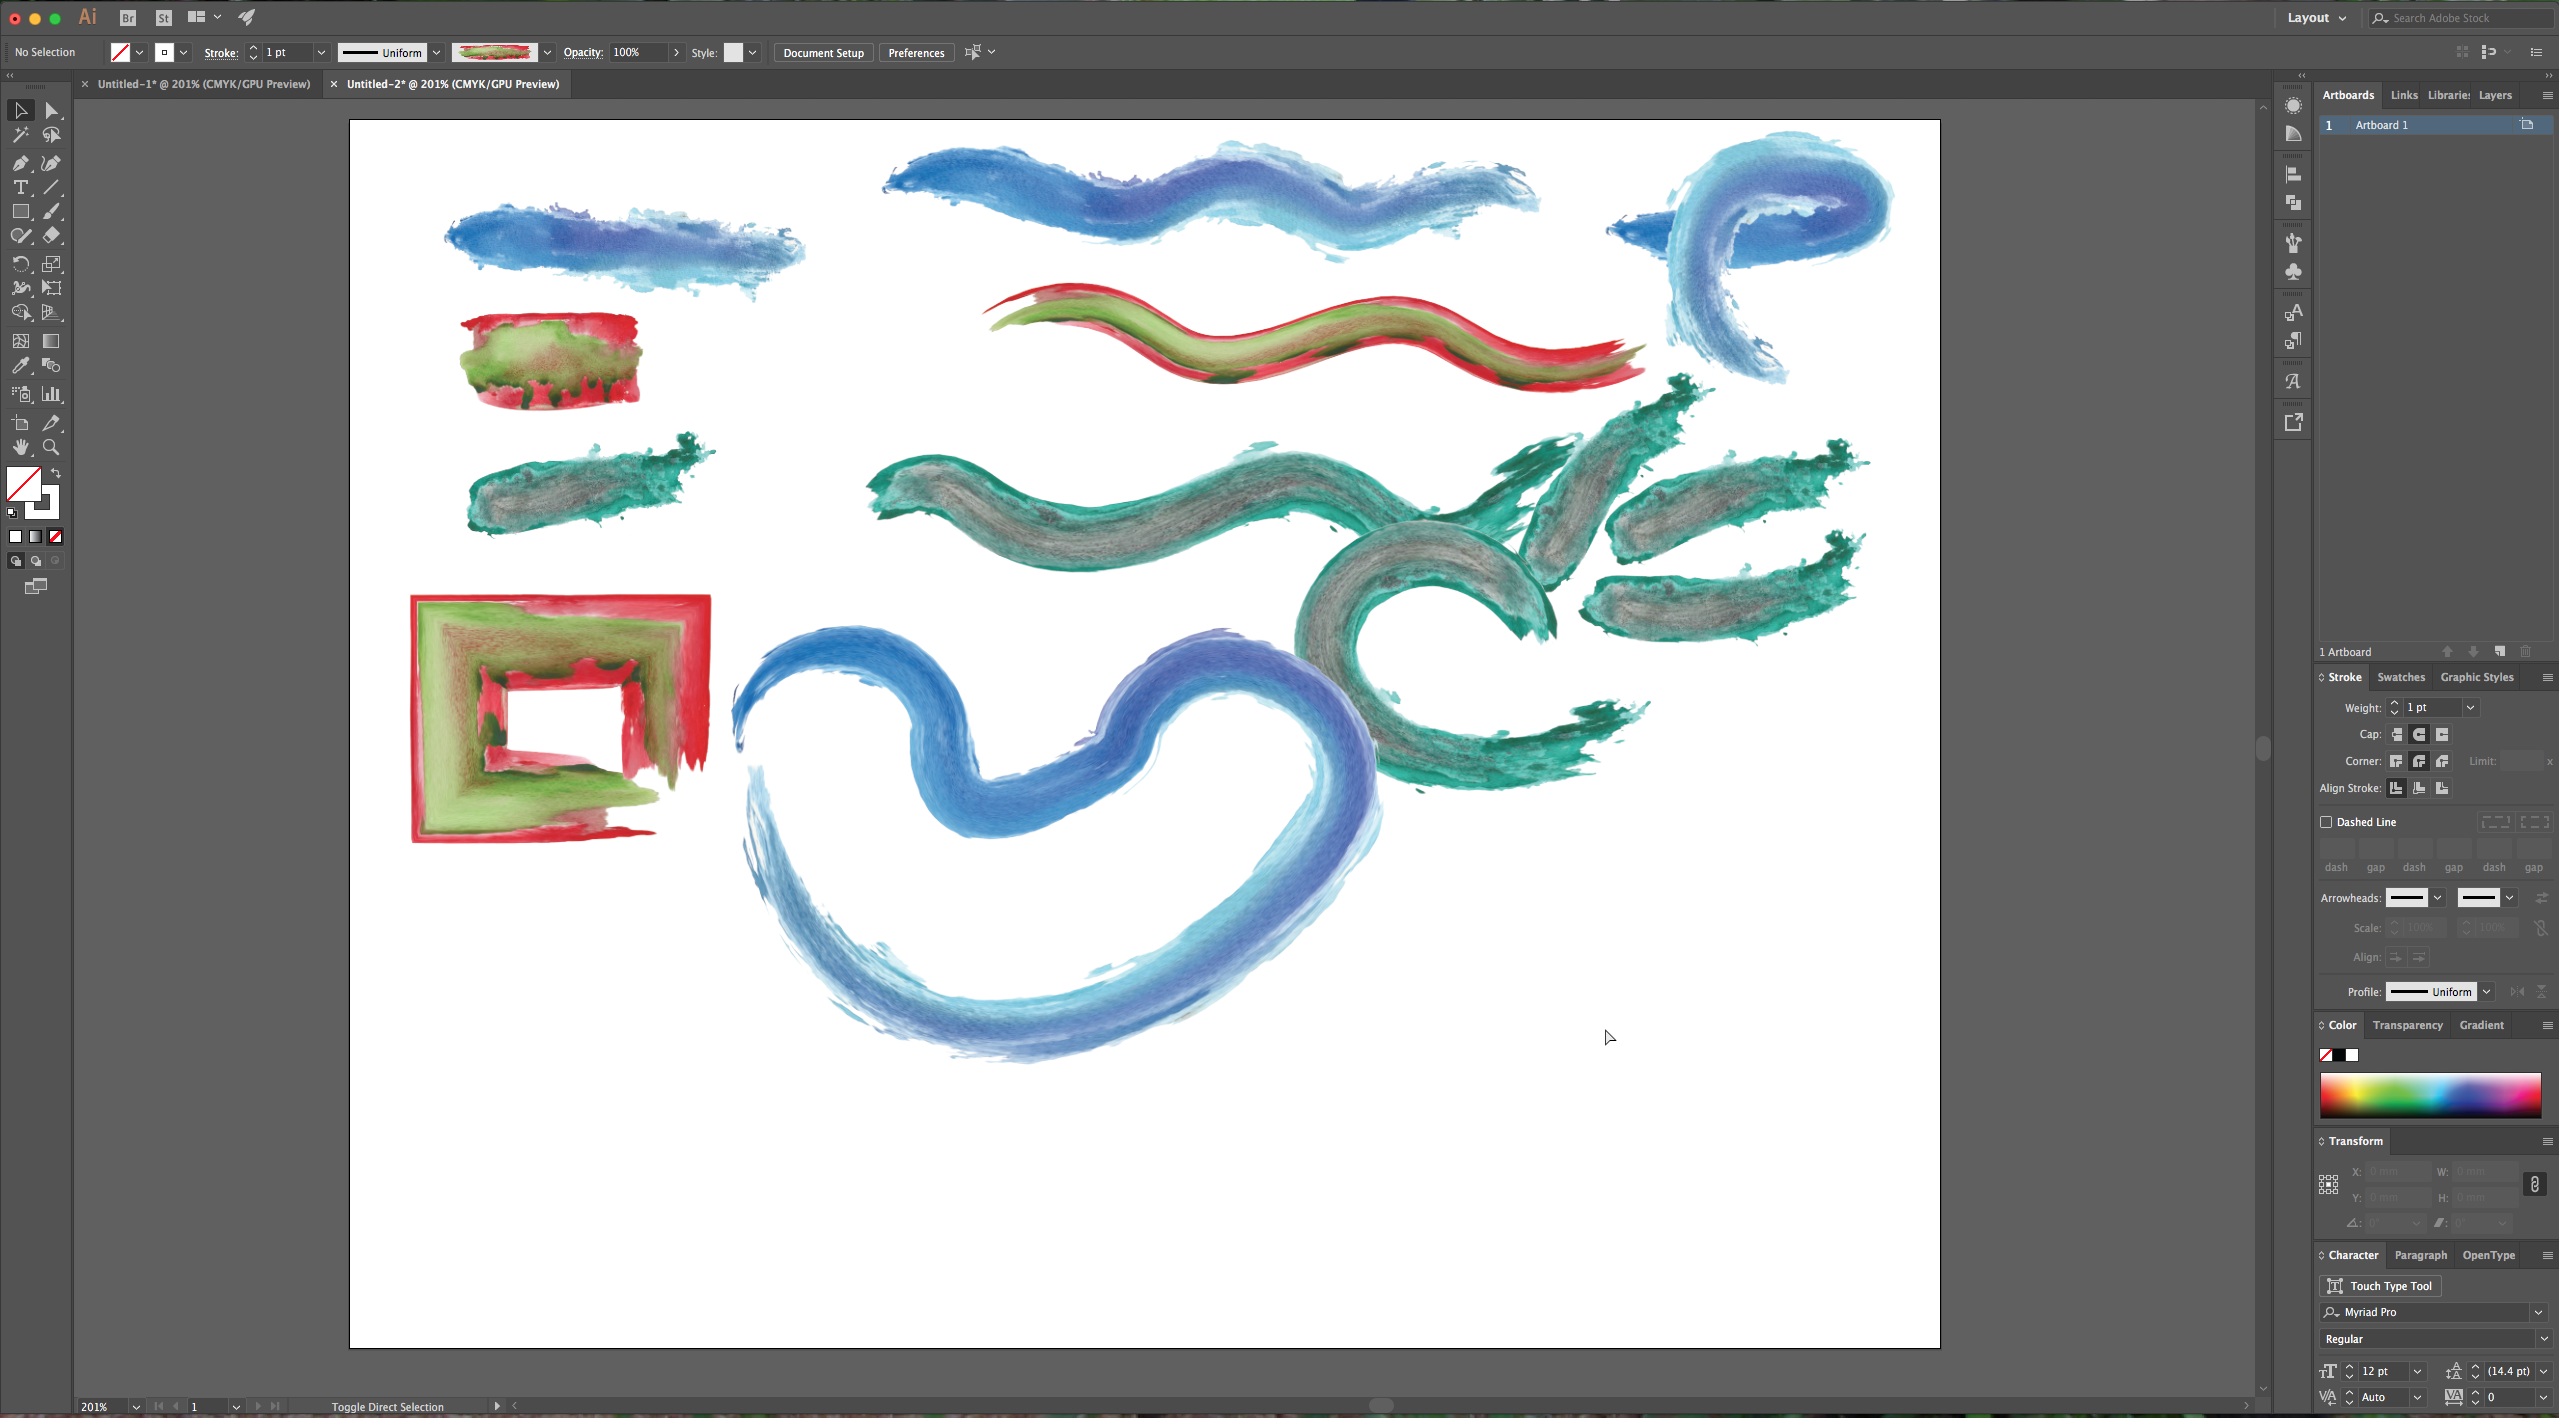
7 – To change the size of your brush go to the Stroke Palette (Window > Stroke) and change the Weight of your stroke. And make sure to click the rounded corner and ends to make them smother if you make their size bigger.
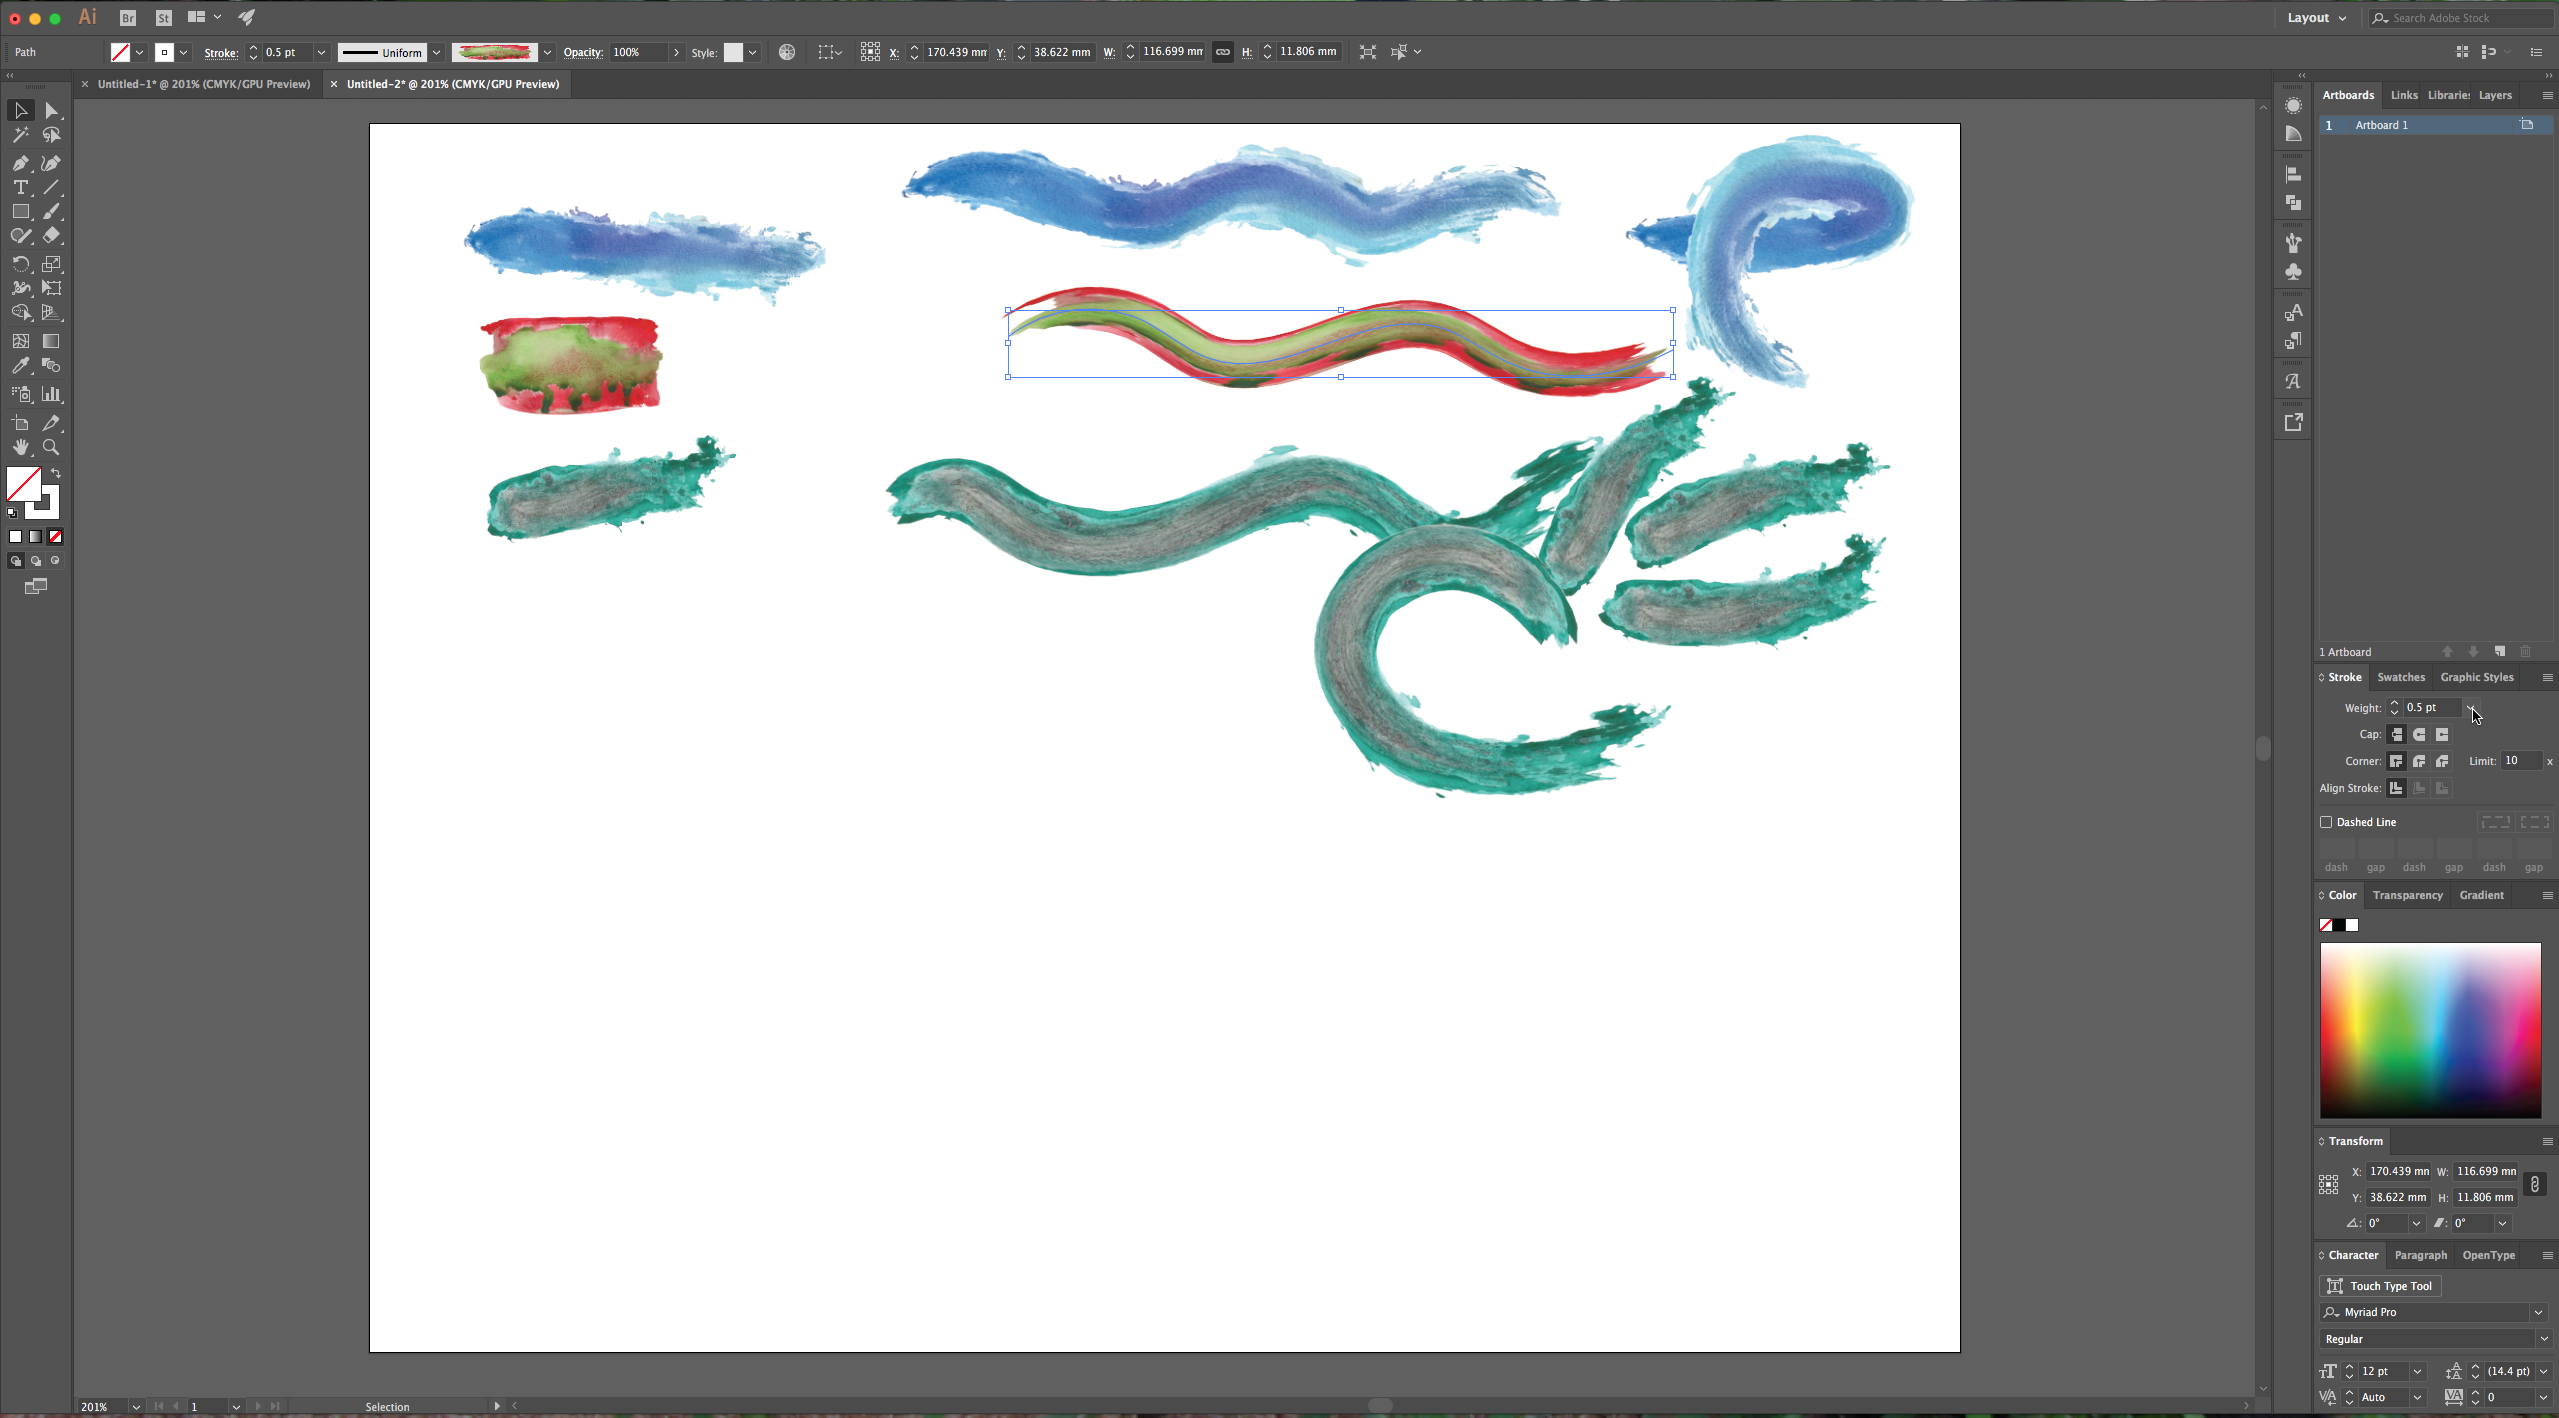
8 – To save it, in the “Brushes Palette” click the icon in the upper right corner and select “Save Brushes”. Choose a location that will be easy to find in the future. To load them, in a new document, go to the “Brushes Palette”, choose “Load Brushes” from the menu and navigate to your saved brushes.
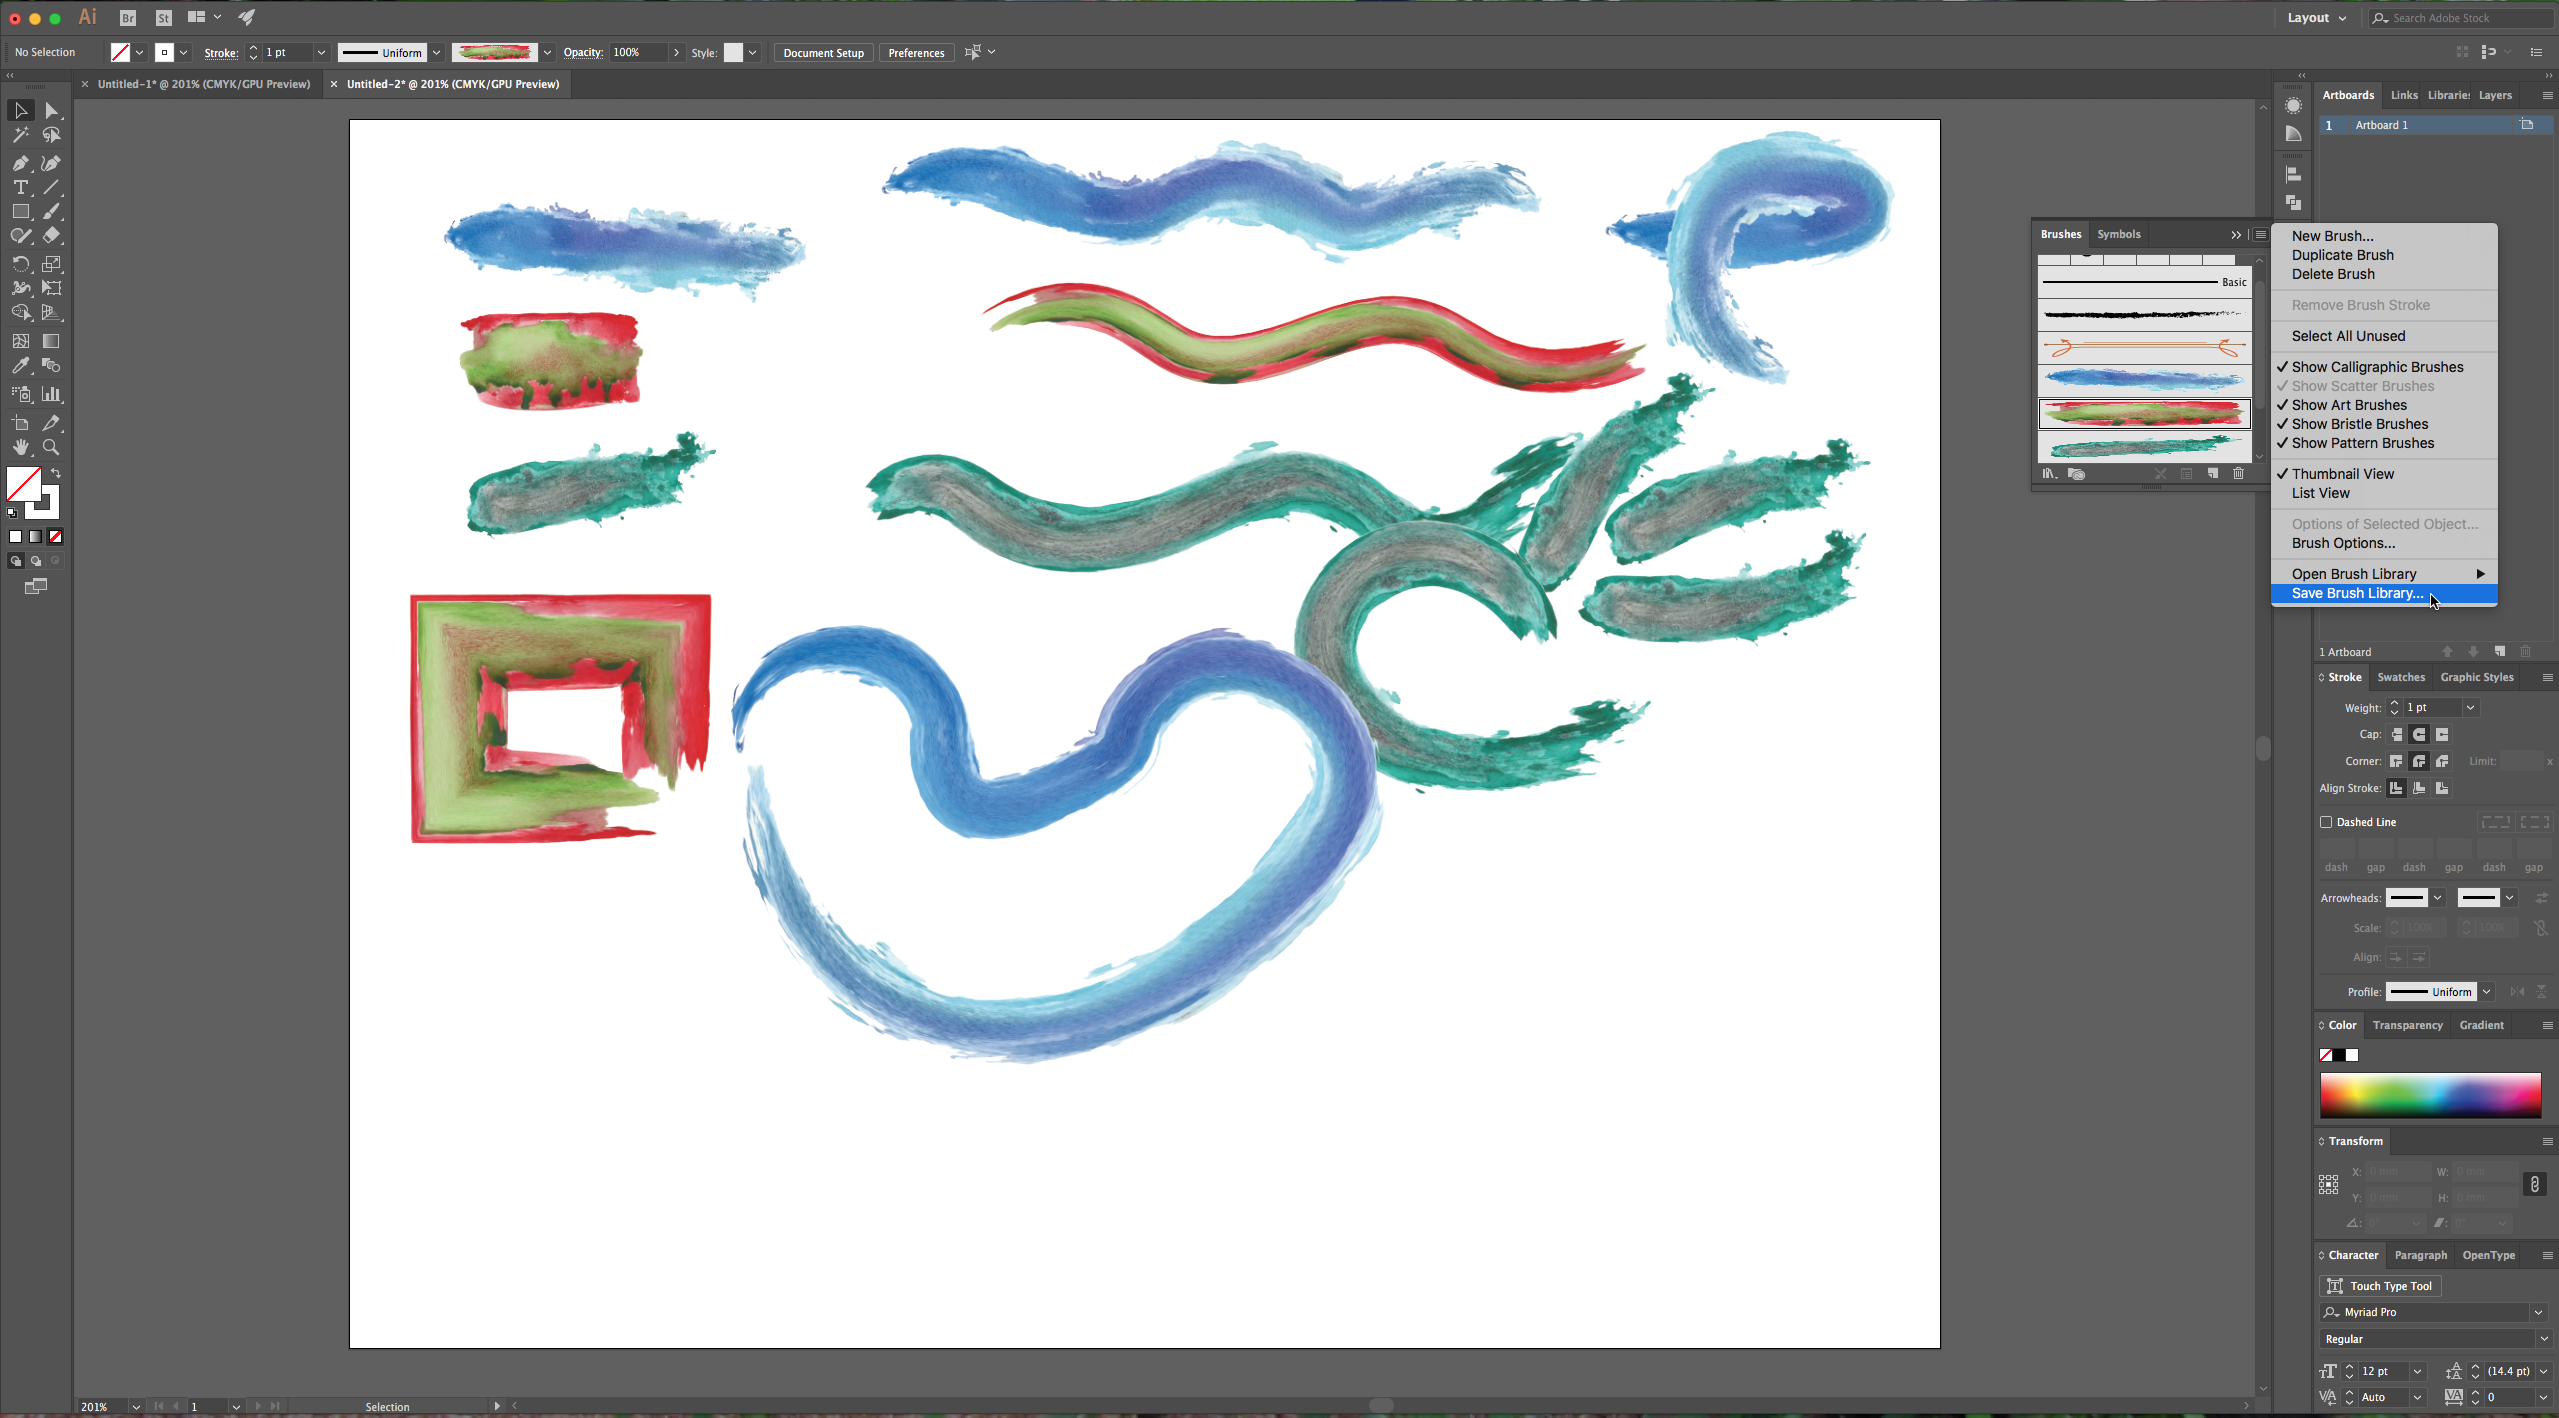
9 – You can use this brush creating technique with other textures (just make sure they have a transparent background and a good resolution) or with other vectors you like (it’s better if they are horizontal in shape).
1 – Open or create an Illustrator document, then choose and place the textures you wish to use. Go to File > Place or click Shift + Command/Control + P.
2 – Reduce the size of your texture to the approximate size you want for your brush. Use Shift + Alt or just Shift while dragging down from the corner of your image.
3 – Go to Object > Rasterize and make sure to select transparent for your Background in the dialog window. The color mode depends on what you intend to use your brushes for: RGB is best for screen usage and has brighter colors and CMYK is better for printing purposes but will result in duller shades for certain colors. It is better to give the resolution a higher value so your brushes look good at almost every size.
4 – With your rasterized texture still selected go to your Brushes Palette and click on the “New Brush” button, choose “Art Brush” in the dialog box, click OK and in the next dialog select “Stretch to Fit Stroke Length”, in the Overlap option choose the “Adjust objects and folds to prevent overlaps” icon. Give your brush a name and click OK.
5 – Now that we added the brush, deselect your texture and to invoke the “Brush Tool” click “B” on your keyboard. Make sure the brush you want to use is selected in your “Brush Palette” and draw freehand with your brush.
6 – Or you can draw a vector using your “Pen Tool” and make the stroke use your new brush by selecting it in your “Brushes Palette”.
7 – To change the size of your brush go to the Stroke Palette (Window > Stroke) and change the Weight of your stroke. And make sure to click the rounded corner and ends to make them smother if you make their size bigger.
8 – To save it, in the “Brushes Palette” click the icon in the upper right corner and select “Save Brushes”. Choose a location that will be easy to find in the future. To load them, in a new document, go to the “Brushes Palette”, choose “Load Brushes” from the menu and navigate to your saved brushes.
9 – You can use this brush creating technique with other textures (just make sure they have a transparent background and a good resolution) or with other vectors you like (it’s better if they are horizontal in shape).
Related Tutorials
Illustrator Tutorials
How to Create Watercolor Lettering in Illustrator
Learn how to create watercolor lettering in Illustrator in 2 methods.
Illustrator Tutorials
Create Stipple Brushes in Illustrator
In this tutorial learn how to create Stipple Brushes in Illustrator.
Illustrator Tutorials
How to Create SVGs in Adobe Illustrator
In this tutorial, learn how to create and save a SVG in Adobe Illustrator.
Illustrator Tutorials
How to Create a Transparent Gradient in Illustrator
Learn how to create a transparent gradient in Adobe Illustrator with this step by step tutorial.
Illustrator Tutorials
How to Create an Isometric Design in Illustrator
In this tutorial, discover how to create an impressive Isometric Design in Illustrator.
Illustrator Tutorials
How to Create a Splatter Brush in Illustrator
Learn how to make a splatter brush in Illustrator in this intermediate tutorial.