By Design Bundles
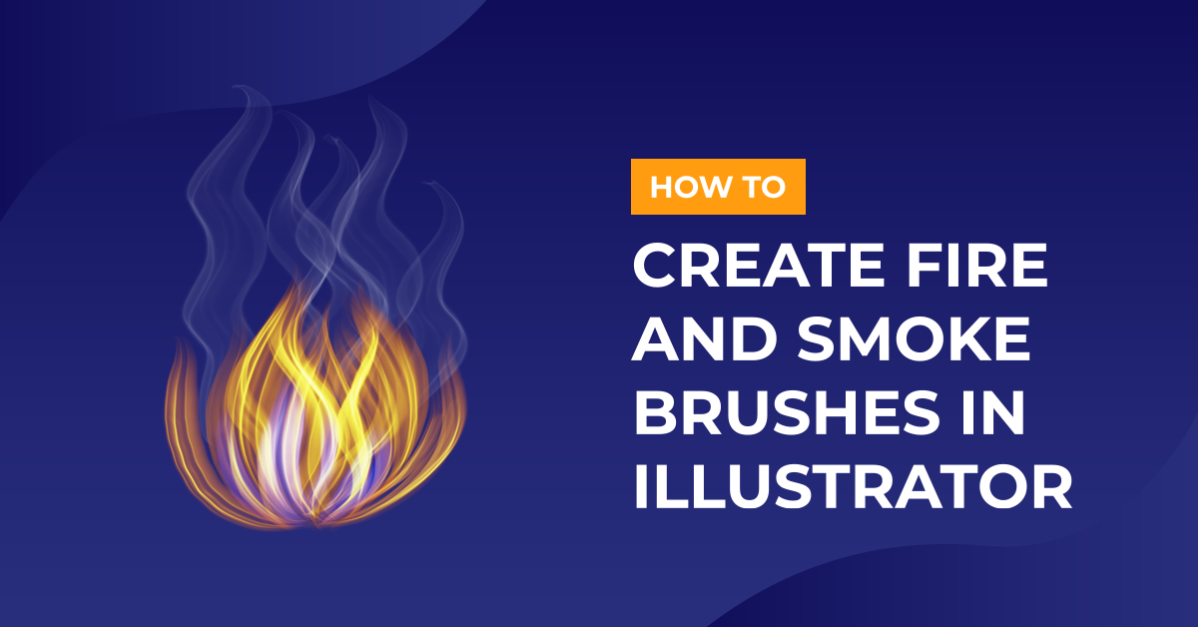
Fire and Smoke Brushes in Illustrator
1 - In Illustrator, create a “New Document”.

2 - Select the “Rectangle Tool” (M), draw a rectangle covering your whole document and fill it with Black.

3 - Lock your “Background” Layer by clicking on the left side of its thumbnail to bring out the small “Padlock” icon. Create a “New Layer” by clicking on the small button at the bottom of the “Layers Panel”.


4 - Select the “Ellipse Tool” (L) and draw a flat oval, “Fill” it with Black and No “Stroke”. Using the “DirectSelection Tool” (A), click on the Top and Bottom “Anchor Points” (using the “Shift” key to select both) and move them to the left until the left side of the oval becomes “Concave”. Then, select the left “Handles” of the Top and Bottom “Anchor Points” one by one and drag them to the Right to fix the concave look and make it look more like a “Drop”. With the “Selection Tool” pull the top of your “Path” to make it thicker.


5 - “Copy” your “Path” (Command/Control + C) and “Paste in Front” (Command/Control + F). Change the “Fill” color to White and make the duplicate really thin.


6 - Select both “Paths” and making sure that “Align to Selection” is selected align them “Vertical” and “Horizontal” Center.

7 - Select the Black “Path” and in the “Transparency” Panel lower the “Opacity” to 0%. Select both “Paths” again and go to Object > Transform > Blend > Make (Shift + Command/Control + B), then go to Object > Transform > Blend > Blend Options, use “Specified Steps” as your “Spacing” option and give it a value of 50. Click “OK”.


8 - Once you are happy with your “Blend” go to Object > Expand and make sure that the “Fill” and “Object” boxes are checked before clicking “OK”.


9 - Select your “Shape” and drag it into the “Brushes Panel”, save it as an “Art Brush”, name it and use the default values in the “Art Brush Options” window. You can create as many brushes as you want.


10 - Now, use the “Line Segment Tool” (\) to draw a line (you can use the “Pen Tool” (P) too). Give it no “Fill” color, use White for the “Stroke” color and make it 0.5 pt in “With”. Select the “Line” and click “Enter/Return” to invoke the “Move” Menu and use 0.05 mm as “Horizontal and Distance” value and 0 mm for “Vertical”. Click “Copy” instead of “OK”.


11 - Hold the Command/Control + D keys for about 25 seconds (or until your lines have formed a Rectangle about a Half Inch or 1.5 cm thick). Select all your lines and in the “Transparency Panel” change the “Blending Mode” to “Screen” and the “Opacity” to 10%.

12 - Right-click on top of them to “Group” your “Lines” together (Command/Control + G), then use the “Pen Tool” (P) to draw an “Undulating Vertical Shape”, “Fill” it with White and No “Stroke”. Try to use as many “Anchor Points” as you can.


13 - Make sure that your Shape is in “Front”, select both and go to Object > Envelope Distort > Envelope Options. Use a value of 100 for “Fidelity” and click “OK”. Then go to Object > Envelope Distort > Make with Top Object (Shift + Command/Control + C).


14 - Create a “Brush” with this “Shape” too, but change the “Direction” to “From Bottom to Top” and the “Method” to “Tints and Shades” in the “Art Brush Options” window.


15 - Now you can use your “Brushes” to draw “Fire” and “Smoke”. Un-lock your “Background” Layer and select the “Mesh Tool” (U). Make an “Anchor Point” in the bottom-center of your “Black Rectangle”, then, make another one at about one third of


16 - Using the “Direct Selection Tool” (A) click on the bottom one and in the “Color Panel” adjust the color to R: 125, G: 52, B: 25 (make sure you are on RGB Mode). Click on the second “Point” and use R: 55, G: 32, B: 15.


17 - Make sure you are using your “Fire” brush, then, select the “Brush Tool” (B), change the “Blending Mode” to “Overlay” in the “Transparency Panel” and “Paint” some “Flames” from the bottom of your document. Select some of them and lower the “Opacity” a bit.


18 - Select the “Middle” Point of your “Background” Mesh and move it up and slightly to the side to make the “Fire” look more realistic.

19 - Create a “New Layer” and place it between the “Background” and the “Fire” Layers, select your “Smoke” Brush and with the “Brush Tool” (B) paint some “Smoke” around the “Flames”.

20 - Select all your “Smoke”, go to the “Appearance Panel”, click on the “Effects” Menu at the bottom of the Panel, go to Blur > Gaussian Blur and use a “Radius” of 3.5 pixels. Change the “Blending Mode” to “Exclusion” and the “Opacity” to 75%


21 - Using the “Rectangle Tool” (M), draw another rectangle on top of everything. Use “None” as “Fill” and “Stroke” color, select everything (Command/Control + A) and go to Object > Clipping Mask > Make (Command/Control + 7).

22 - Check it out.

by @lornacane